Carrot Cake Candy Corn Cupcakes
 Guess what? Carrot cake candy corn exists. CARROT. CAKE. CANDY. CORN. If you are a frequent reader of my blog you know that I hate carrot cake (it ranks high with coconut on my list of disliked treats), so the thought of carrot cake candy corn doesn’t thrill me. But to each their own, right?
One of the quirks that I inherited from my Dad is that I must try new products. If I see something new at the grocery store, it’s in my cart in two seconds flat. This makes me an advertiser’s dream. I’ve tried almost every new variety of Oreo cookies — caramel apple Oreos? No good. Cookie dough Oreos? Weirdly coffee flavored. Reese’s peanut butter Oreos? Pretty damn good. Red velvet Oreos? Bleh! The list could go on and on. Sometimes new products are amazing and I have to fight the desire to stock up and hoard. And sometimes I am reminded of this classic line from Jurassic Park:

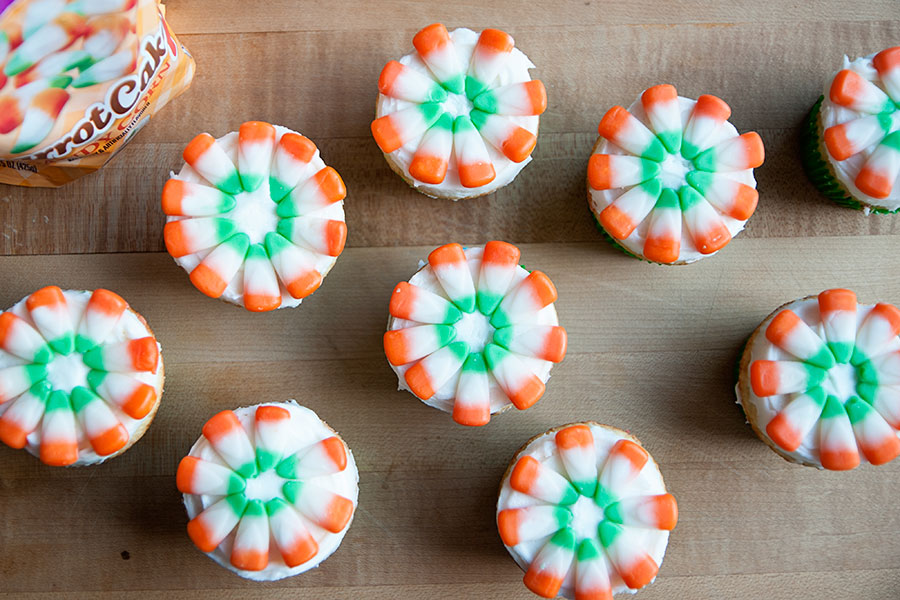
I’ll let you decide for yourself if the concept of carrot cake candy corn is amazing…or questionable! Buy yourself a bag and make these cupcakes!
Carrot Cake Cupcakes
Print Recipe
1-1/2 cups flour, spooned and leveled
1 teaspoon baking powder
1/2 teaspoon baking soda
3/4 teaspoon salt
1/4 teaspoon ground cinnamon
1/4 teaspoon ground ginger
1/4 teaspoon grated nutmeg
3/4 cup unsalted butter, melted
1 cup packed light-brown sugar
1 large egg
2 tablespoons plain, low-fat yogurt
1/4 teaspoon pure vanilla extract
1-1/2 cups grated carrots
**Do not use the store-bought shredded carrots — they will not be moist enough. Buy whole carrots and use a food processor to chop them.
1. Preheat oven to 375F.
2. In a large bowl, whisk together flour, baking powder, baking soda, salt, cinnamon, ginger, and nutmeg; set aside.
3. In another large bowl, whisk together melted butter, brown sugar, egg, yogurt, and vanilla. Stir in carrots. Gradually add dry ingredients to the butter mixture until well combined. Divide among lined muffin tin.
4. Bake 25-30 minutes, rotating pan halfway through the baking time. Remove and cool on a wire rack. Makes 12 cupcakes.
Cream Cheese Frosting
1 package (8oz) cream cheese, room temperature
1/4 cup unsalted butter, room temperature
1 cup confectioner’s sugar
1-1/2 teaspoons pure vanilla extract
1. Cream the butter and cream cheese using an electric mixer.
2. Gradually add confectioner’s sugar until smooth and well-mixed; beat in vanilla.
3. Frost each cupcake and decorate with the candy corn.
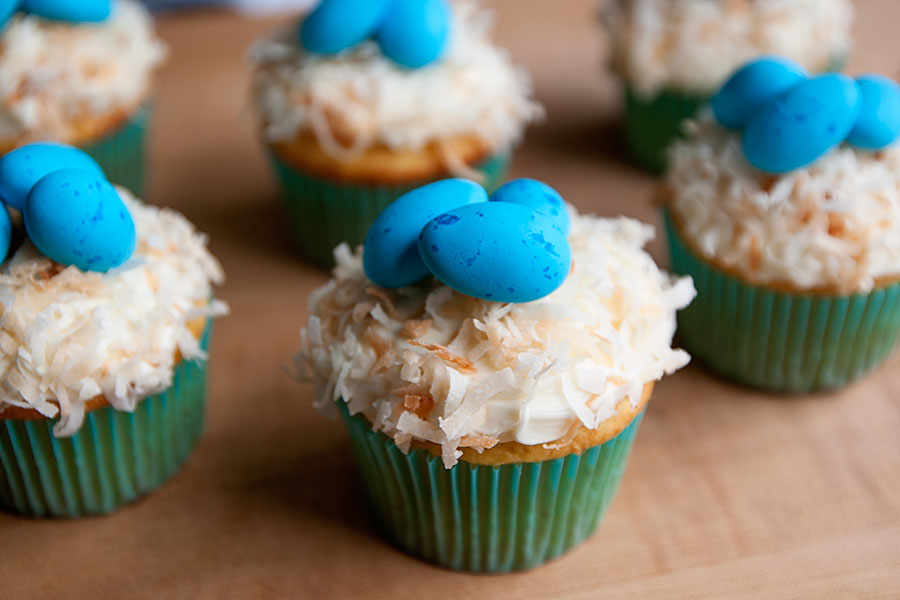 Coconut is one of my most hated foods. But look at the cuteness of these cupcakes!! I may dislike coconut, but I love robin egg candy…and that beautiful color blue. These cupcakes are ideal for those of you who aren’t confident in your decorating or piping skills. They’re also ideal for those of you who enjoy coconut. You crazy, crazy people.
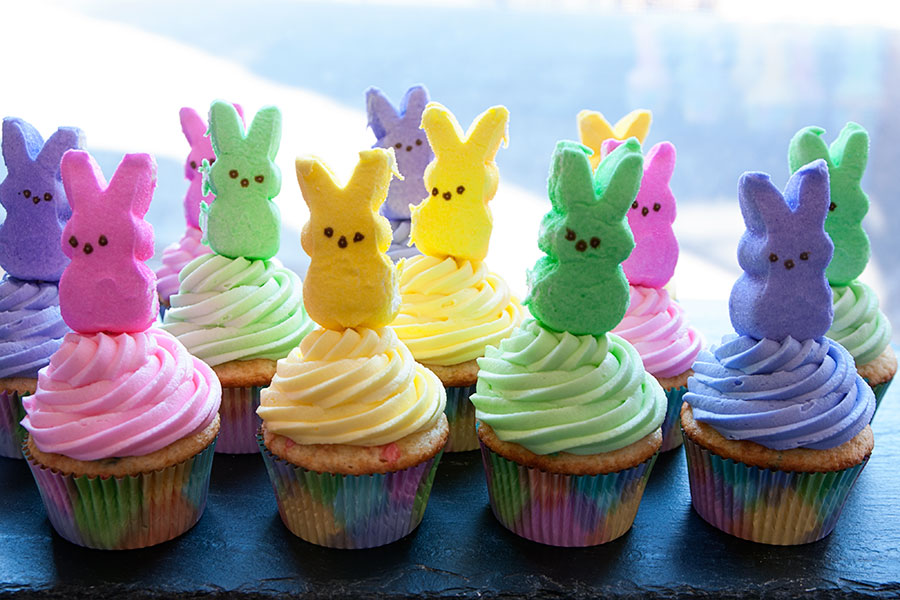
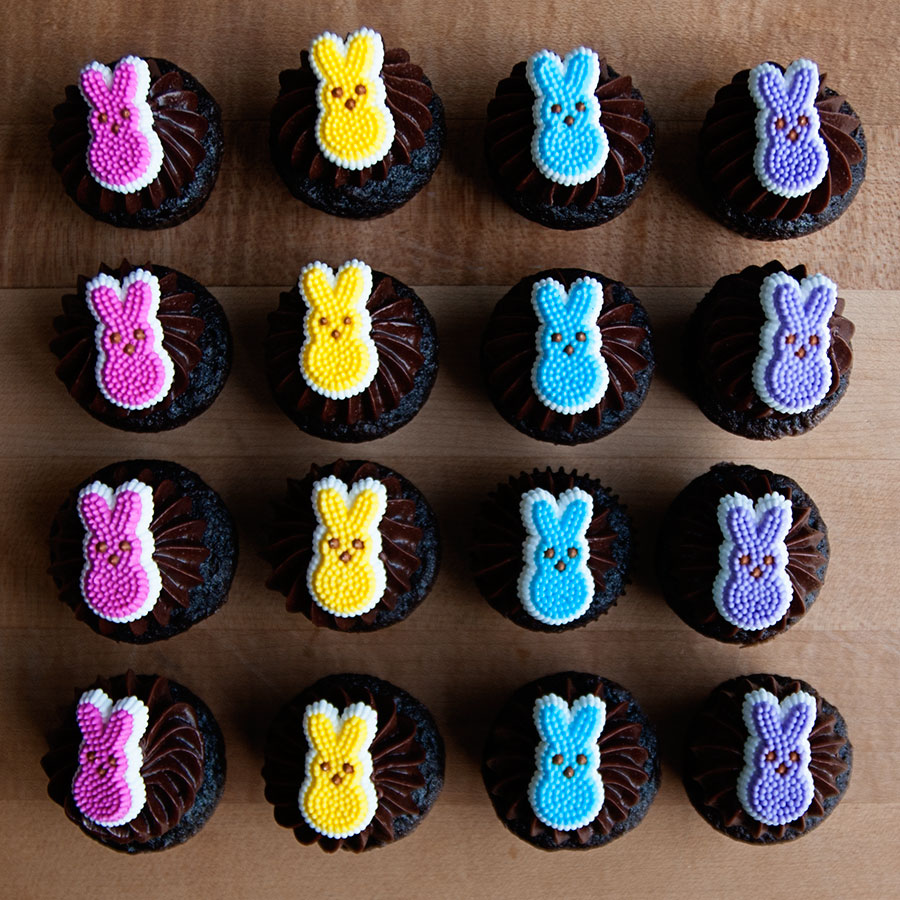 Confession: when I saw these mini Peeps decorations I actually said “wheee!” My mom was with me at the time and thought nothing of it, because she’s used to me wheee-ing and squeeeee-ing over adorable baking decorations. But really, I hate Peeps but I love the idea of Peeps. They are so cute and are a quintessential part of the season.
 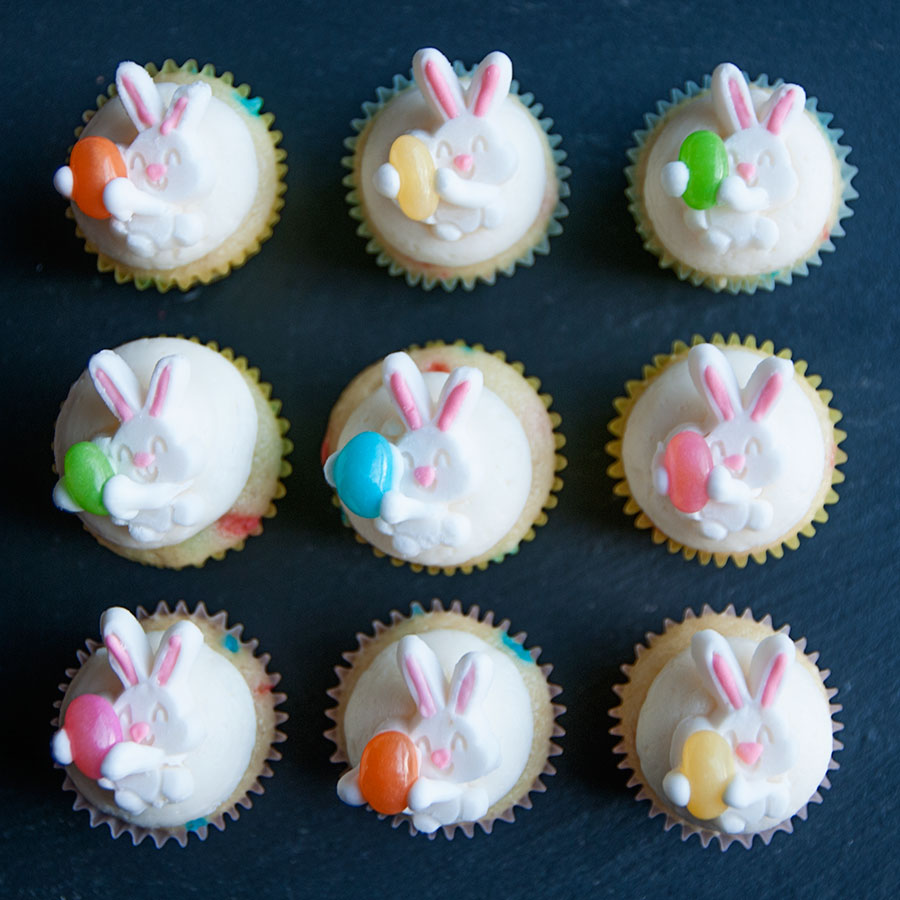 Aren’t these little bunny decorations adorable?! I found them at Target (I think they’re a Wilton product, so you may be able to find them elsewhere) and thought they’d be perfect for mini cupcakes. Mini cupcakes are great. You can eat four of them… which basically equates to one full-sized cupcake. These were super easy to make!