Recent Posts

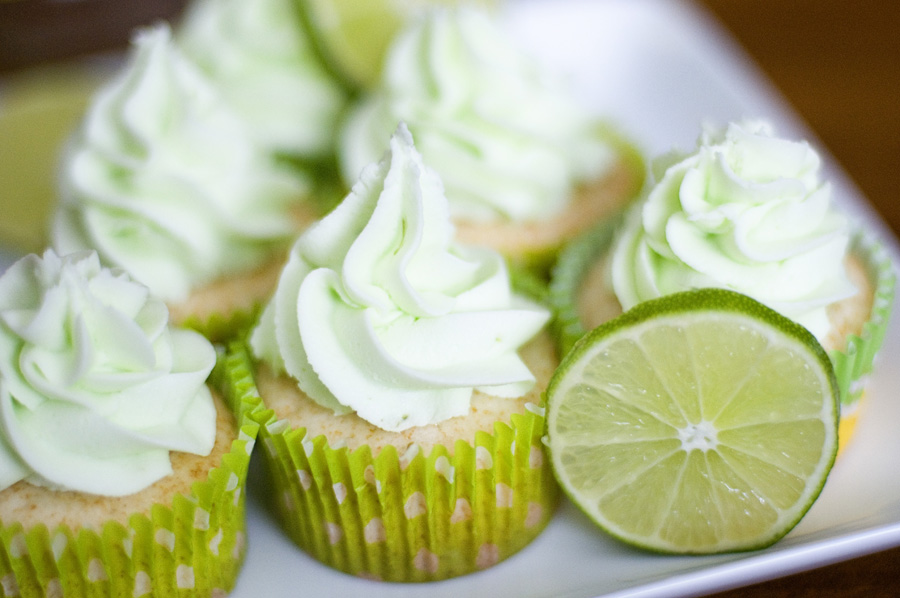
Margarita Cupcakes

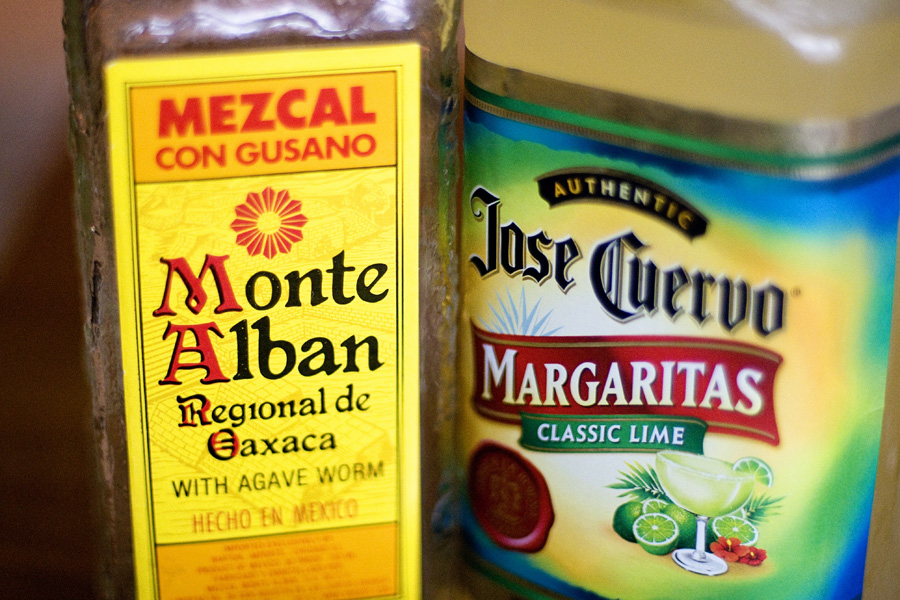
Let’s be honest. Everything is more fun if alcohol is involved. Baking is no different. Margaritas are my favorite summer drink (…and fall, winter, and spring drink) and these cupcakes are fantastic. And easy!

Margarita Cupcakes
Recipe source: recipegirl.com
Print Recipe

Cake:
9 ounces liquid Margarita mix (a little over a cup)
3 ounces tequila (a little less than 1/3 cup)
¾ ounce Grand Marnier (*I did not include this because I didn’t have any!)
1 box white cake mix
3 large egg whites
2 Tbs vegetable oil
1 Tbs lime zest

Lime Buttercream Icing:
2 sticks unsalted butter (1 cup), at room temperature
5 to 6 cups powdered sugar
2 Tbs fresh lime juice
1/8 tsp salt
1 tsp grated lime zest
green food coloring, if desired

1. Preheat oven to 350°F. Line two dozen cupcake tins with paper liners.
2. Whisk together margarita mix, tequila and Grand Marnier in a small bowl. Measure out 1¼ cups for the recipe; pour the rest on some ice and drink it while making the cupcakes.
3. In a large bowl, blend cake mix, egg whites, vegetable oil, lime zest and 1¼ cups of the margarita mix from step 1. Blend on low for about 30 seconds and then increase speed to medium and blend for two additional minutes. Batter will be slightly lumpy.
4. Spoon the batter into cupcake liners (about ¾ full). Bake for 20-25 min, or until toothpick inserted in center comes out clean. Let cupcakes cool for about 10 minutes in the pans, then remove them to a rack to cool completely.
5. Once cucpakes are completely cooled, prepare the icing. Place butter in a large bowl and beat with electric mixer until butter is fluffy. Add 5 cups of powdered sugar, salt, lime juce, and lime zest. Mix until thick and creamy. Add more powdered sugar until the frosting is of a good spreading (or piping) consistency. Mix in a tiny amount of green food coloring or gel paste if you’d like the frosting to have a green tint. Ice cupcakes in whatever manner you prefer… spreading or piping the frosting. Use small lime slices as garnish.

Yield: About 24

*These are best consumed the day they are made – but if you store them in an air-tight container, they will keep for a few days.
Blackberry Cobbler

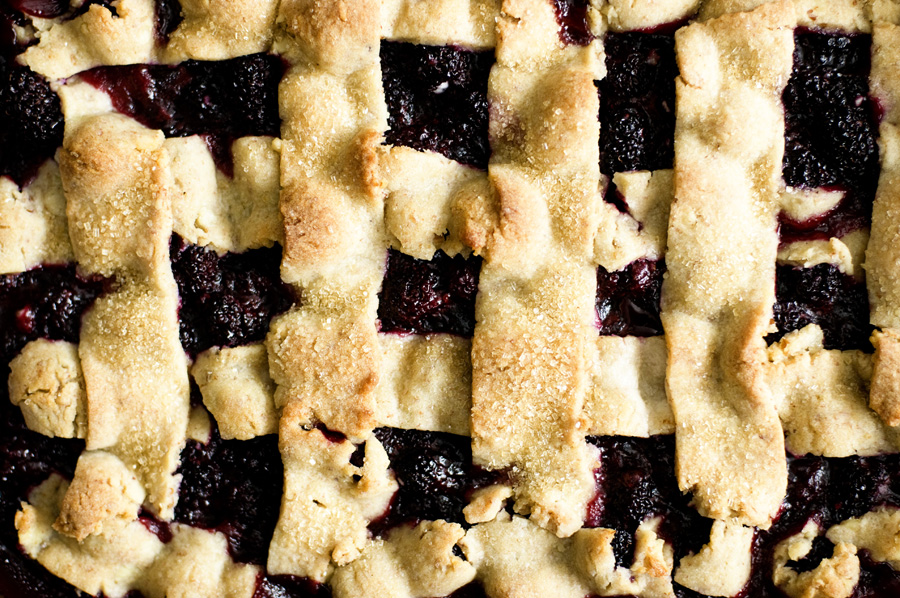
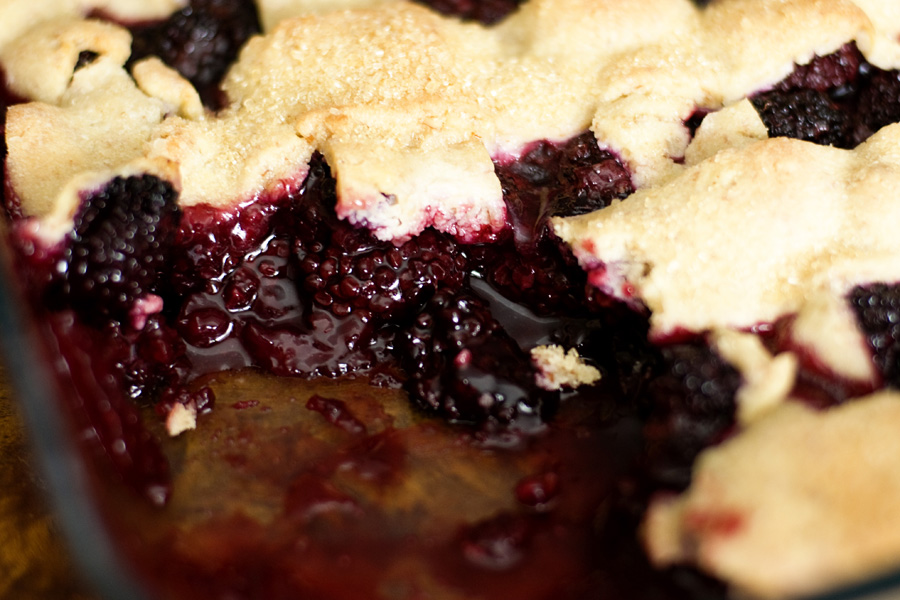
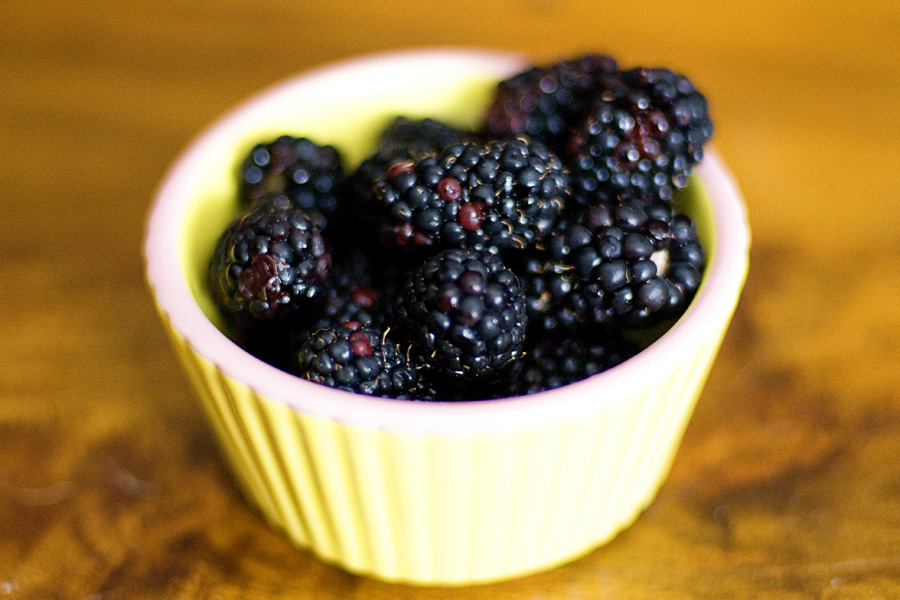
One of the two million reasons I love summer is the abundance of fresh fruit. Everything is in season. Blackberries are one of my favorite fruits. Here’s a relatively simple recipe for a blackberry cobbler. If you can tolerate lactose (unlike me), I’d suggest serving it with ice cream.

Blackberry Cobbler
Recipe source: Cooking Light
Print Recipe

1 cup granulated sugar, divided
6 Tbs butter, softened
1 large egg yolk
1/2 teaspoon vanilla extract
3/4 cup whole almonds, toasted
6 ounces all-purpose flour (about 1-1/3 cups)
1/4 teaspoon baking powder
1/4 teaspoon salt
3 Tbs ice water
10 cups fresh blackberries (about 60 oz.)
3 Tbs cornstarch
1 Tbs fresh lemon juice
2 Tbs turbinado sugar

1. Place 1/3 cup granulated sugar and butter in a larger bowl; beat with a mixer until combined (about 1 minute). Add egg yolk, beating well. Stir in vanilla.
2. Place almonds in a food processor; pulse 10 times or until finely ground. (it took far more than 10 pulses for my food processor!) Weigh or lightly spoon flour into dry measuring cups; level with a knife. Combine nuts, flour, baking powder, and salt, stirring well with a whisk. Gradually add nut mixture to butter mixture, beating at low speed just until a soft dough forms, adding 3 Tbs of ice water, as necessary. Turn dough out onto a lightly floured surface; knead lightly 6 times or until smooth. Divide dough into 2 equal portions; wrap each portion in plastic wrap. Chill 1 hour or until firm.
3. Preheat oven to 375F.
4. Combine the remaining 2/3 cup granulated sugar, blackberries, cornstarch, and lemon juice; toss gently. Arrange berry mixture in a 9×13″ glass or ceramic baking dish coated with cooking spray.
5. Unwrap dough. Roll each dough portion into a 9×13″ rectangle on a lightly floured surface. Cut one rectangle, crosswise, into (1-inch-wide) strips. Cut remaining rectangle, lengthwise, into (1-inch-wide) strips. Arrange strips in a lattice pattern over fruit mixture; sprinkle dough with turbinado sugar. Bake at 375F for 50 minutes or until golden. Let stand 10 minutes.

*Note: As you can see below, I’m not skilled in making pretty lattice patterns. If you aren’t either, don’t worry! Just layer the dough in some sort of cross pattern and it will be fine!

Mmmmm….

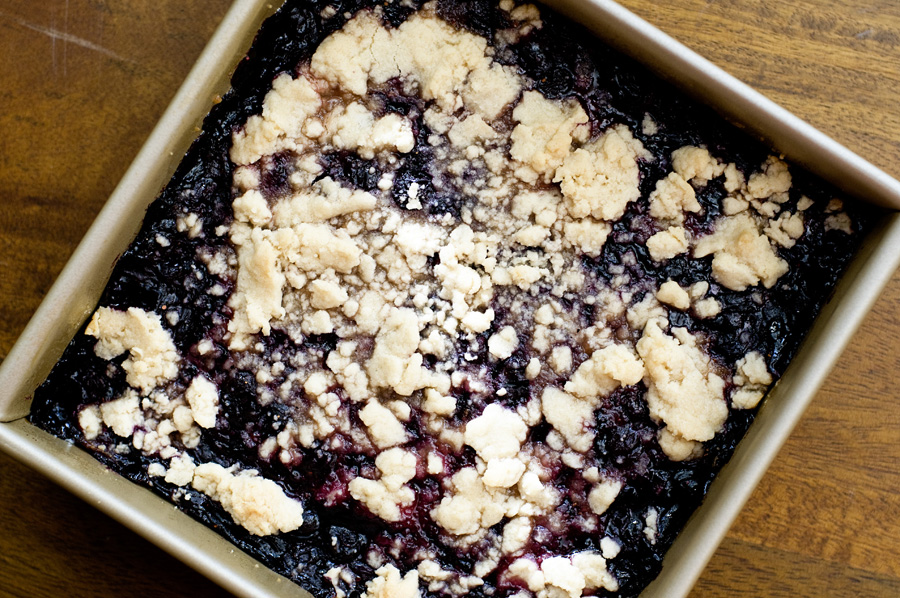
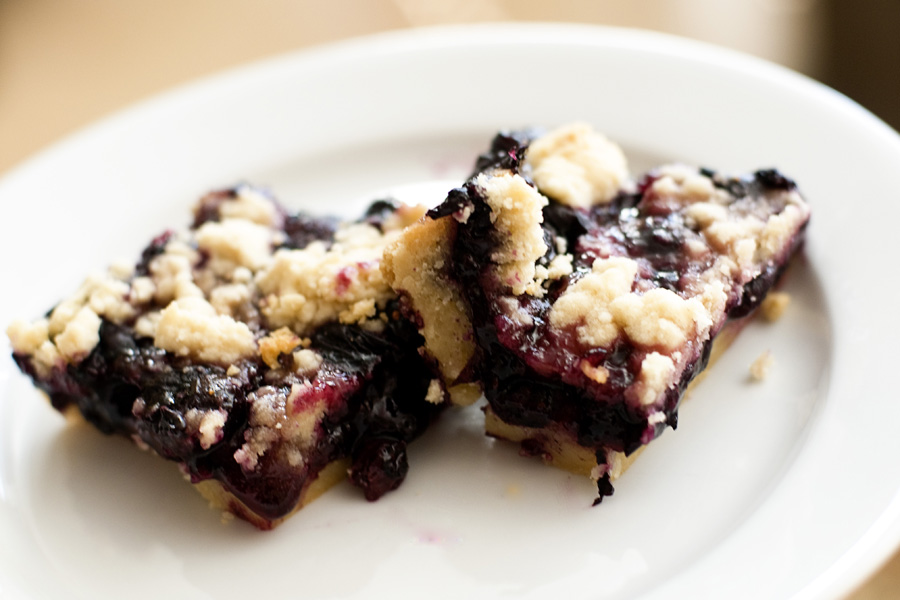
Blueberry Crumb Bars

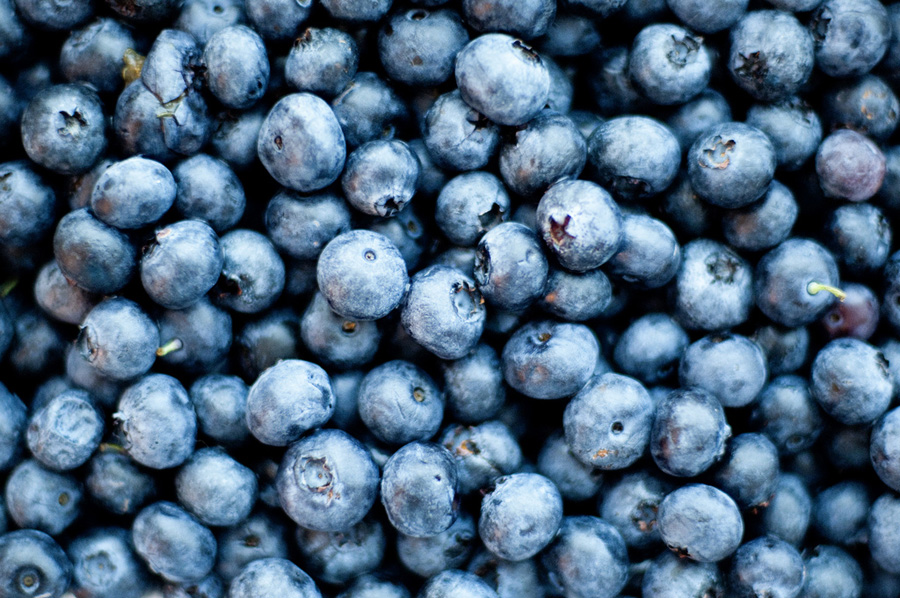
I had A LOT of extra blueberries left over from my farmer’s market haul. I couldn’t eat them all – so what’s a girl to do?

Turn them into a treat!

Yield: 9 bars

Blueberry Crumb Bars

Blueberry Crumb Bars

A refreshing summer treat!

Prep Time 15 minutes
Cook Time 25 minutes
Total Time 40 minutes

Ingredients

For the filling:

  • 3 cups fresh blueberries
  • 1/3 cup granulated sugar
  • 3 Tbsp brown sugar
  • 3 tsp cornstarch
  • 1 tsp ground ginger
  • 1 Tbsp lemon juice

For the dough:

  • 1 cup unsalted butter
  • 1/3 cup brown sugar
  • 1 tsp vanilla extract
  • 2 cups flour
  • 2 Tbsp cornstarch
  • 1 tsp kosher salt

Instructions

    1. Preheat the oven to 350 degrees and grease a 9x9" baking dish.

    2. Crush the blueberries and then pour them into a medium bowl.

    3. In a small bowl, mix together the sugars, cornstarch, and ginger. Stir the sugar mixture and lemon juice into the blueberries.

    4. In a medium bowl, cream together the butter, brown sugar, and vanilla.

    5. In another medium bowl, whisk together the flour, cornstarch, and salt.

    6. Add the dry ingredients into the wet ingredients half at a time until crumbly.

    7. Press 2/3 of the dough into the pan, reserving the remaining third. Bake the crust about 10 minutes or until very lightly browned.

    8. Pour the blueberry filling on to the hot crust, and then sprinkle the remaining dough over the top.

    9. Bake 20-25 minutes or until the crumb topping turns golden brown.

    10. Cool thoroughly. Cut into 9 bars. The yield will depend on how big or small you want your bars to be.

Notes

Recipe credit: Sugarcrafter. Sugarcrafter's blog is no longer operational and I am unable to link, but I wanted to give credit nonetheless.

4th of July Flag Cake

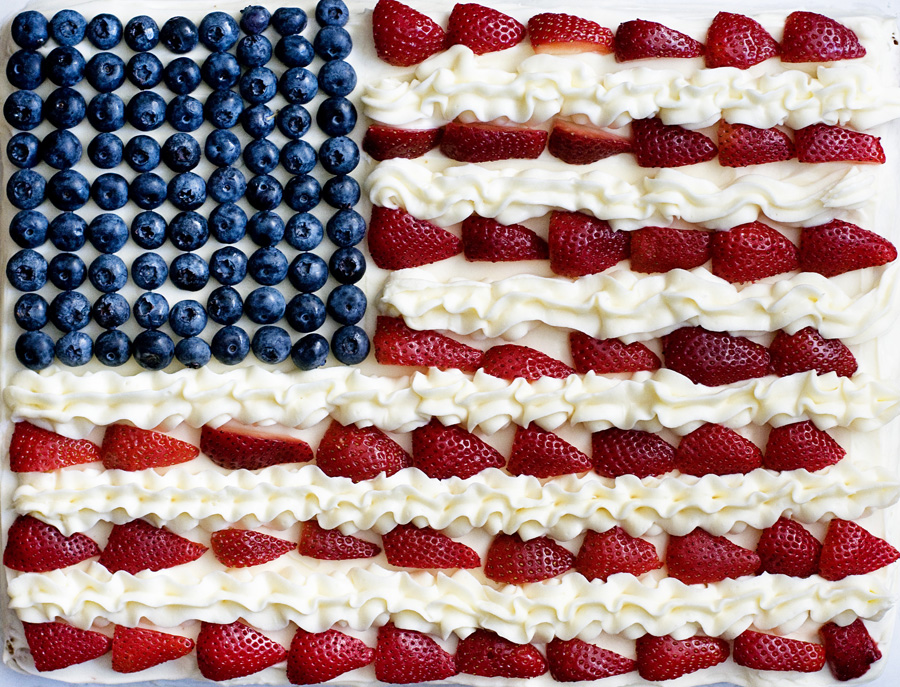
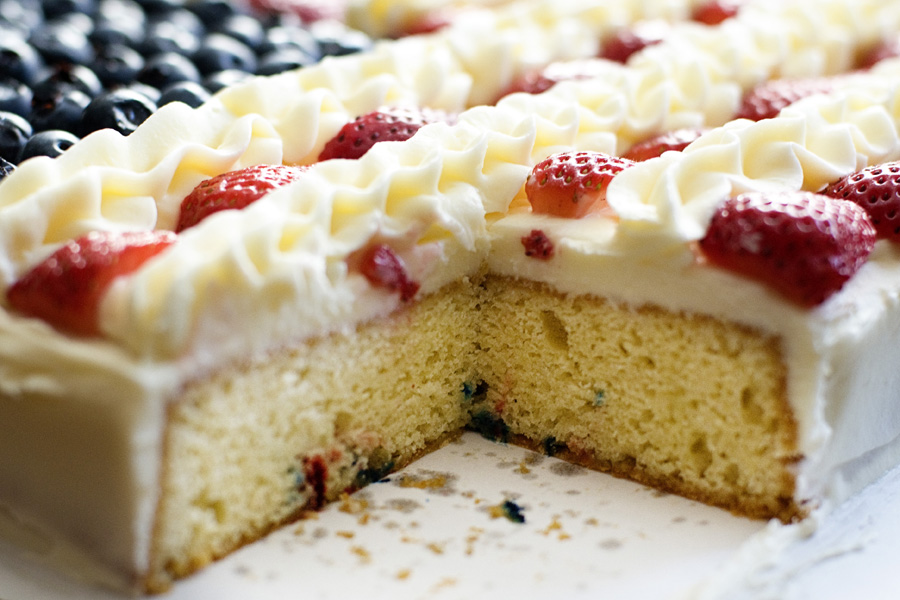
It wouldn’t be summer without a 4th of July flag cake! There are countless variations of this cake – some made with strawberries, some with raspberries. Some with vanilla frosting, some with cream cheese. Any way you choose, it’s bound to be delicious. I mean, seriously, frosting plus cake plus fruit? Mmmmm. The recipe that I used made enough cake to feed a small army (or in my case, my frosting-loving girlfriends). I hope all of my readers have a fun and safe holiday weekend!

4th of July Flag Cake
Recipe Source: The Pioneer Woman
Print Recipe

FOR THE CAKE:
2-¼ sticks unsalted butter
3 cups sugar
6 whole eggs
1 cup sour cream (not low fat!)
1-½ teaspoon vanilla
3 cups flour, sifted
â…“ cups cornstarch
1 teaspoon Kosher salt (use 3/4 teaspoon regular salt if kosher salt is not available)
1 teaspoon baking soda

FOR THE FROSTING:
1-½ pound cream cheese (3 – 8oz. Packages, not low fat)
1 pound unsalted Butter (4 sticks)
1 pound powdered sugar
1-½ teaspoon vanilla
½ pints blueberries
2 pints raspberries (wash and pat dry — I used strawberries instead!)

1. Preheat oven to 350F.
2. In a mixing bowl, mix unsalted butter and sugar together on high until light and fluffy, about a minute or so. Add eggs, two at a time. Mix after each addition. Add sour cream and vanilla.
3. In a separate bowl, mix together flour, cornstarch, kosher salt and baking soda. Turn mixer to low and gradually add flour mixture to butter/sugar mixture, one scoop at a time. Mix after every addition. Keep adding the flour mixture, mix until just combined. Do not overmix!
4. Grease and flour a 17 x 12 1/2-inch sheet cake pan. (Note: this recipe may be halved for a smaller pan, as this recipe feeds an army.)
5. Pour the thick cake batter into the pan. With a knife or offset spatula, spread the cake batter evenly over the pan.
6. Bake for 20 to 30 minutes, until a toothpick comes out clean. Do not over-bake!

To make the cream cheese frosting…
1. In a mixing bowl, add cream cheese and butter. Whip to combine. Add powdered sugar and vanilla. Mix until thoroughly combined, scraping the sides once during mixing.
*I used about 1.5 lbs of powdered sugar – because I wanted a slightly thicker frosting.
2. Frost the entire cake with the frosting.
3. Mark off an area for the stars with a toothpick. Fill with blueberries.
4. Prepare a pastry bag with a large star tip and fill with frosting. Alternate making rows of strawberries and rows of piped frosting for the stripes.

TV Dinner Cupcakes

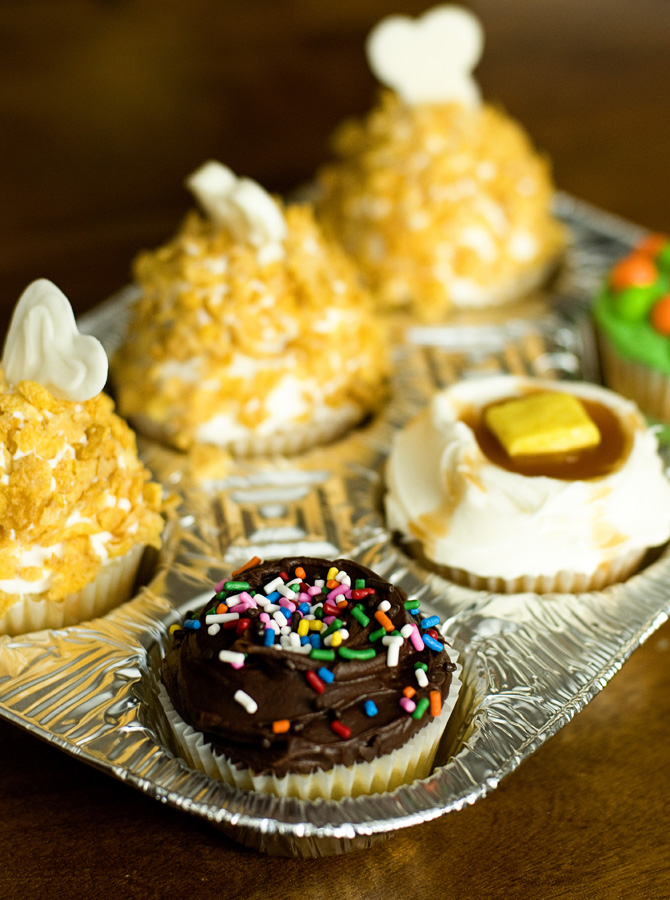
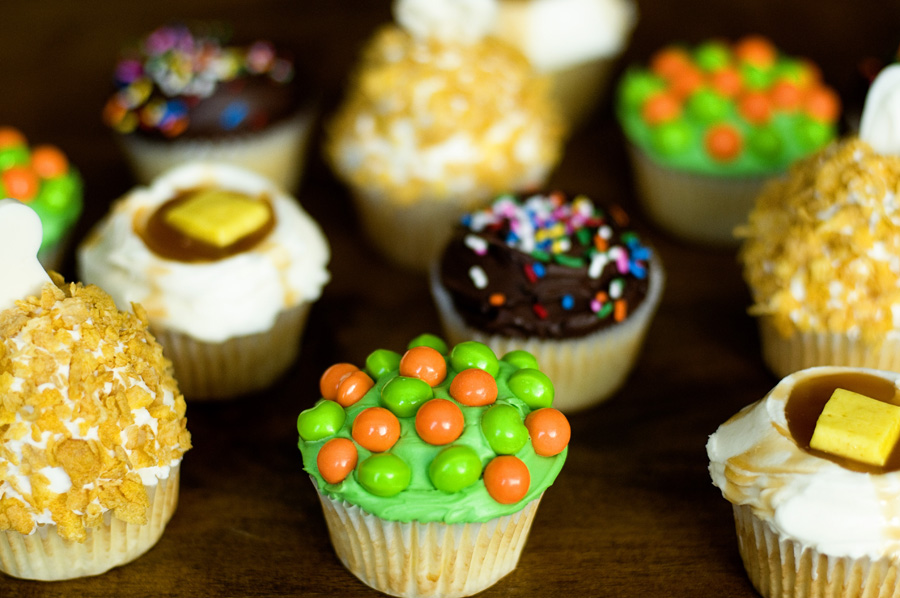
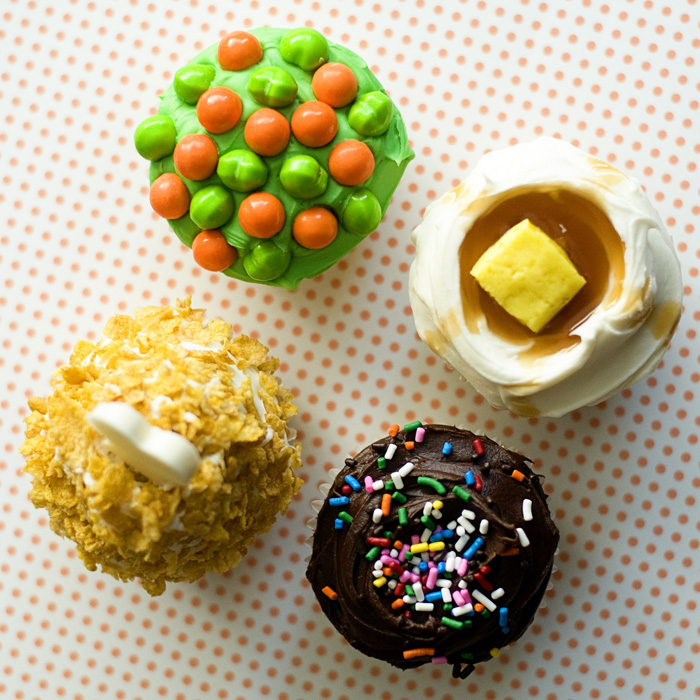
I shamelessly copied these cupcakes from Karen Tack & Alan Richardson’s “Hello, Cupcake!” book. Just look at how cuuuuuute they are! You can get REALLY detailed instructions on how to make these if you purchase Hello, Cupcake – but I’ll do my best to tell you how I made them.

TV Dinner Cupcakes
Recipe Source: Hello, Cupcake!
Print Recipe

1 box vanilla cake mix
1/4 cup white chocolate melting wafers
1 or 2 tubs of vanilla frosting
1 cup chocolate frosting
Donut holes (amount will depend on how many “drumsticks” you want to make)
1 cup cornflake crumbs
Yellow Starbursts (amount will depend on how many “mashed potatoes” you want to make)
Caramel sauce (again, amount depends)
Assorted orange and green Runts (or other orange and green candies)
Green food coloring
Colored sprinkles

“Drumsticks”
1. Draw a bone on a piece of wax paper. Place the white chocolate wafers in a plastic bag or piping bag – do not seal. Microwave for about 10-15 seconds to soften – repeating if needed until chocolate is completely melted. Snip a small corner from the bag and following the bone template that you drew, pipe an outline onto the wax paper. Fill in the bone with more white chocolate. Repeat to make as many bones as you need. Refrigerate until firm (about 5 minutes) — or you can leave them out on your counter top and they will solidify.
2. Frost each cupcake with vanilla frosting – forming a small mound. Place one donut hole on top of each cupcake. Spread frosting over the donut hole until it is covered.
3. Crush the cornflakes until they form crumbs (you could use a food processor for this). Coat the cupcake in the cornflake crumbs.
4. Using a knife, cut a slit in the top of each crumb-covered donut hole. Carefully place one of the white chocolate bones into the slit.

“Mashed Potatoes”
1. Frost cupcakes with vanilla frosting – mounding it slightly. Use a spoon to form a small well in the center of each cupcake.
2. Drip the caramel sauce over the cupcake to look like gravy. You may have to microwave the sauce for a few seconds if it’s not runny enough.
3. Microwave the yellow Starbursts until they soften slightly – I did this so I could soften the edges and make it look more like a pad of butter and less like a lemon Starburst. Place the softened Starburst on top of the “gravy”.

“Peas and Carrots”
1. Dye some of your vanilla frosting green. Frost the cupcakes with the green frosting.
2. Arrange the orange and green Runts on top of each cupcake to look like little peas and carrots.

“Chocolate Pudding”
1. Frost cupcakes with chocolate frosting and decorate with rainbow sprinkles.