Recent Posts

LOVE Cupcakes

DSC_3985x900
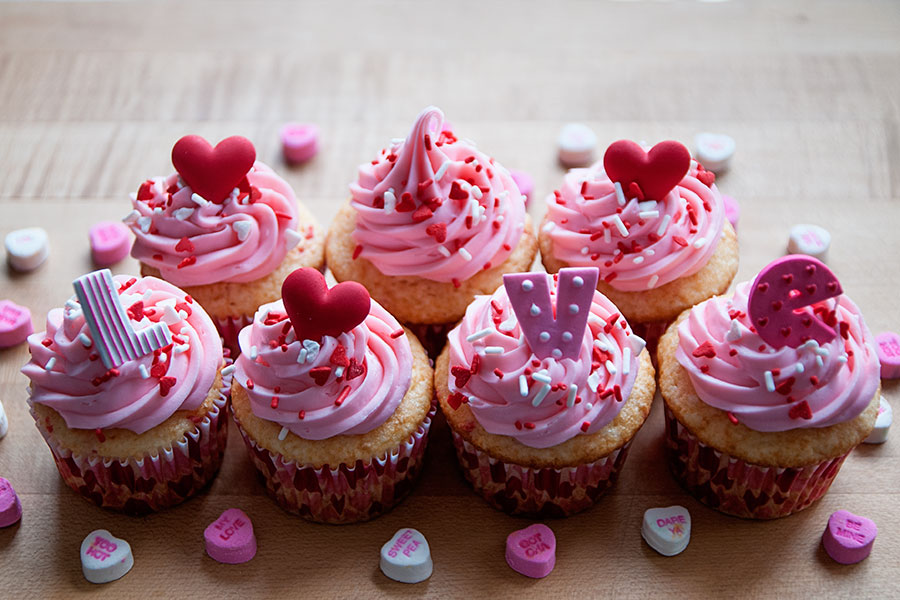
If you need something EASY to make for work or for your kid’s class, this post is for you! Side note: are kids allowed to celebrate Valentine’s Day at school? Or is this another fun, innocent event that has been eliminated for the sake of not wanting to offend anyone? Ahem. Anyway. Everything used to make these cupcakes was purchased at Target (I’m not being paid by Target to essentially promote their store – but goddamn I love Target, so I frequently mention it on my blog).

LOVE Cupcakes
Print Recipe

1 box Pillsbury Valentine’s cupcake mix (it has red sprinkles in the mix), plus required oil + eggs
2 tubs of Pillsbury pink Valentine’s frosting (they come with sprinkles on top of the lid)
Disposable pastry bag + pastry tip (optional, as you could just frost them with a knife)
2 packages of the LOVE candies, made by Wilton (you’ll find these in the seasonal aisle at Target)

1. Make cupcakes according to box directions and allow them to cool completely. You’ll have about 20-24 cupcakes to work with.
2. Frost the cupcakes with the pink frosting. I used a large star tip.
3. Decorate with the sprinkles + LOVE embellishments.

Easy, right?

Pink + Purple Hearts

DSC_4019x900
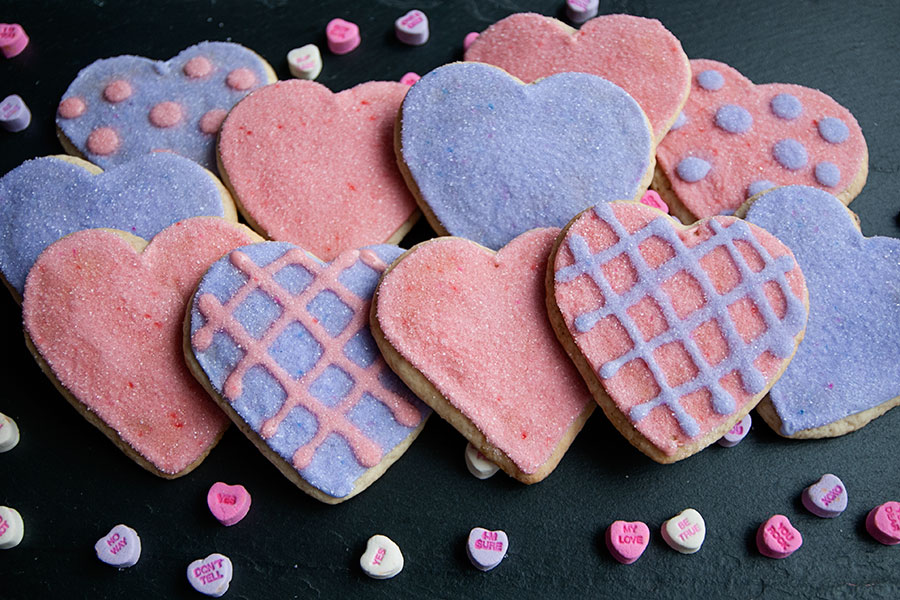
‘Tis the season for hearts and love! These cookies didn’t turn out quite like I had envisioned, but I’m posting them anyway. And a weird thing happened — some of the sprinkles turned red or blue overnight. See the little spots in the cookies that are red or blue? Weird, right? I’m not sure why this happened, but oh well!

If you are a new to decorating with royal icing, here are some helpful tips and links:

  • I used my grandma’s sugar cookie recipe, which is listed below.  Another good cut-out cookie recipe can be found at Bridget’s wonderful Bake at 350.
  • I used a royal icing recipe from Annie’s Eats, which is listed below.
  • If you are new to decorating with royal icing, please visit this post by Annie’s Eats, which will teach you about outlining and flooding.  Bake at 350 is also a great resource for cookie decorating and ideas (I love Bridget’s book, too!).

Here are the specifics on how I made these cookies:

  • I used a heart-shaped cookie cutter that I bought years ago at Crate & Barrel.
  • I divided my batch of royal icing in half — dyeing one half pale purple and the other half pale pink. I used Wilton gel colorings to do this. Just use a tiny bit of food coloring because a little goes a long way — especially if you are trying to make a pastel.
  • I outlined and flooded the hearts – once the flooding was complete, I dipped the heart into pink or purple sprinkles. The pale purple and pale pink sprinkles are a Wilton product, which I’m sure you could find at your local craft store.
  • On some of the cookies, I made designs like polka dots and criss-crosses. Make a pink or purple heart as usual, dip the heart into either color sugar… then pipe your design on top of the sugar — then dip into the sugar again.

Omi’s Sugar Cookies
Print Recipe
1 cup butter
1 cup sugar
1 large egg
1/2 teaspoon salt
3 cups flour
1 teaspoon baking soda
1/2 cup sour cream
1 teaspoon nutmeg

Beat butter and sugar. Add egg, sour cream, and nutmeg. Add dry ingredients gradually. Chill the batter overnight or for at least 4 hours. Roll out dough and cut with cookie cutters. Bake at 350F until golden (in true fashion, my grandma didn’t give a specific baking time. I baked the cookies for about 8 minutes). The yield will depend on how large your heart-shaped cookie cutter is — I got about 20 hearts.


White Royal Icing
4 cups powdered sugar, sifted
2 Tablespoons meringue powder
5 Tablespoons water

Directions:
Combine all ingredients in the bowl of a stand mixer fitted with the paddle attachment. Mix on low speed until the sheen has disappeared and the icing has a matte appearance (about 7-10 minutes).  Transfer the contents of the mixing bowl to an air-tight container. This will be the stiffest consistency of the icing, and at this point it is still too stiff to use for decorating. Add water a very small amount at a time and stir by hand until fully incorporated. Continue until the icing has reached a consistency appropriate for piping.

Note: you may or may not need to make two batches of this, depending on how many cookies you are making!

Sprinkles 101

The title of my blog includes the word “sprinkles”, so it should be no surprise that I am obsessed with them. What I have learned in my years of baking is that there are about 3,297 different types of sprinkles. Jimmies. Sanding sugar. Quins. Crystal sugar. Nonpareils. The list goes on and on.

I have no recipe to present to you today, but I thought I’d give you a lesson — Sprinkles 101, if you will. And this gave me a chance to take pictures of pretty, colorful things. :)

DSC_2551x900
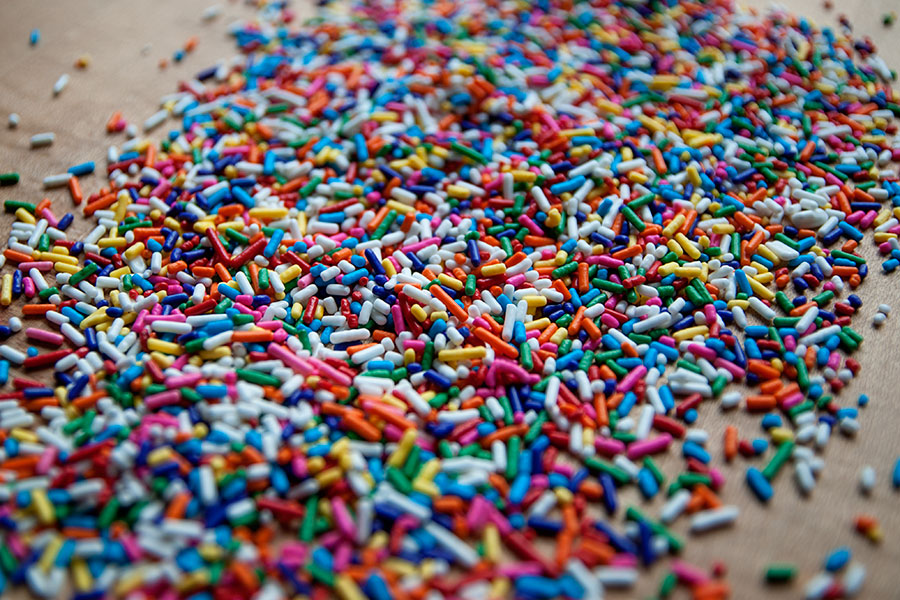
These are rainbow jimmies, my favorite of all the sprinkles. They come in all sorts of colors. Jimmies are great for funfetti cakes/cupcakes — because their color will not bleed out when added to batter.
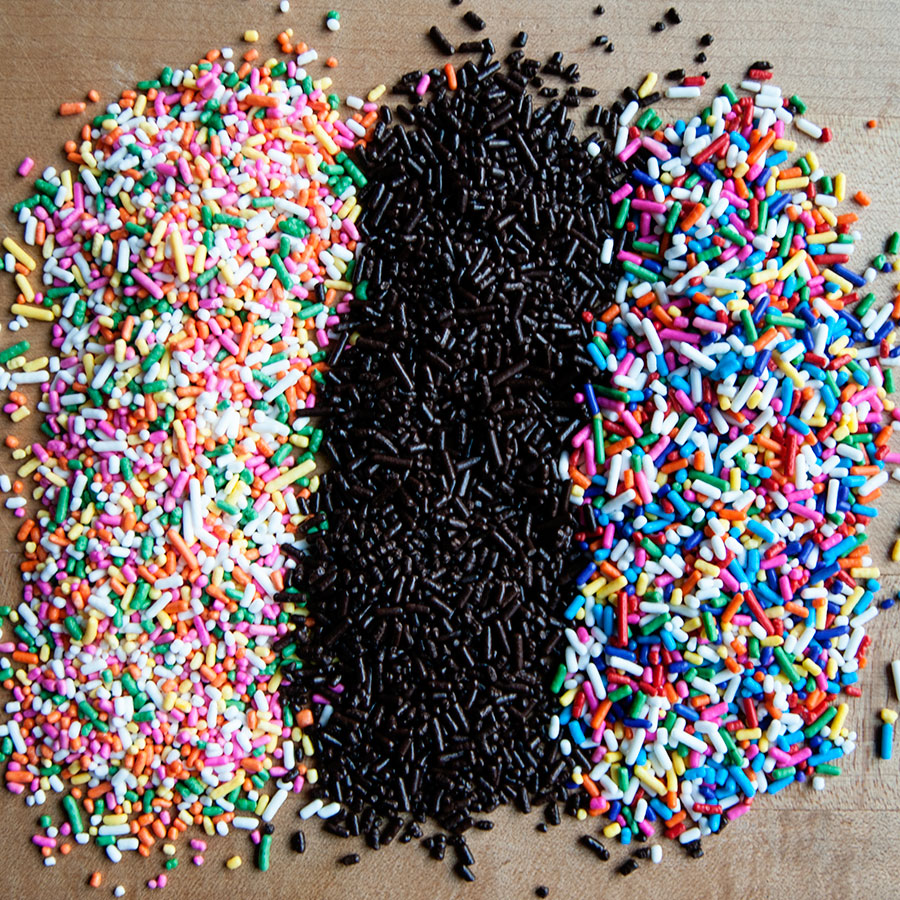
DSC_2464x900More jimmies!
DSC_2494x900
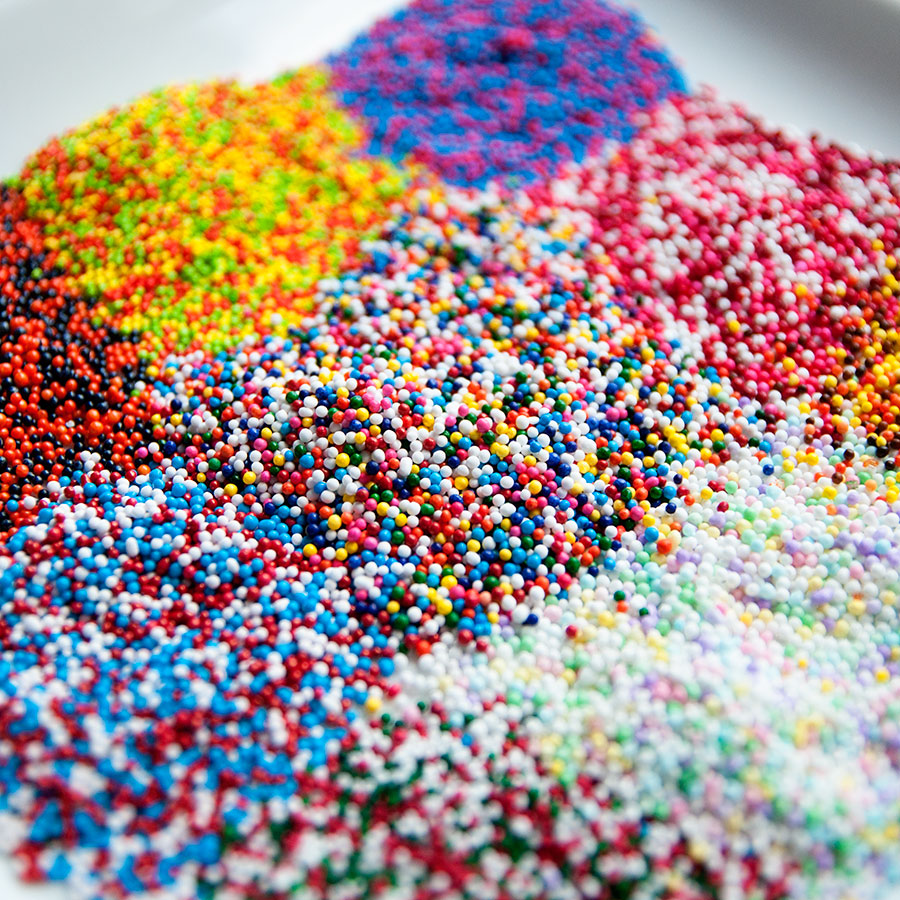
These are nonpareils. These are beautiful but perfectly round and will bounce and spill everywhere if you aren’t careful! Their color frequently bleeds when added to cake or cupcake batter, so avoid if you are making funfetti.
DSC_2471x900
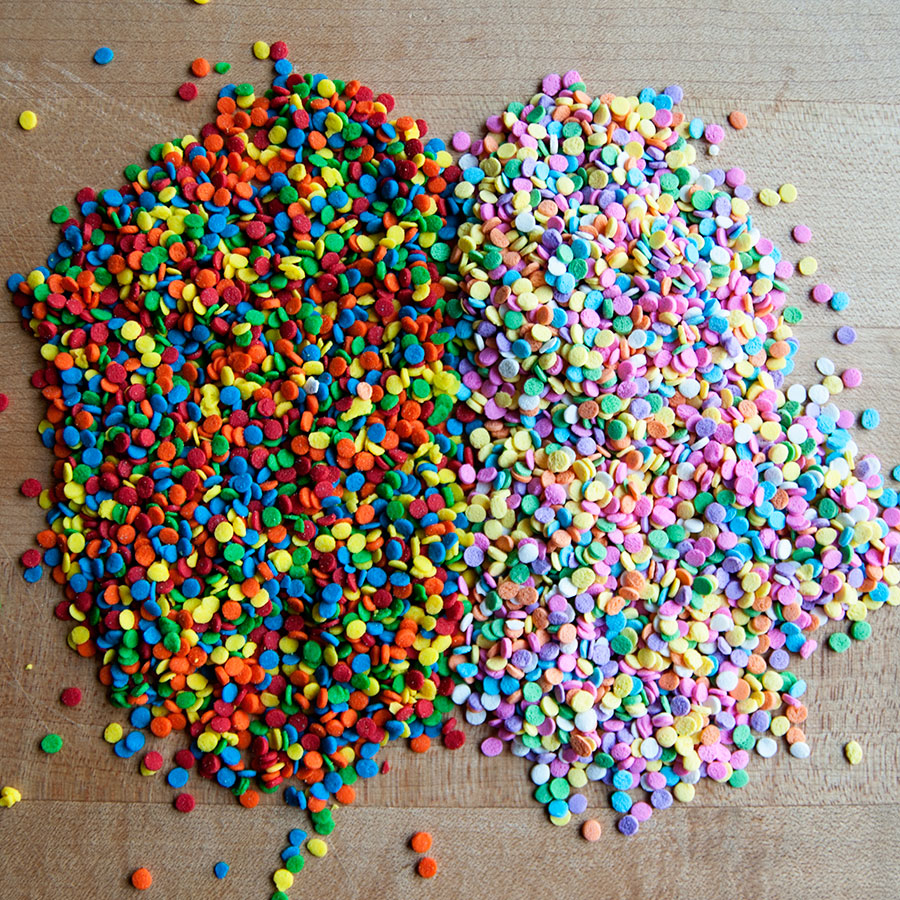
These are quins, my second favorite sprinkle variety. They can be cut into all sorts of shapes.
DSC_2477x900
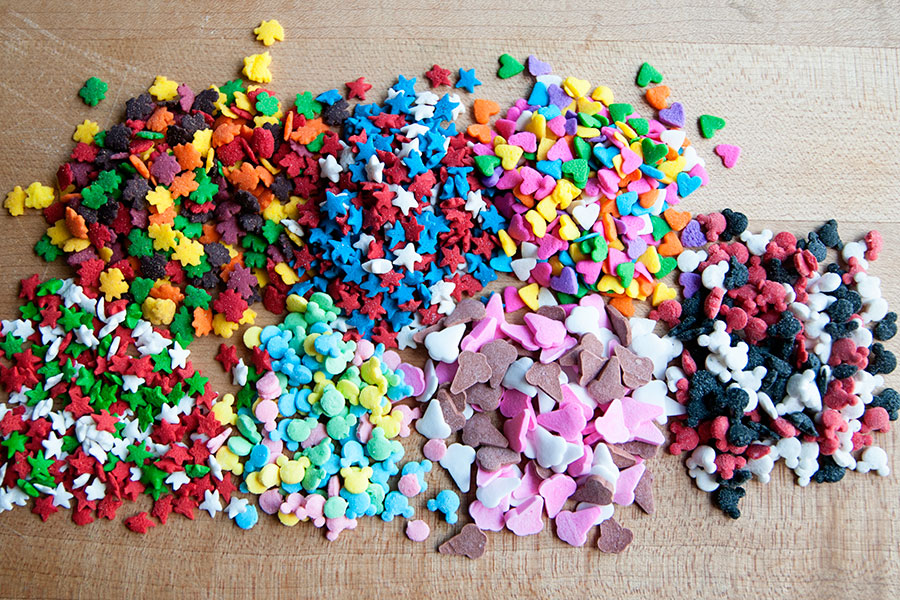
Leaf quins! Star quins! Heart quins! Mickey Mouse quins! Ice cream cone quins! Aren’t they cute?
DSC_2505x900
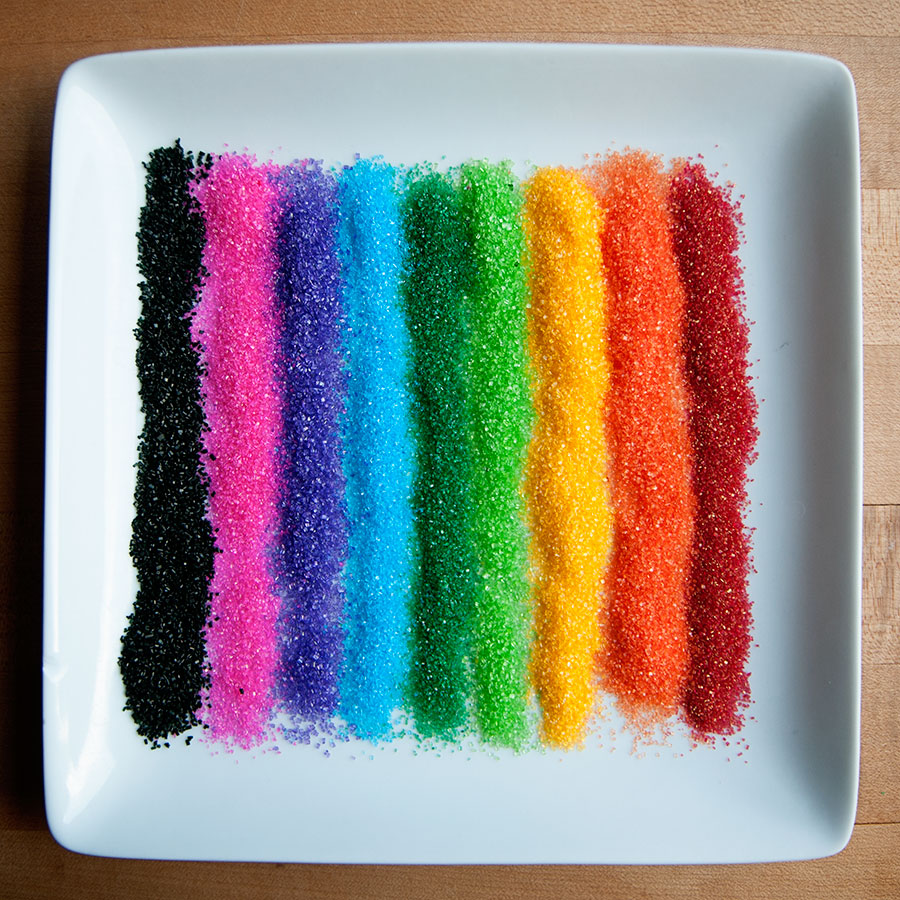
This is sanding sugar, which is basically plain ol’ granulated sugar that has been dyed.
DSC_2548x900
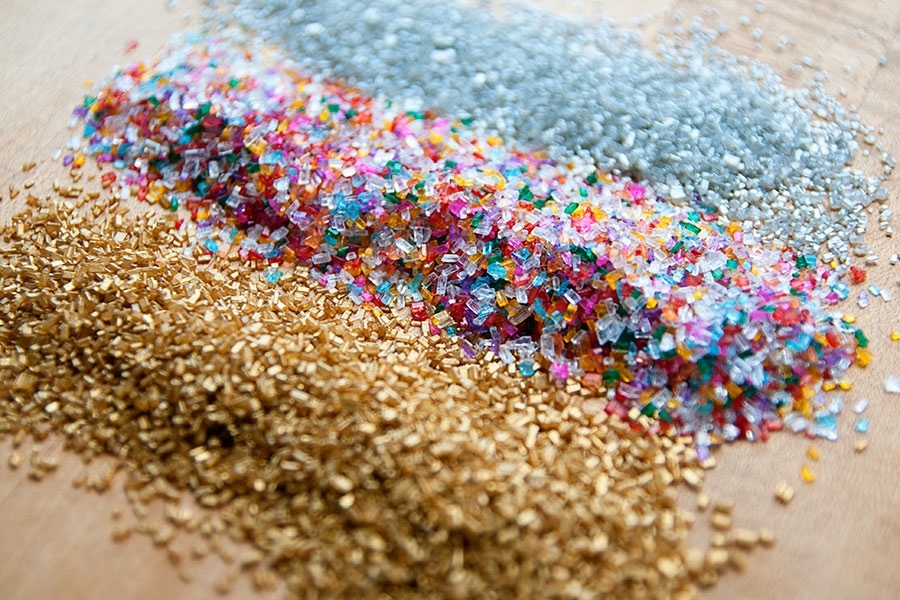
This is crystal sugar, which is much bigger/coarser than sanding sugar. I love rainbow crystal sugar because it reminds me of gemstones.

These are the types of sprinkles I use most often. There are others — like dragees (have you ever seen those shiny little silver balls that are edible — and will crack a tooth? Those are dragees), edible glitter, luster dust, etc. I’ve only used luster dust once and thought the experience was a giant pain in the a**, but that’s just me.

What are your favorite kinds of sprinkles? C’mon, I can’t be the only sprinkle nerd out there :)

Buckeye Brownies

DSC_3885x900
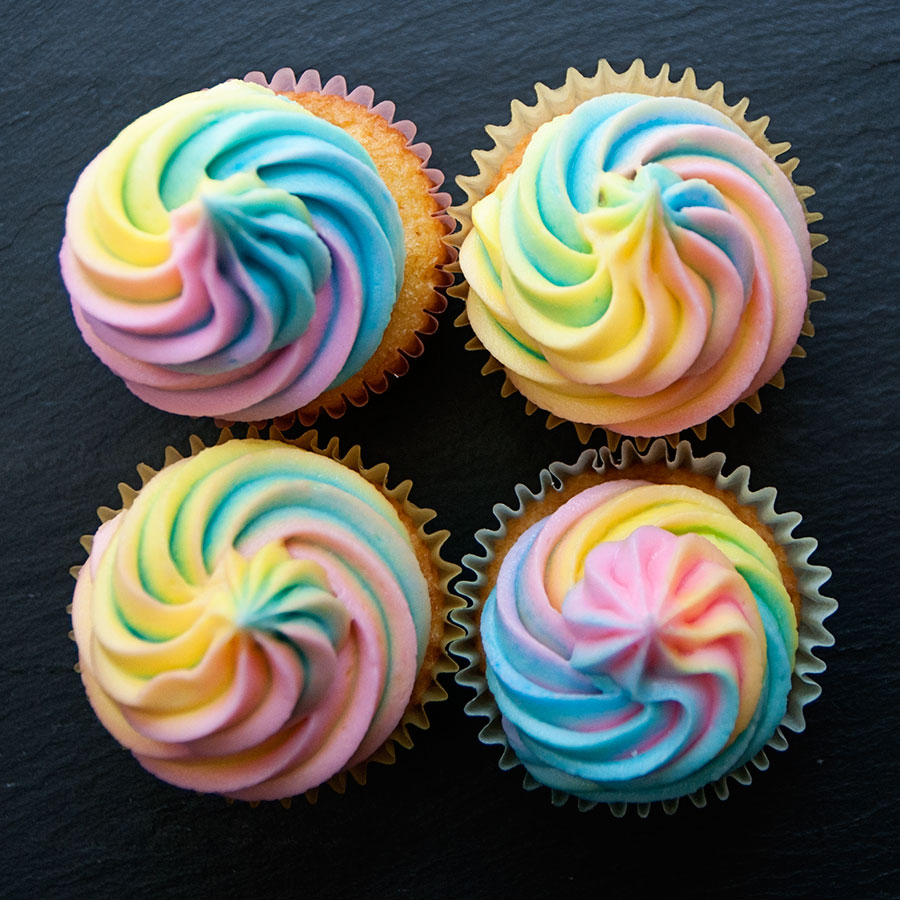
One of the universe’s greatest flavor combinations is chocolate + peanut butter. If you are not a fan, GTFO of my life. That is how strongly I feel about chocolate + peanut butter.

So naturally, I’m a big fan of buckeyes (which I featured on my blog a few years ago).

I spotted this recipe for buckeye brownies and tried them over my winter break — when I would be near my mom, who is the ultimate brownie fan and taste-tester. We all enjoyed them!

A word to the wise though — these brownies are RICH, so cut them up into small squares.

Yield: About 24 brownies

Buckeye Brownies

Buckeye Brownies

A new spin on a classic Buckeye!

Prep Time 30 minutes
Cook Time 35 minutes
Total Time 1 hour 5 minutes

Ingredients

For the brownies:

  • 1/3 cup Dutch-processed cocoa
  • 1-1/2 teaspoons instant espresso (optional; I left this out because I didn’t have it)
  • 1/2 cup plus 2 Tablespoons boiling water
  • 2 ounces unsweetened chocolate, finely chopped
  • 4 Tablespoons (2 oz.) unsalted butter, melted
  • 1/2 cup plus 2 Tablespoons vegetable oil
  • 2 eggs
  • 2 egg yolks
  • 2 teaspoons vanilla extract
  • 2-1/2 cups granulated sugar
  • 1-3/4 cups all-purpose flour
  • 3/4 teaspoon salt

For the peanut butter filling:

  • 3/4 cup creamy peanut butter
  • 1/2 cup unsalted butter
  • Pinch of salt
  • 2-1/4 cups powdered sugar
  • 2 Tablespoons whole milk
  • 1 teaspoon vanilla extract

For the chocolate-peanut butter glaze:

  • 1-1/2 cups milk chocolate chips
  • 1/3 cup creamy peanut butter

Instructions

    Make the brownies:

    1. Adjust oven rack to lowest position and heat oven to 350F. Line a 9×13-inch baking pan with foil, leaving about a one-inch overhang on all sides. Spray with nonstick cooking spray.

    2. Whisk cocoa, espresso powder, and boiling water together in large bowl until smooth. Add unsweetened chocolate and whisk until chocolate is melted. Whisk in melted butter and oil. (Mixture may look curdled, don’t worry)

    3. Add eggs, yolks, and vanilla and continue to whisk until smooth and homogeneous. Whisk in sugar until fully incorporated. Add flour and salt and mix with rubber spatula until combined.

    4. Scrape batter into prepared pan and bake until toothpick comes out clean, 30 to 35 minutes. Transfer pan to wire rack and cool 1-1/2 hours.

    Make the peanut butter filling:

    1. Beat together the peanut butter, butter and salt on medium speed until smooth and creamy, about 2 minutes. Reduce the speed to low and alternate adding the powdered sugar and the milk, mixing to combine after each addition.

    2. Add the vanilla extract, beat to combine, then increase the speed to medium-high and beat until completely smooth and creamy. If it seems a little bit too dry to spread, add another splash or two of milk to get it the right consistency.

    3. Using an offset spatula, spread the peanut butter mixture in an even layer over the top of the brownies.

    Make the chocolate-peanut butter glaze:

    1. Melt together the chocolate chips and peanut butter in the microwave on 50% power, stirring every 30 seconds, until completely smooth and melted.

    2. Pour the mixture over the peanut butter layer and spread into an even layer with a spatula. Refrigerate for at least 30 minutes, or until set.

    3. Using foil overhang, carefully lift brownies from pan. Cut into squares and serve. Brownies can be stored in an airtight container at room temperature for up to 5 days.

Notes

Recipe credit: Brown Eyed Baker

How-To: Swirled Frosting

Have you ever wondered how to make swirled frosting? You know, when the frosting on top of a cupcake is two or more colors swirled together — like chocolate and vanilla. Side note: we all know that swirled soft-serve is the bessssst; and all of us who are Orange is the New Black fans just thought of “chocolate and vanilla swirl, swi-irrrrl!”

Anyway. The swirled look is so pretty but sometimes the instructions on how to do it are… confusing. So I’m providing you with pictures! The general process is as follows:
1. Make two (or more) different kinds/colors of icing. Buttercream works well.
2. Fit a disposable pastry bag with a large tip (round, star, etc.).
3. Fill half the bag with one kind of icing, and half the bag with the other. See the photos below. If you are using three different colors, fill a third of the bag with each kind. I would say that four colors would be as far as you could take this — and still have the swirling turn out OK.
4. Pipe the icing onto your cupcakes as you normally would. The colors will swirl together!

DSC_2761x900
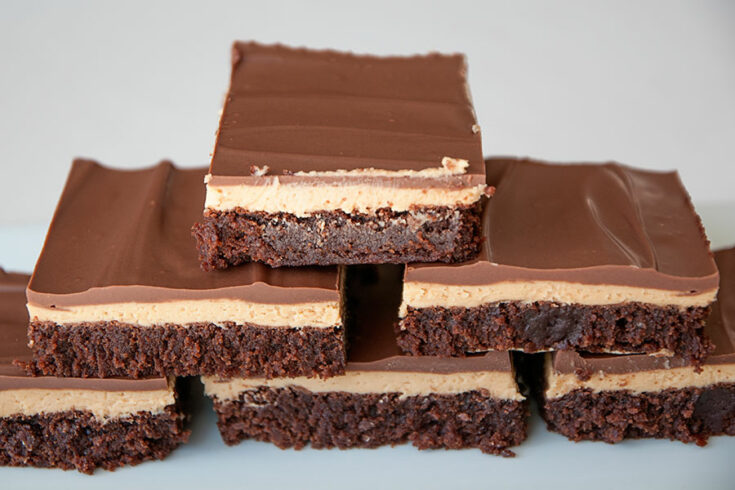
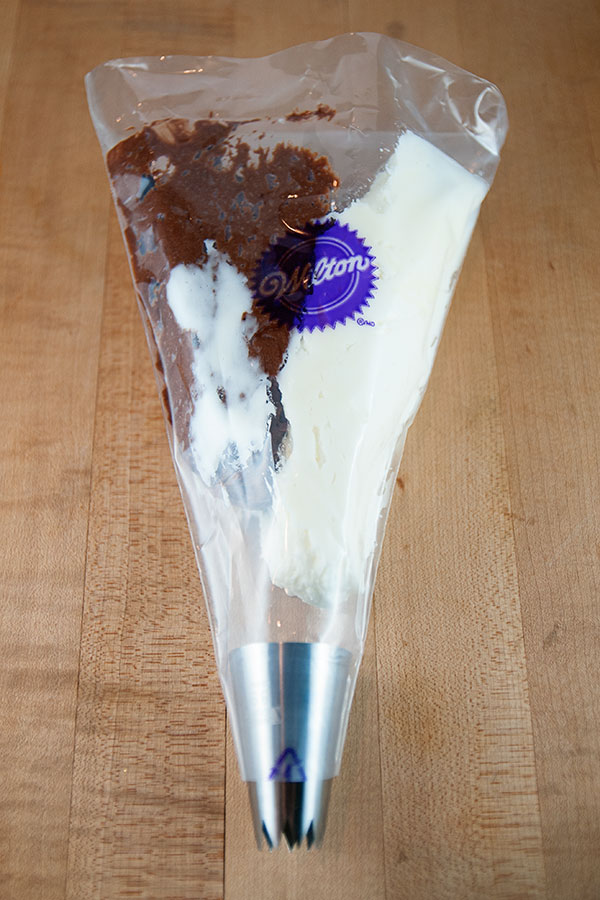
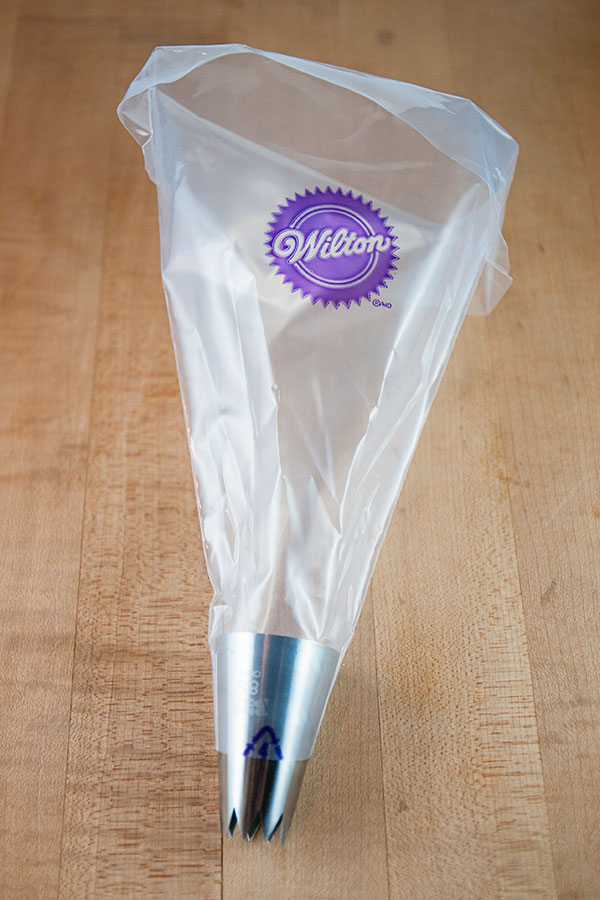
An empty pastry bag fitted with a large star tip.

DSC_2765x900

As you can see, the vanilla icing is on one half, the chocolate on the other. Just spoon it in there — don’t worry about it being perfect! The icing will swirl together beautifully. Something to note though: the colors won’t swirl together immediately. You will probably end up with one or two cupcakes that are mostly white icing (or chocolate) until the swirling starts to happen. That’s it! Easy, huh? Here are some examples of what I’ve made using this technique.

DSC_2773x900DSC_0940x900

I used three colors for these: pink, yellow, and blue. It looks like orange and green are also used, but it’s just an illusion.