Recent Posts

Lollipop Cupcakes

DSC_2420x900
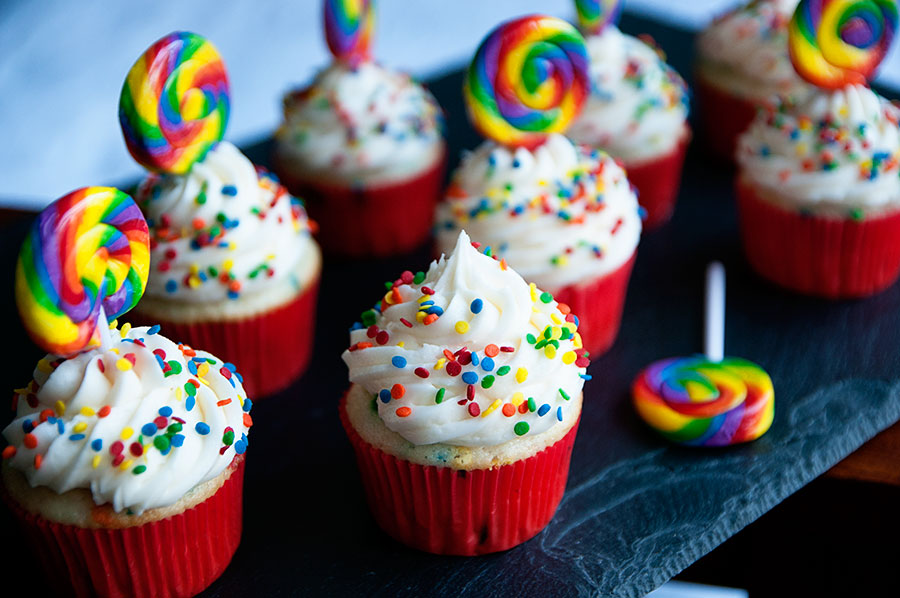
This is kind of a weird post because there’s no real or interesting recipe to present. It’s just a decorating idea. I found these rainbow lollipops waaaaaay in the back of my cupboard. I don’t even remember buying them (a true sign that I have too many baking goodies, right?). But HELLO, they are rainbow so I love them and wanted to use them for something.

These cupcakes would work for a birthday party — or just for fun! As is often the case, I was short on time and went the semi-homemade route, using a box cake mix but homemade buttercream. Enjoy!

Lollipop Cupcakes
Print Recipe

1 box white or yellow cake mix, plus required oil + eggs
1 batch of buttercream icing (I like the White Buttercream recipe found here)
A disposable pastry bag + a large star pastry tip
Rainbow sprinkles, rainbow lollipops for decoration

1. Make the cupcakes according to box directions and allow them to cool completely.
2. Make the buttercream icing and pipe onto each cupcake. I used a large star pastry tip on my cupcakes, but other tips will work!
3. Decorate with sprinkles + lollipops.

See what a silly post this is? There’s nothing to say! But I hope the decorating gave you some ideas :)

Ron Swanson Cupcakes

DSC_2450x900
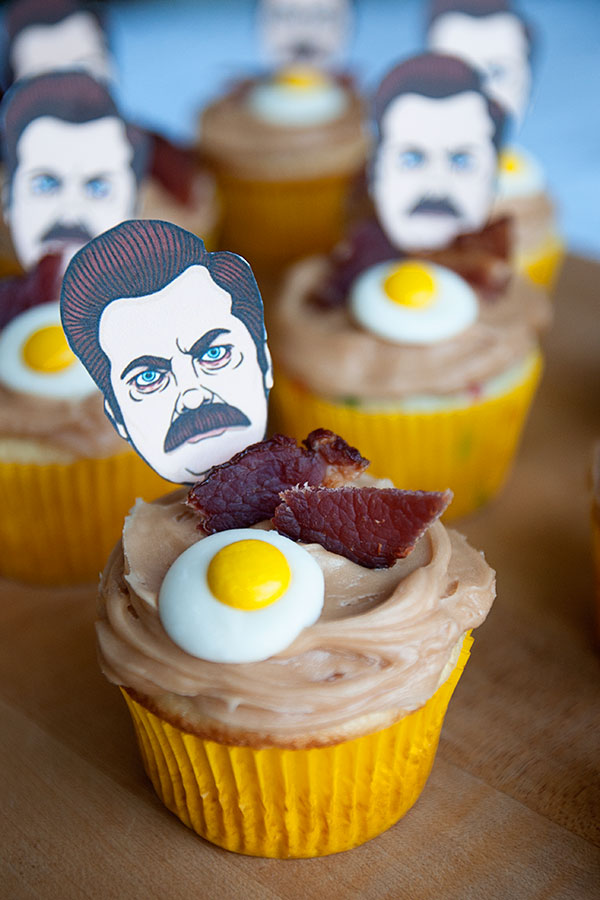
I am *so* sad that Parks and Rec has begun its LAST season. It’s one of my favorite TV shows. I love every single character (which is rare to experience with a TV show, amiright?!), but I really love Ron Swanson. My ideal man would be a combination of Ron and Ben. Like, 75% Ron, 25% Ben. I can dream, right?
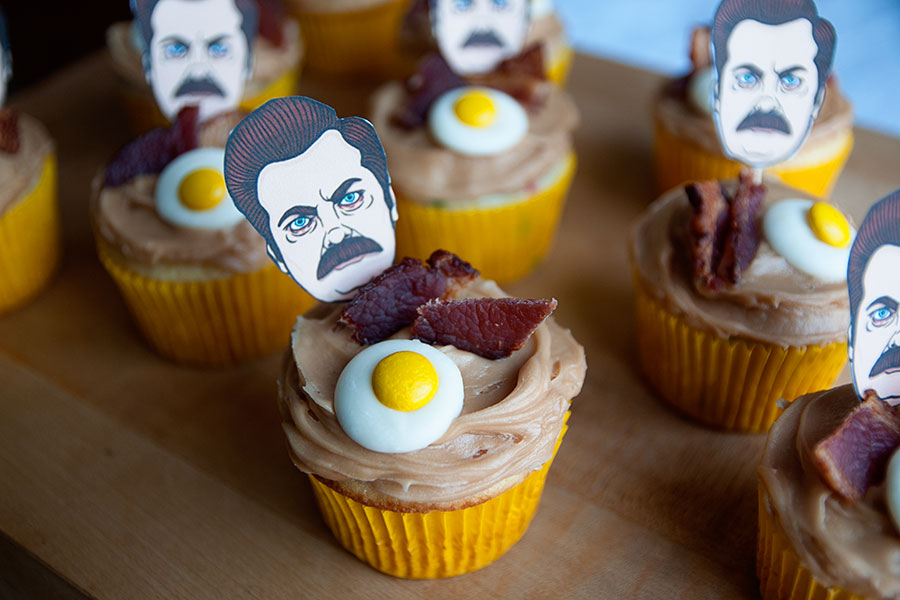
ANYWAY. I decided to make cupcakes, involving bacon, “eggs”, and maple flavoring, in Ron’s honor. Here’s to Pawnee, Leslie’s optimism, Andy’s goofiness, April’s sarcasm, Ben’s nerdiness, Tom’s ridiculousness, Jerry’s awkwardness, Donna’s sass, and Ron’s total badassery.

Ron Swanson Cupcakes
Recipe adapted from: Tattooed Martha
Print Recipe

For the cupcakes:
1 box yellow cake mix, plus required oil + eggs

For the frosting:
1 tub of maple flavored frosting (I found mine at Target)

For the decorations:
6 strips of thick-cut bacon
White candy melts (you’ll find these at your local craft store)
Yellow M&Ms
Cartoon Ron Swansons on a toothpick (see instructions below)

1. Make the cupcakes according to the box directions. Once they are completely cooled, frost with the maple icing.
2. Cook the bacon! Preheat your oven to 325F and line a baking sheet with foil. Arrange the bacon on the baking sheet and sprinkle with about a Tablespoon of brown sugar (if you don’t have brown sugar on hand, don’t worry, it’s not necessary). Bake for 15 minutes, remove from oven and flip the bacon, bake another 15 minutes. Allow the bacon to cool completely, then cut the bacon into small pieces to place on top of the cupcakes.
3. Make the “eggs”! Leave the oven heated to 325F from the bacon step. Line a baking sheet with a piece of parchment paper and place a couple dozen white candy melts onto the parchment paper. Place the baking sheet in the oven for a few minutes — you just want the candy melts to soften enough so you can press a yellow M&M into them. Watch them! Mine took just a couple minutes, but your oven may differ. The candy melts will develop a shiny appearance when they start to melt — that’s when you want to remove them from the oven. Once they’re out of the oven, press a yellow M&M into each candy melt. Allow them to cool completely.
4. Make the Ron Swansons! The cartoon can be found here. Resize the image to 182 x 238 pixels. Print 12 or 24 of these (depending on how many cupcakes you are making) on white cardstock. Cut them out and tape each one onto a toothpick.
5. Assemble the cupcakes! Place a few bacon pieces and an “egg” onto each cupcake. Finish each cupcake off with a Ron Swanson cartoon.

Enjoy!

DSC_2453x900

Bakery Review: The Crispery

DSC_3505x900Today I’m reviewing The Crispery! I had been hearing good things about the Crispery for months. I sent a gift box of these treats to a friend of mine when she had surgery — and she loved them. So I decided to send myself a gift box this time around!

  • THEY WERE SO GOOD. For real. Super, super marshmallow-y and rich.
  • I tried six different kinds: Caramel & Cream, Cocoa Concoction, Cookies & Cream, Fruity Ringlets, Mini Marshmallow, and a seasonal Hanukkah crispycake. My favorites were the Caramel & Cream and the Cocoa Concoction.
  • They will arrive at your doorstep in a box with blue tissue paper – and each crispycake will be individually wrapped. The presentation impressed me.
  • I ordered mine in the winter, but would be wary of doing so in the summertime. Would they melt? Would they become extra gooey? Who knows.
  • They sell gift boxes! A great idea that makes birthday or holiday shopping easy.
  • My one and only criticism (and it’s a tiny criticism) is that the crispycakes are SO BIG. Definitely something you can share — or pick at over the course of a few days :)

Note: I’m not being paid to promote this business. I just like to try new treats!

DSC_3449x900DSC_3463x900DSC_3455x900DSC_3469x900DSC_3442x900

Snowflake Cookies

DSC_3765x900

Hi, everyone! I’m back from my blogging hiatus, back in school, and ready to bake my way through another semester. I made these cookies on Christmas Eve – we were without snow here in Wisconsin (weird, right?), so I made snowflakes in cookie form!

If you are a new to decorating with royal icing, here are some helpful tips and links:

  • I used my grandma’s sugar cookie recipe, which is listed below.  Another good cut-out cookie recipe can be found at Bridget’s wonderful Bake at 350.
  • I used a royal icing recipe from Annie’s Eats, which is listed below.
  • If you are new to decorating with royal icing, please visit this post by Annie’s Eats, which will teach you about outlining and flooding.  Bake at 350 is also a great resource for cookie decorating and ideas (I love Bridget’s book, too!).

Here are the specifics on how I made these cookies:

  • I used a Wilton Comfort Grip snowflake cookie cutter. I purchased mine at a baking shop here in Milwaukee, but I know that craft stores like Hobby Lobby and JoAnn’s carry the Comfort Grip cutters.
  • I made three different shades of blue using Wilton gel colors in Royal Blue and Sky Blue.
  • Outline and flood each cookie with white royal icing first, wait for the icing to dry, then pipe the blue detailing on each snowflake.

Omi’s Sugar Cookies
Print Recipe
1 cup butter
1 cup sugar
1 large egg
1/2 teaspoon salt
3 cups flour
1 teaspoon baking soda
1/2 cup sour cream
1 teaspoon nutmeg

Beat butter and sugar. Add egg, sour cream, and nutmeg. Add dry ingredients gradually. Chill the batter overnight or for at least 4 hours. Roll out dough and cut with cookie cutters. Bake at 350F until golden (in true fashion, my grandma didn’t give a specific baking time. I baked the cookies for about 8 minutes).  This recipe made a couple dozen snowflake cookies — but as always, the yield will depend on the size of your cookie cutter.


White Royal Icing
4 cups powdered sugar, sifted
2 Tablespoons meringue powder
5 Tablespoons water

Directions:
Combine all ingredients in the bowl of a stand mixer fitted with the paddle attachment. Mix on low speed until the sheen has disappeared and the icing has a matte appearance (about 7-10 minutes).  Transfer the contents of the mixing bowl to an air-tight container. This will be the stiffest consistency of the icing, and at this point it is still too stiff to use for decorating. Add water a very small amount at a time and stir by hand until fully incorporated. Continue until the icing has reached a consistency appropriate for piping.

You’ll need about two batches of this icing for these cookies. Leave one batch as-is and use it for the white outlining/flooding. Divide the second batch into thirds — and dye each third a different shade of blue for the snowflake detailing.

Happy New Year!

Happy New Year! I am still enjoying my blog hiatus aka winter break! I will be back in about a week with plenty of treats, so please check back. I hope you all had a safe, happy, and healthy holiday season.

Photo-Jan-01,-1-47-43-PM