
This is last of my Halloween posts! I think Halloween is one of the best baking seasons – you can do so many cute things with so many great flavors. Christmas and Halloween can’t be beat for yummies, right? Every…
Cake Batter Halloween Cookies
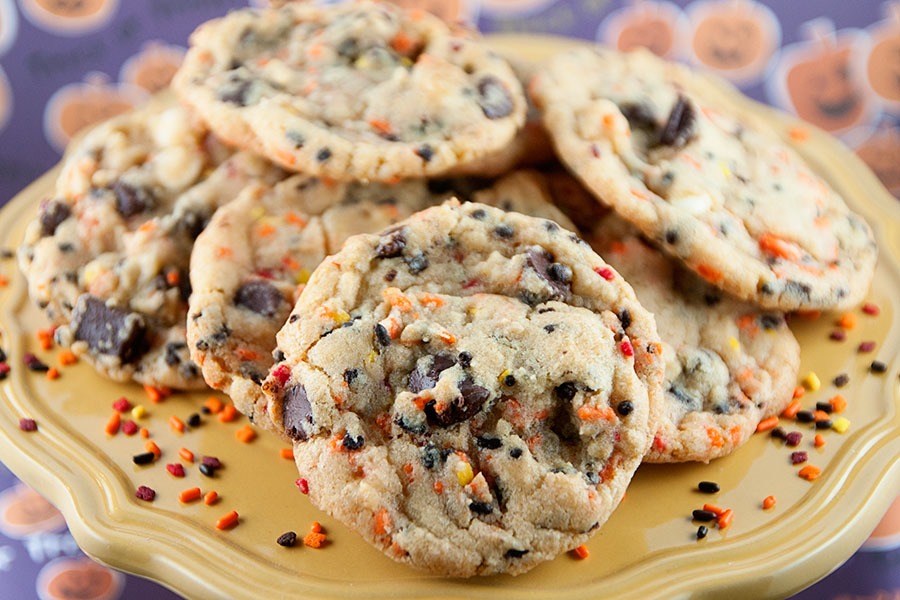
I’ve blogged this recipe before — but I’m back at it again because it’s always such a huge hit. It’s one of Sally’s Baking Addiction‘s wonderful recipes and all I did was a little Halloween to the mix. But really….
Pumpkin Mini Muffins

I know that I have professed my dislike of all things pumpkin many, many times on this blog. But these babies? They may have changed my mind. A little. Sort of. Kind of. I mean, I’ll still gravitate toward anything…
Halloween Oreo Stuffed Chocolate Cookies
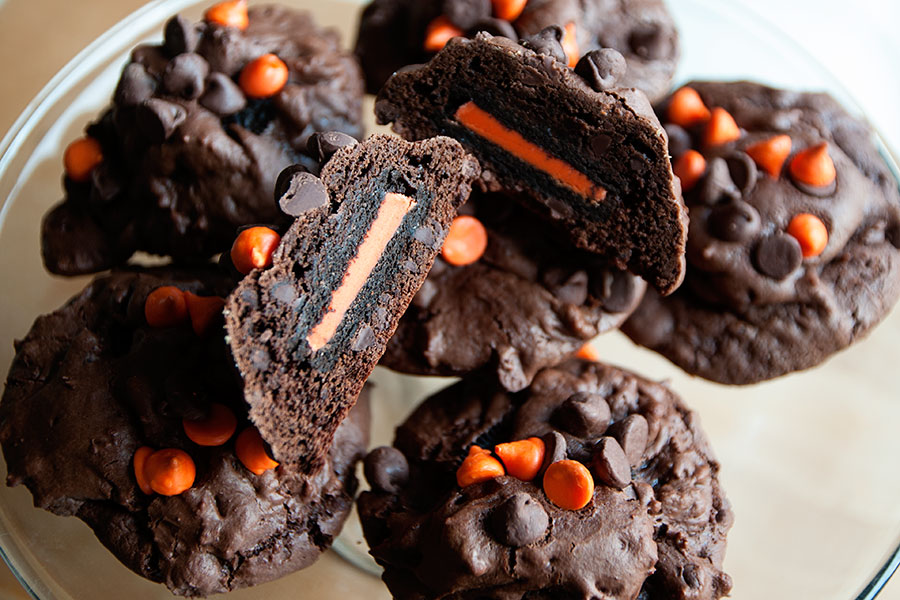
Did you like yesterday’s post but felt that there just wasn’t enough CHOCOLATE involved? Well I hope these cookies help! Basically the same concept as the cookies posted yesterday — but it’s a chocolate cookie dough instead. These are also…
Halloween Oreo Stuffed Chocolate Chip Cookies
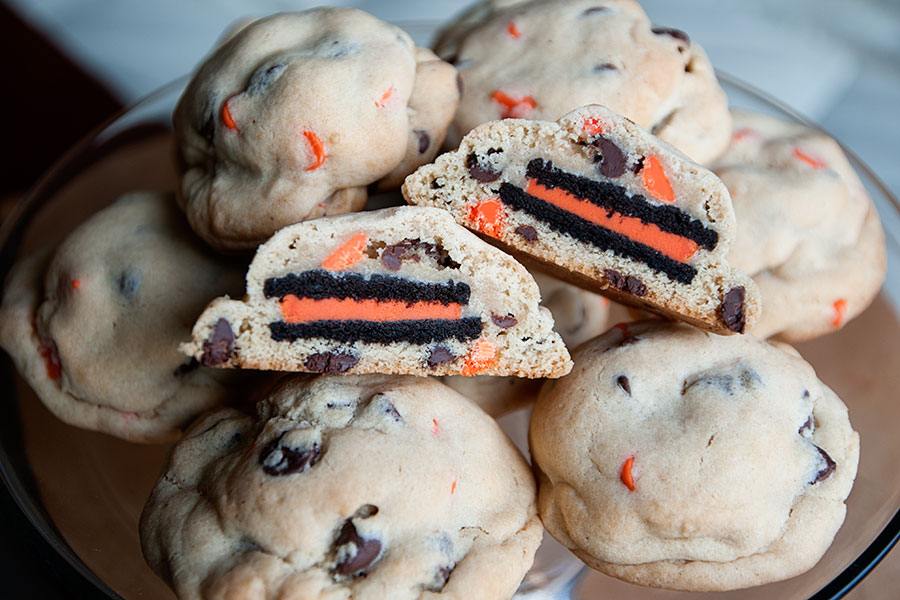
These cookies are nothing new to my blog. I made them a few years ago with plain Oreos — and thought I’d make them again now with Halloween Oreos & Halloween baking chips. Tomorrow I will be posting a more…
Indian Corn Cake

I’ve always liked Indian candy corn better than plain candy corn. It’s like that little sliver of chocolate somehow helps to make the candies less sickly sweet. I’ve seen a ton of Indian candy corn-inspired caked on Pinterest and other…


