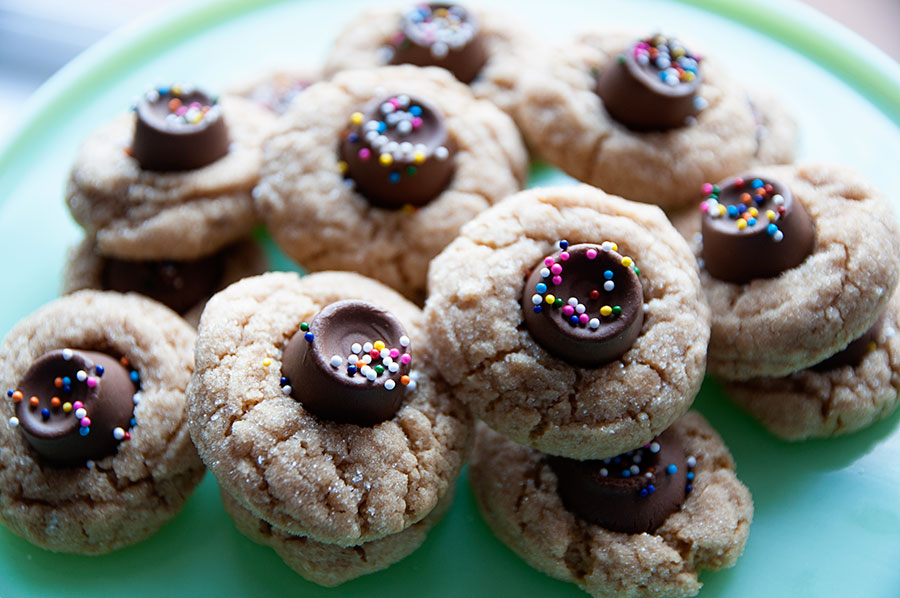
These cookies are a nice twist on the classic peanut butter blossom cookie — you know, the peanut butter cookie with the Hershey Kiss on top. The peanut butter blossom is a holiday staple and one of my favorites —…
Cake Batter (+ Oreo!) Cookies
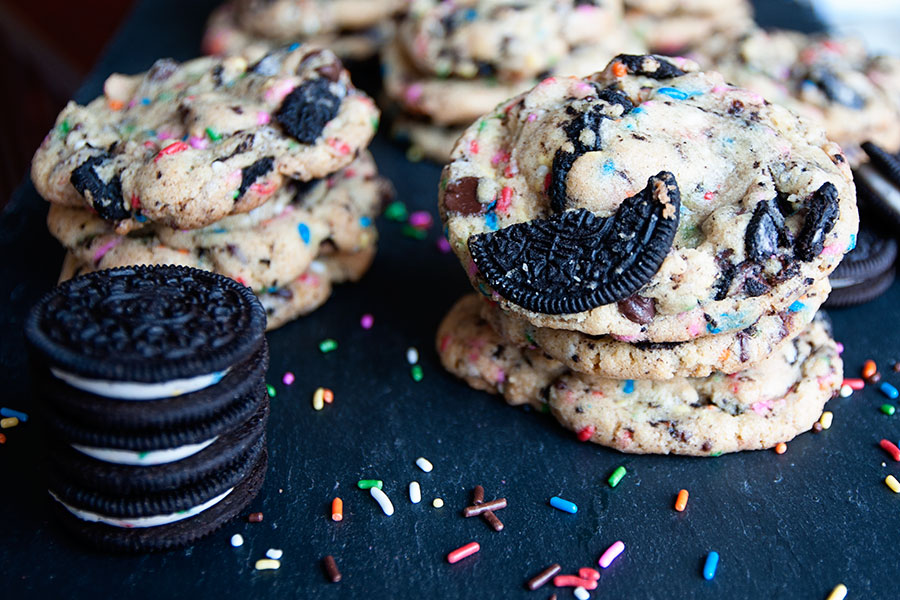
These cookies are pretty much identical to these, except for the addition of Oreos (which, come on, Oreos make everything better). I made these a few weeks ago and took them to school — nearly all disappeared within hours! Give…
Butterscotch Pudding Cookies
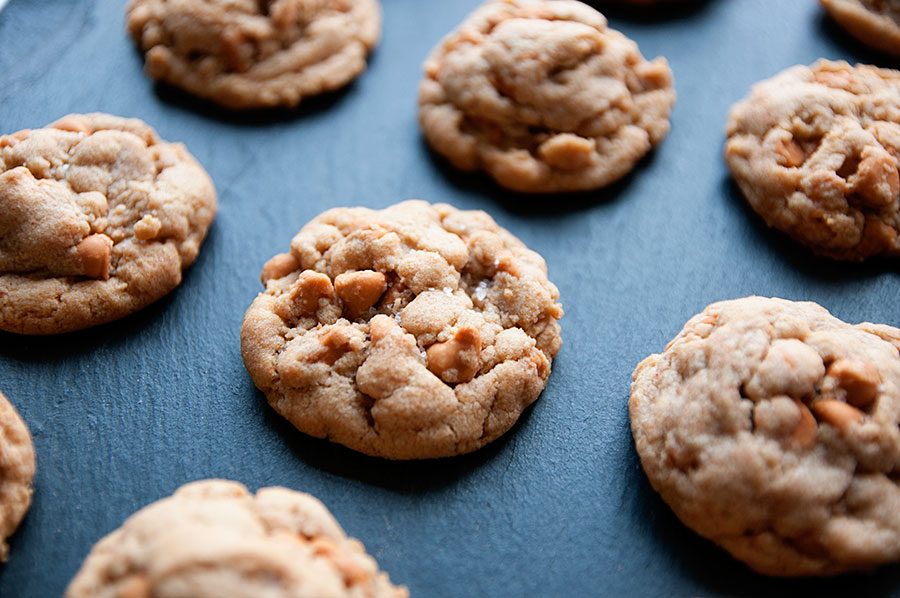
Mmmmm butterscotch. Butterscotch is amazing, right? The butterscotch dilly bars are the best. Those little butterscotch disk candies are addicting. And let’s be real, I could (and do) eat butterscotch morsels right out of the bag. These cookies were great…
A Bob’s Burgers Birthday
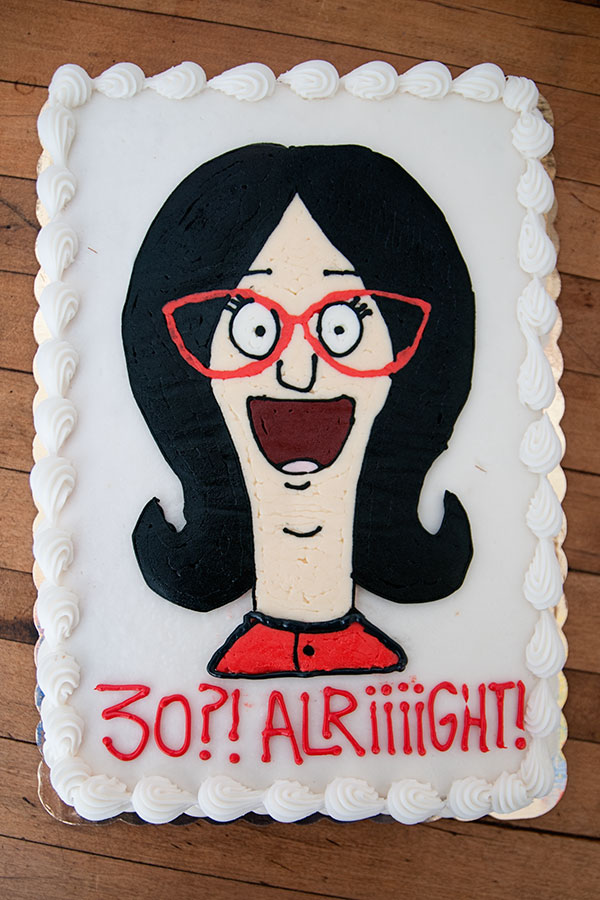
I turned thirty last month. I could have celebrated my new decade with a boring, fancy pants cake. Instead, I reverted and went with a cartoon. I LOVE Bob’s Burgers. Do any of you watch it? I think it’s one…
Golden Girls Cake – and Six Years!

With Sprinkles on Top turned SIX YEARS OLD yesterday! I can’t believe that I started the blog back in 2008. Doesn’t that seem like eons ago? Last year I made a polka-dotted cake to celebrate. This year I’m celebrating Dorothy,…
Chocolate-Covered Potato Chip Cookies
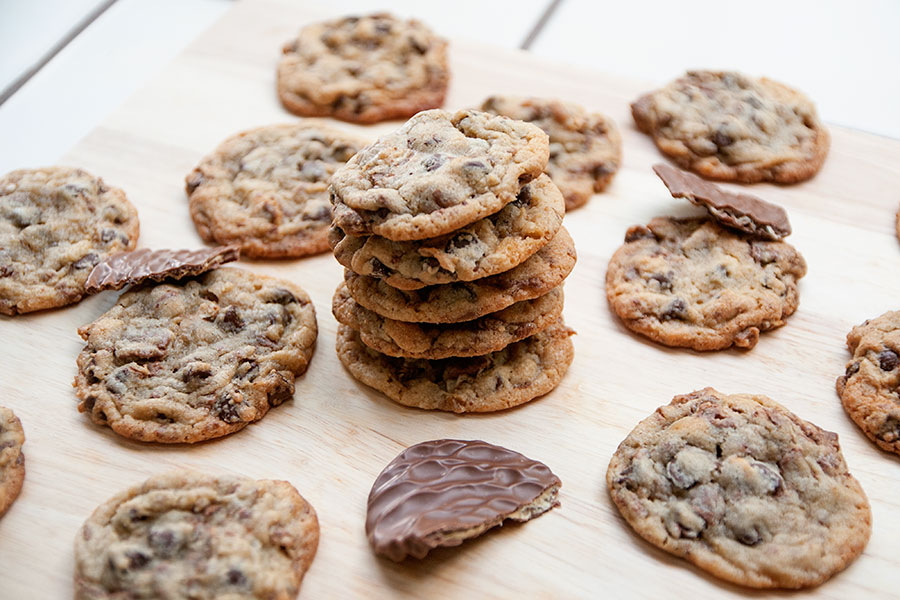
Potato chips are a big deal in my family, as we used to own and operate a potato chip factory. I’ve been surrounded by chips since I came out of the womb. While the factory has been closed for twenty…


