Author: Annie

Cherry Chocolate Chip Muffins
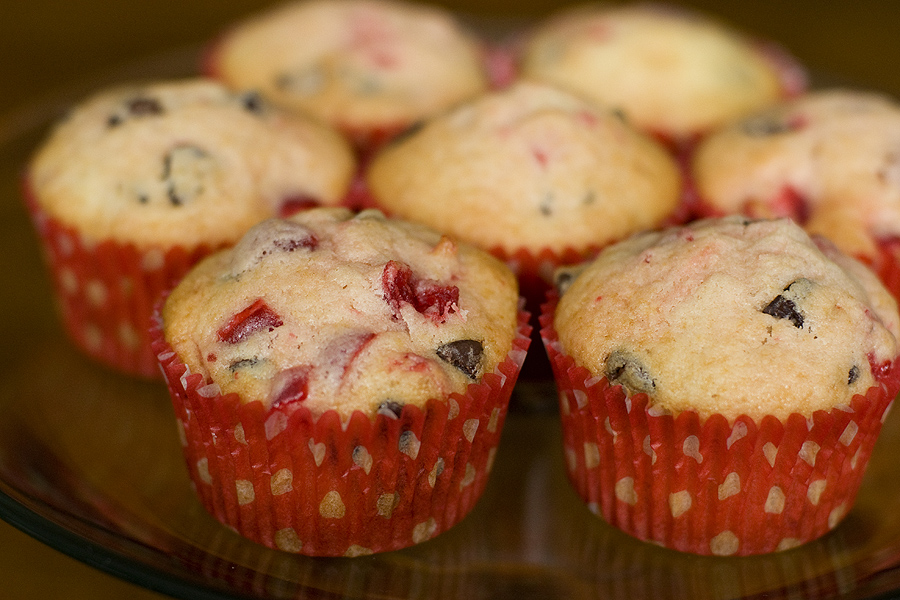
I forgot which comedian said this, but it’s always made me laugh: A muffin is just a cupcake that we’ve for some reason decided is OK to eat in the morning. So true, right?! I love cherries – maraschino cherries, bing cherries, Cherry Garcia ice cream, Shirley Temples, etc. I dug this recipe out of my to-bake folder and decided to try it. It’s a nice recipe because it only makes about 6-8 muffins — and as usual, they are best on the day they’re made. Enjoy!

Cherry Chocolate Chip Muffins
Recipe source: Taste of Home
Print Recipe

1 cup all-purpose flour
1/3 cup sugar
1 teaspoon baking powder
1/4 teaspoon salt
1 egg
1/3 cup whole or 2% milk
1/4 cup canola oil (I used vegetable oil)
1 teaspoon almond extract
1/2 cup halved maraschino cherries
1/2 cup semisweet chocolate chips

1. Preheat oven to 350F.
2. In a small bowl, combine the flour, sugar, baking powder, and salt. In another bowl, whisk the egg, milk, oil, and extract. Stir into dry ingredients just until moistened. Fold in cherries and chocolate chips.
3. Fill paper-lined muffin cups 3/4 full. Bake for 20-25 minutes or until a tester comes out clean. Cool for 5 minutes before removing from pan to a wire rack. Serve warm.
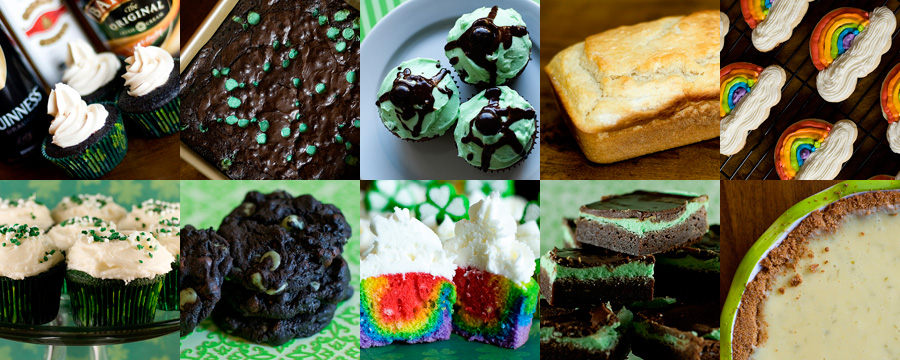
St. Patrick’s Day Ideas 2011

Here’s a round up of recipes for St. Patrick’s Day! Some are directly inspired by the holiday (Irish Car Bomb cupcakes and beer bread), others involve mint (cause mint equates to green, and green equates to St. Patty’s!), and one has nothing to do with St. Patrick’s Day, but it’s green (Key Lime Pie). Enjoy!

1. Irish Car Bomb Cupcakes
2. Mint Chocolate Brownies
3. After Eight Cupcakes
4. Beer Bread
5. Rainbow & Cloud Cookies
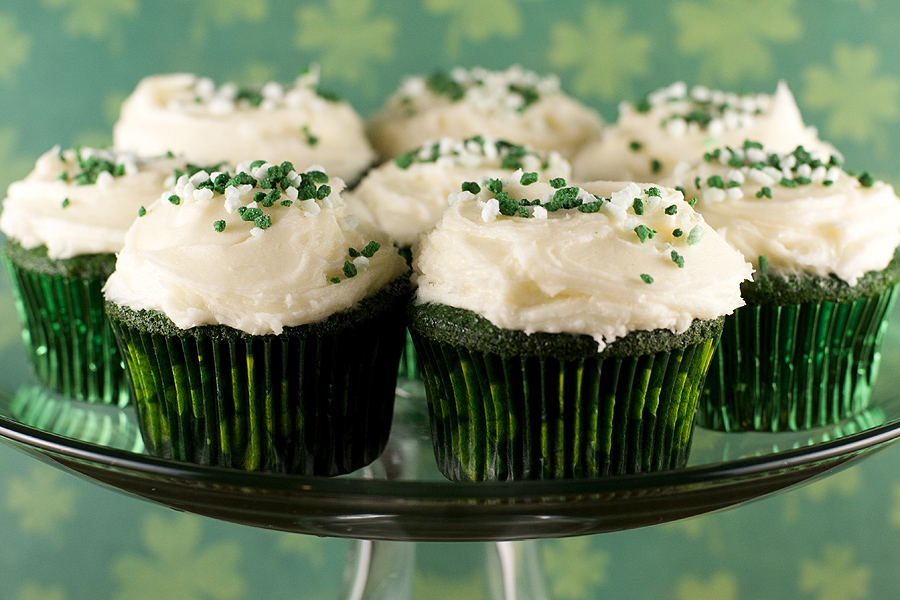
6. Green Velvet Cupcakes
7. Chocolate Mint Chip Cookies
8. Rainbow Cupcakes
9. Three Layer Mint Brownies
10. Key Lime Pie

Green Velvet Cupcakes

St. Patrick’s Day is one week away! I decided to change my beloved red velvet cupcakes into green velvet! I don’t have a single drop of Irish blood in me, but I always enjoy St. Patrick’s Day — I love the color green, I always support holidays that involve beer & corned beef, and it’s a sure sign that spring and warmer weather are on the way. These cupcakes taste just like regular red velvet, the only difference being the food coloring change.

Green Velvet Cupcakes
Recipe source: Bakerella
Print Recipe

2-1/2 cups all purpose flour
2 cups sugar
1 Tablespoon cocoa
1 teaspoon salt
1 teaspoon baking soda
2 eggs
1 cup oil
1 cup buttermilk
1 Tablespoon vinegar
1 teaspoon vanilla
1 oz. green food coloring

1. Preheat oven to 350 degrees. Line two cupcake pans with liners.
2. Lightly stir eggs in a medium bowl with a wire whisk. Add remaining liquid ingredients and stir together with whisk until blended. Set aside.
3. Place all the dry ingredients in your mixing bowl and stir together really good with another wire whisk.
4. Add wet ingredients to the dry ingredients and mix on medium-high for about a minute or until completely combined.
5. Fill cupcake liners about 2/3 full. Bake for about 20-25 minutes or until a toothpick inserted comes out clean.
6. After about ten minutes, remove from pans and cool completely on a wire rack.

Cream Cheese Frosting
8 oz. cream cheese, room temperature
1 cup butter, room temperature
1 teaspoon vanilla
6 cups confectioners’ sugar

Sift sugar and set aside. Beat cream cheese and butter on high until creamy. Add vanilla. Then, add the sugar in batches. Scrape down the sides in between each addition. Frost your cupcakes and decorate with sprinkles if you’d like.

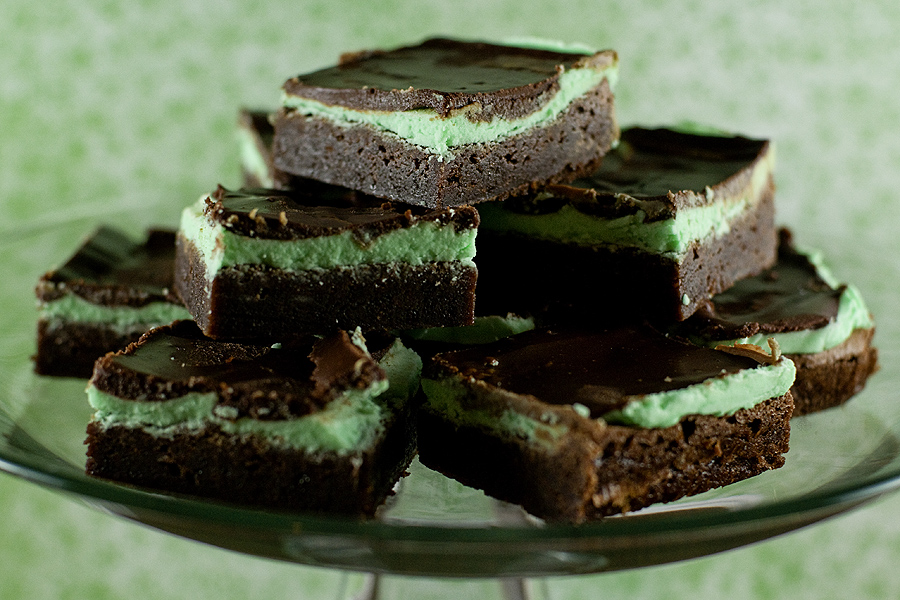
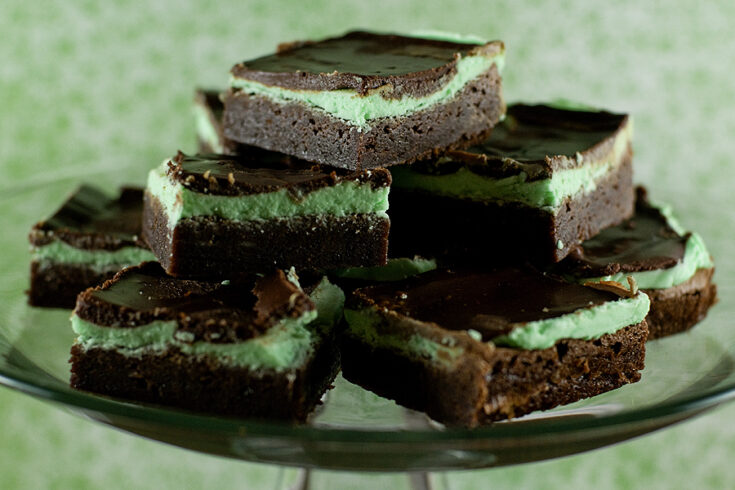
Three Layer Mint Brownies


Yield: About 9 brownies

Three Layer Mint Brownies

Three Layer Mint Brownies

A perfect treat for mint lovers -- or to celebrate St. Patrick's Day!

Prep Time 20 minutes
Cook Time 1 hour 20 minutes
Total Time 1 hour 40 minutes

Ingredients

For the brownie layer:

  • 1/2 cup butter, cut into pieces
  • 4 ounces unsweetened chocolate, coarsely chopped
  • 1-1/4 cups granulated white sugar
  • 1 teaspoon pure vanilla extract
  • 2 large eggs
  • 1/2 cup all purpose flour
  • 1/8 teaspoon salt

For the mint layer:

  • 3 tablespoons butter, at room temperature
  • 1-1/2 cup powdered sugar
  • 1-1/2 – 2 Tablespoons heavy cream
  • 3/4 teaspoon pure peppermint extract
  • green food coloring (optional)

For the chocolate ganache:

  • 1/2 cup semi sweet chocolate chips
  • 1/4 cup cream

Instructions

    Make the brownie layer:

    1. Preheat oven to 325F and place the rack in the center of the oven. Have ready a 9 x 9 inch square baking pan that has been lined with aluminum foil across the bottom and up two opposite sides of the pan. Set aside. (I used an 8×8 pan and all was well)

    2. In a stainless steel (heatproof) bowl placed over a saucepan of simmering water, melt the butter and chocolate.

    3. Remove from heat and stir in the sugar and vanilla extract. Add the eggs, one at a time, beating well after each addition. Stir in the flour and salt and beat, with a wooden spoon, until the batter is smooth and glossy and comes away from the sides of the pan (about one minute).

    4. Pour the brownie batter evenly into the prepared pan.

    5. Bake in the preheated oven for about 25 minutes or until the brownies start to pull away from the sides of the pan and the edges of the brownies are just beginning to brown. A toothpick inserted in the center of the brownies will come out almost clean. Remove from oven and place on a wire rack to completely cool.

    Make the mint layer:

    1. In the bowl of your electric mixer or with a hand mixer, beat all the ingredients until smooth. Add a few drops of green food coloring if you want the frosting green. If the frosting is too thick, add a little extra cream. (The frosting should be just thin enough to spread)

    2. Spread the frosting evenly over the cooled brownie layer. Place in the refrigerator for about 5-10 minutes or until firm.

    Make the chocolate ganache:

    1. In a heatproof bowl over a saucepan of simmering water, melt the chocolate and and cream.  Allow to cool about 15 minutes. 

    2. Spread over the mint filling and refrigerate for about 30 minutes.

    3. Remove the brownies from the pan by lifting with the ends of the foil and transfer to a cutting board. With a sharp knife, cut into squares. It is a good idea to wipe your knife between cuts with a damp cloth. These brownies can be stored in the refrigerator for several days or else frozen.

Notes

Your yield will depend on how big or small you cut your brownies.

Recipe credit: Real Mom Kitchen

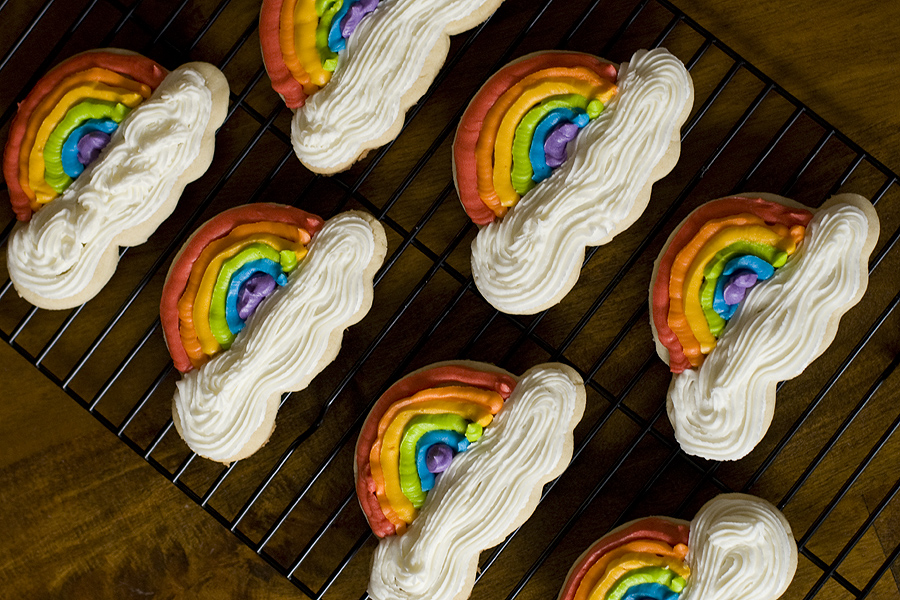
Rainbow & Cloud Cookies

I will admit: sometimes I just want to bake cute things.

I got this cloud and rainbow cookie cutter for Christmas and couldn’t wait to use it! Usually I find cutout cookies to be incredibly tedious — a task that should be reserved only for special times of the year, like Christmas. But I’m willing to break my rules here — because holy cute rainbows! I’ve always loved rainbows, ever since I was a little girl. I remember BEGGING my mom to let me have rainbow wallpaper in my room. She denied that request (and my later teenage and young adult self would thank her for that decision). Rainbows are happy and they remind me so much of my childhood. Hope you are all having a wonderful Monday!

Rainbow Cut-Out Cookies (aka Vanilla Almond Sugar Cookies)
Recipe source: Bake at 350
Print Recipe

3 cups all-purpose flour
2 teaspoons baking powder
1 cup sugar
2 sticks (salted) butter, cold
1 egg
3/4 teaspoon pure vanilla extract
1/2 teaspoon pure almond extract

1. Preheat oven to 350.
2. Combine the flour and baking powder, set aside. Cream the sugar and butter. Add the egg and extracts and mix. Gradually add the flour mixture and beat just until combined, scraping down the bowl, especially the bottom.
3. The dough will be crumbly, so knead it together with your hands as you scoop it out of the bowl for rolling. (She’s not kidding – it is c-r-u-m-b-l-y! Don’t let that scare you though. Just warm the dough with your hand and knead it, it will come together)
4. Roll onto a floured surface and cut into shapes. Place on parchment lined baking sheets and bake for 10-12 minutes. Let sit a few minutes on the sheet, then transfer to a cooling rack.

*I used piping bags to decorate the rainbows. The frosting was colored with AmeriColor food coloring. Each of my cookies was a bit different, as I tried to experiment with the clouds. Also, I really, really need to work on my piping skills – the rainbow colors were a little shaky! :)