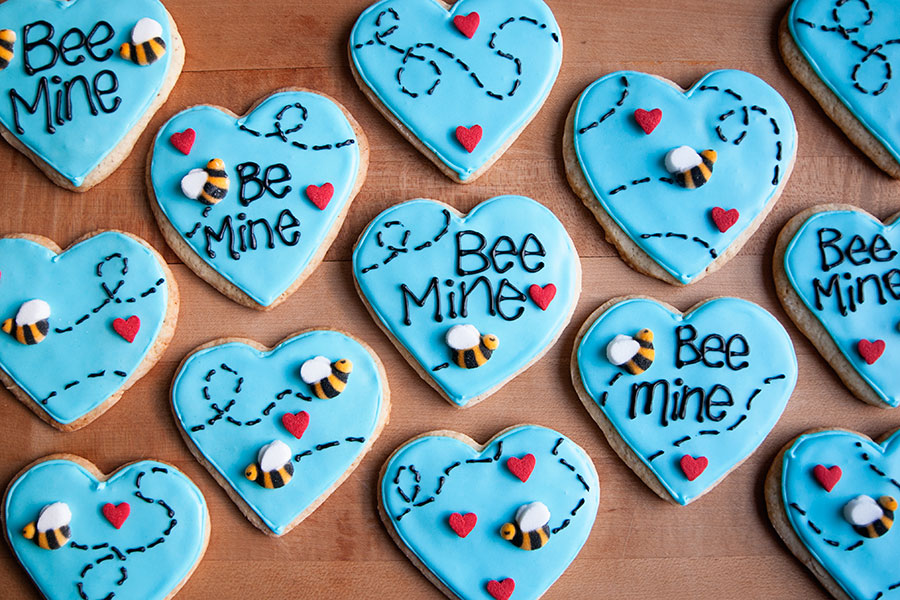
 I love bees. I love hearts. I love the color combination of light blue + red. And so these cookies were born! I used large heart sprinkles made by Wilton (check your local craft store for them). I bought the pressed sugar bees online. And I used a heart cookie cutter that is about 3.5 inches wide (though any size would work). The sugar cookies were made using my grandmother’s recipe (listed below) and the royal icing recipe is from Annie’s Eats (also listed below). I outlined and flooded the cookies with light blue icing. When the icing had dried enough, I piped the “Bee Mine” text and buzzy bee flight lines onto the cookies using black royal icing. The bees and hearts were “glued” on using royal icing. Enjoy — and please let me know if you have questions!
Omi’s Sugar Cookies
Print Recipe
1 cup butter
1 cup sugar
1 large egg
1/2 teaspoon salt
3 cups flour
1 teaspoon baking soda
1/2 cup sour cream
1 teaspoon nutmeg
Beat butter and sugar. Add eggs, sour cream, and nutmeg. Add dry ingredients gradually. Chill the batter overnight or for at least 4 hours. Roll out dough and cut with cookie cutters. Bake at 350F until golden (in true fashion, my grandma didn’t give a specific baking time. I baked the cookies for about 8 minutes).
I ended up with about 18 heart cookies out of this recipe. The yield will depend on how large your cookie cutter is. If you need to make a lot of cookies, I suggest doubling the recipe.
White Royal Icing
4 cups powdered sugar, sifted
2 Tablespoons meringue powder
5 Tablespoons water
Blue food coloring (I used Wilton gel – in sky blue); black food coloring (I used AmeriColor’s Super Black)
Directions:
Combine all ingredients in the bowl of a stand mixer fitted with the paddle attachment. Mix on low speed until the sheen has disappeared and the icing has a matte appearance (about 7-10 minutes). Transfer the contents of the mixing bowl to an air-tight container. This will be the stiffest consistency of the icing, and at this point it is still too stiff to use for decorating. Add water a very small amount at a time and stir by hand until fully incorporated. Continue until the icing has reached a consistency appropriate for piping.
You may need to make another batch or two of royal icing, depending on how many cookies you are making. Dye most of your icing blue — and dye a small amount of icing black for the text and bee lines.
If you are new to decorating with royal icing, please visit this post by Annie’s Eats, which will teach you about outlining and flooding.


Annie, those are so cute! Thanks for all the great ideas. :)
Lovely as always lady! I wish I was patient enough to create such beautiful things!
Thank you, ladies!!