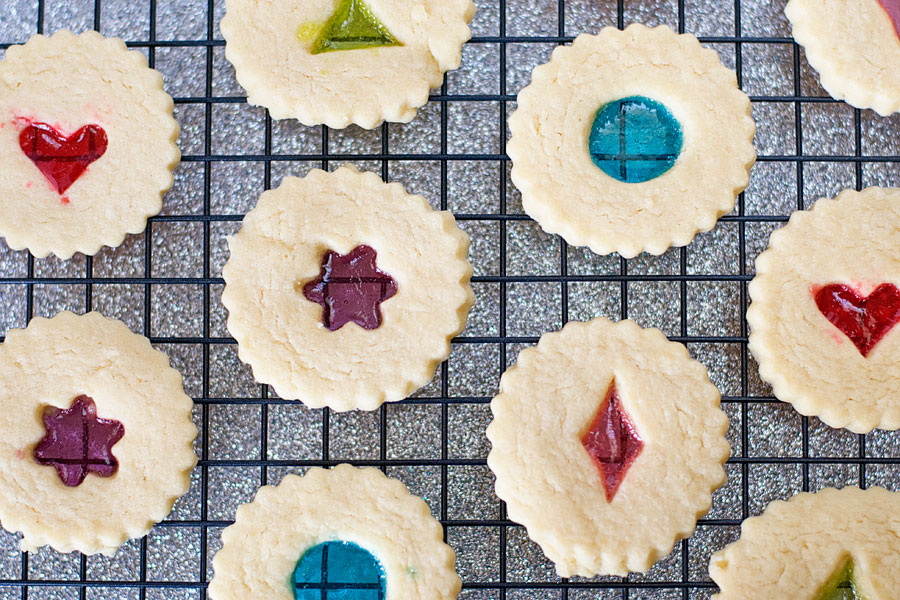
Stained-glass cookies have been on my to-bake list FOREVER. The concept is awesome but I’ll admit, I was intimidated at the thought of making them. I’m not great with making intricate cookies, much less cookies that involve melted sugar in the middle. Eeep! I was reading Everyday Food last month and this was one of the featured Christmas cookie recipes. If it’s a Martha recipe, it’s gotta be good. Say what you will about her as a person, her brand and her recipes are flawless. I decided to give these a try and they weren’t nearly as difficult as I was expecting. There are a few things I would do differently next time and I included those notes in the recipe below.
Stained-Glass Sugar Cookies
Recipe source: Everyday Food
Print Recipe
3 cups all-purpose flour, plus more for rolling
3/4 teaspoon baking powder
1/4 teaspoon fine salt
1 cup unsalted butter, softened
1-1/4 cups sugar
4 large egg yolks
1 Tablespoon vanilla extract
Very finely crushed hard candy (I used Jolly Ranchers), 1 cup total
1. In a medium bowl, whisk together flour, baking powder, and salt. In a large bowl, beat butter and sugar on medium-high until light and fluffy (about 3 minutes). Add egg yolks and vanilla and beat to combine. With mixer on low, gradually add flour mixture and beat to combine.
2. Form dough into 2 disks, wrap in plastic, and refrigerate 30 minutes.
3. Preheat oven to 350F.
4. Working with one disk at a time, roll out dough between floured parchment paper to 1/8-inch thickness. Stack dough in parchment on a baking sheet; refrigerate until firm (about 30 minutes).
5. With a 2-1/2-inch circle cutter, cut out dough. Place cookies 1 inch apart on baking sheets. With a 1-inch star cutter, cut out dough in center of each cookie. Bake until cookies are pale but set, 8-10 minutes, rotating sheets halfway through. [This step works best when the dough is COLD – the warmer is gets, the more difficult it becomes to cut out the shapes; I used a cookie cutter set made for linzer cookies; cut the circle out first THEN cut out the small center shape, it just works better that way]
6. Remove sheets from oven; fill cutouts with crushed candy. Bake until cookies begin to brown at edges and candy is melted, about 3 minutes. [Be careful to fill only the cutouts and to not allow any candy to overflow onto the cookie surface, otherwise it will melt and stain the cookie — as you can see in parts of my cookies! No perfection here, folks!]
7. Let cool completely on sheets on wire racks.


those are amazing!
thank youuu!
how does the candy not stick to the baking sheet?
If you use parchment paper, it doesn’t stick. It didn’t for me!
Thanks! They look wonderful!
These look great :) I’m going to try them soon!