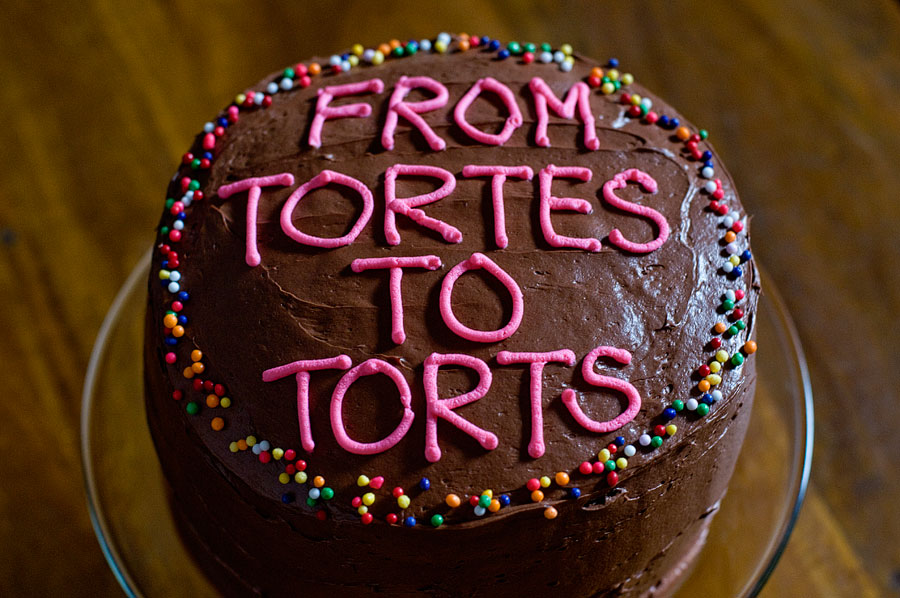
You know you’re a bit of a geek when you pair baking and law together to make something tasty. As I may have mentioned before, I started law school back in August. Law school is INTENSE and finals are rapidly…
Archives for November 2012
RIP, Hostess.
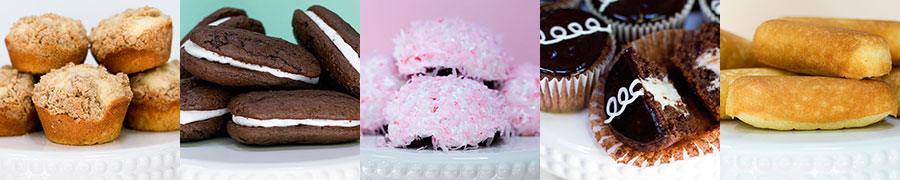
In case you haven’t already heard, Hostess is closing up shop and shutting down. I know that Hostess treats are not sophisticated, healthy, or anything close to homemade. In fact, the treats are full of preservatives (but oh, so delicious!)…
Turkey Cupcakes
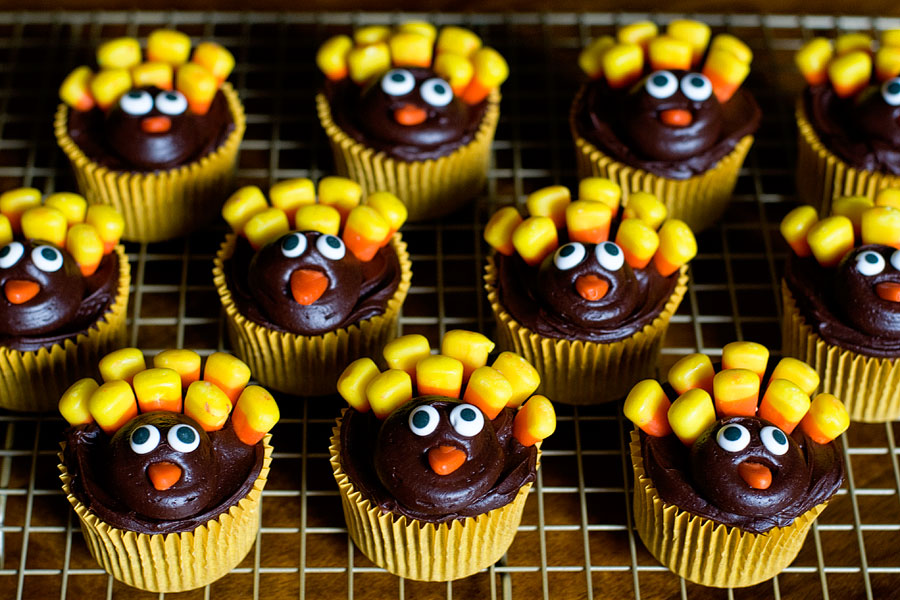
Thanksgiving is exactly one week away! Can you believe it? It’s one of my favorite holidays – a delicious meal, a day filled with football, and the wonderful season of Christmas is rapidly approaching. These cupcakes are perfect if you…
Peanut Butter Chocolate Rice Krispie Treats
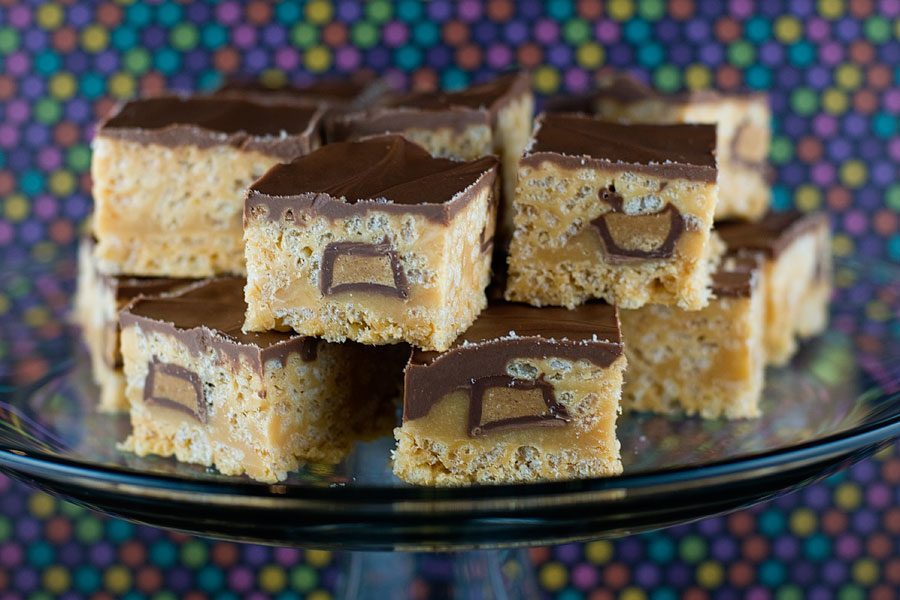
Happy November! We’re about a week into one of my favorite months and less than two weeks away from Thanksgiving. I don’t have much to say along with today’s post – because I would be redundant if I, yet again,…
Neapolitan Cupcakes

My dad gave me two packages of Neapolitan Oreos and I was inspired to make some sort of cupcake out of them. Neapolitan is a near-perfect flavor combination – and it’s also such a pretty color palette! These cupcakes were…
Happy Birthday Double Cupcakes
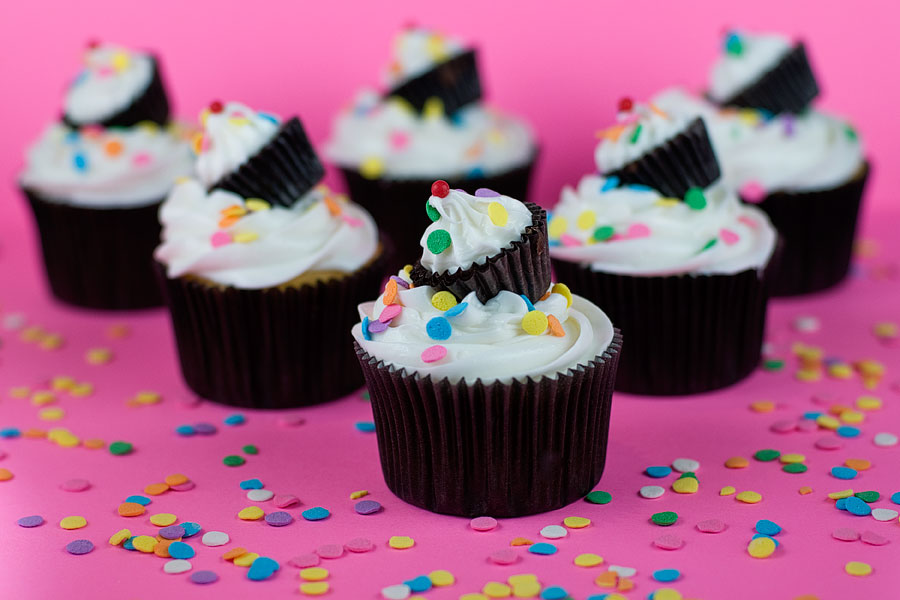
My BFF’s birthday is today! Happy Birthday, Bethany! Unfortunately, Bethany lives in Boston and I live in Milwaukee. I wish I could celebrate with her [with cupcakes and beer and all things photography] but this post will have to suffice….


