Author: Annie

Chocolate Cupcakes & Cooked Frosting
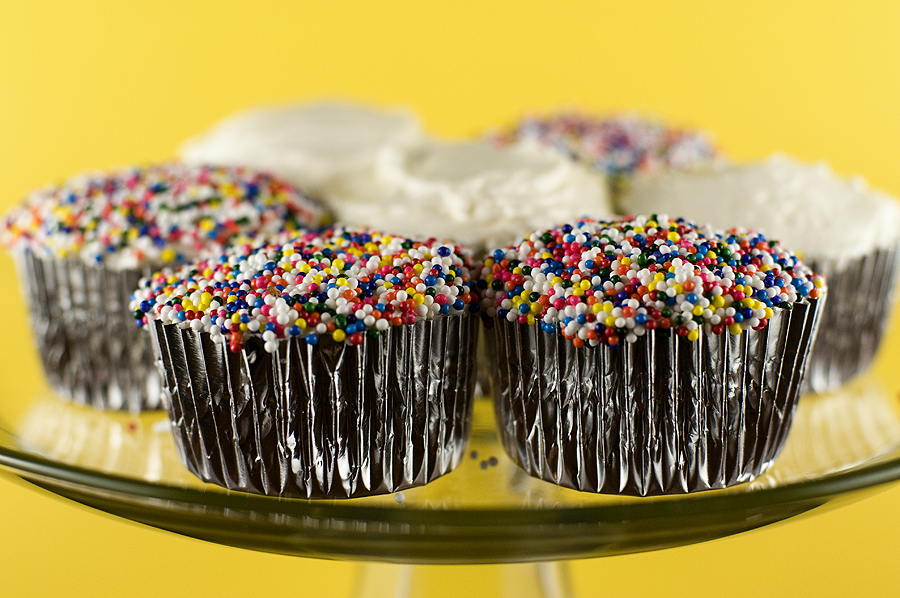
I’ve had cooked frosting on my to-make list for a while now. I was always so intrigued by it — a frosting that is made with milk and FLOUR and HEAT? What..the…f? I will admit that I was hesitant to make it because I’ve heard mixed reviews. Apparently people either love it or hate it. Nothing in between. It ranks up there with mayonnaise or coconut on the list of polarizing foods. Here’s my verdict on cooked frosting: it’s different.

My opinion is smack dab in the middle of love and hate. I’m a political moderate, so it’s no surprise that I’m a baking moderate as well. Here’s what I like about it: it’s not super sweet. I find buttercream frosting to be way too sweet most of the time, too overwhelming. Cooked frosting isn’t super sweet. Here’s what I didn’t like about it: it’s got a whipped consistency. I’m not a fan of whipped foods – whipped cream? No. Whipped frosting? Nah.

But I strongly recommend trying it yourself. You could very easily join the ranks of the LOVE IT camp! I would also recommend pairing the frosting with either chocolate cake or chocolate cupcakes. It’s a great flavor combination.

Chocolate Cupcakes
Recipe source: Adapted from The Pioneer Woman
Print Recipe

2 cups sugar
2 cups all-purpose Flour
¼ teaspoons Salt
½ cups buttermilk
2 whole eggs
1 teaspoon baking soda
1 teaspoon vanilla
2 sticks butter
4 Tablespoons (heaping) cocoa powder
1 cup water, boiling

1. Preheat oven to 350 degrees. Line muffin cups or spray with baking spray.
2. Combine flour, sugar, and salt. Set aside.
3. In a separate container, combine buttermilk, eggs, baking soda, and vanilla. Stir to combine and set aside.
4. In a saucepan, melt butter over medium heat. Add cocoa powder and stir to combine. Add boiling water, allow to bubble for a few seconds, then turn off heat.
5. Pour chocolate mixture over flour mixture. Stir a few times to cool the chocolate. Pour buttermilk mixture over the top and stir to combine.
6. Fill muffin cups 2/3 full. Bake for 20-22 minutes, or until a tester comes out clean. Allow to cool for 5 minutes in the pan, then remove and allow to cool on a baking rack.

Cooked Frosting
Recipe source: Tasty Kitchen

  • 5 Tablespoons flour
  • 1 cup milk
  • 1 teaspoon vanilla
  • 1 cup butter
  • 1 cup granulated sugar (not powdered sugar!)

1. In a small saucepan, whisk flour into milk and heat, stirring constantly, until it thickens. You want it to be very thick, thicker than cake mix, more like a brownie mix is. Remove from heat and let it cool to room temperature. It must be completely cool before you use it in the next step. Stir in vanilla.
2. While the mixture is cooling, cream the butter and sugar together until light and fluffy. You don’t want any sugar graininess left. Then add the completely cooled milk/flour/vanilla mixture and beat the living daylights out of it. If it looks separated, you haven’t beaten it enough! Beat it until it all combines and resembles whipped cream.
3. Frost your cupcakes!
Superhero Birthday Cake

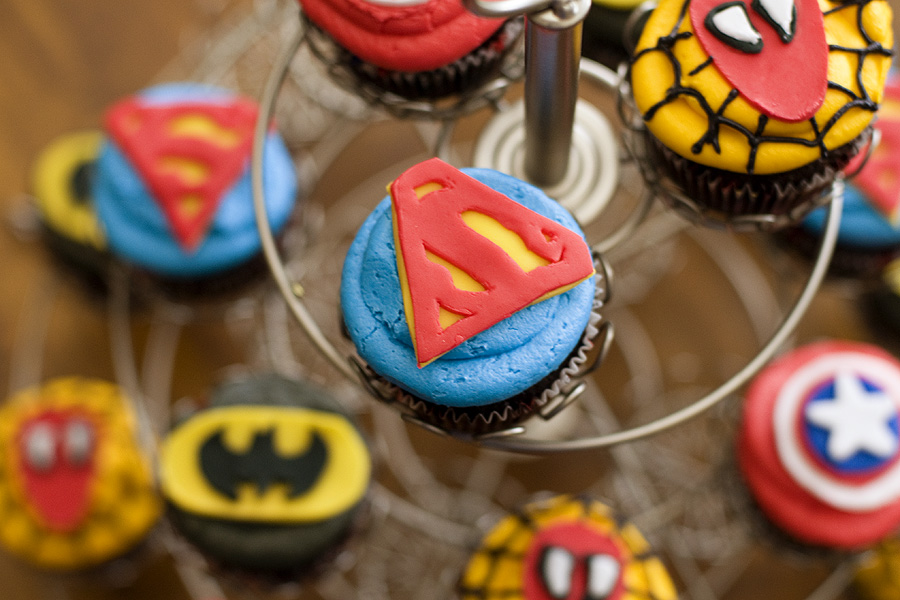
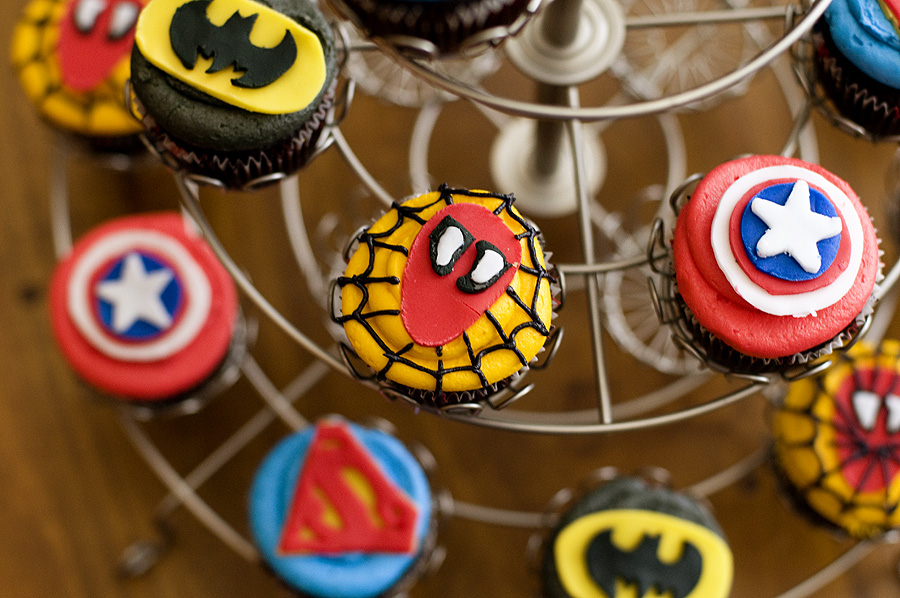
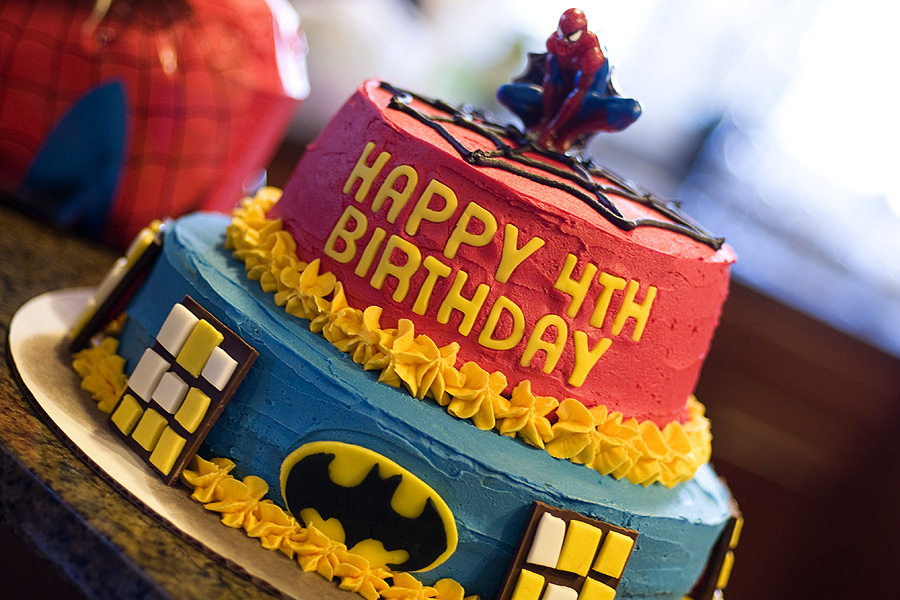
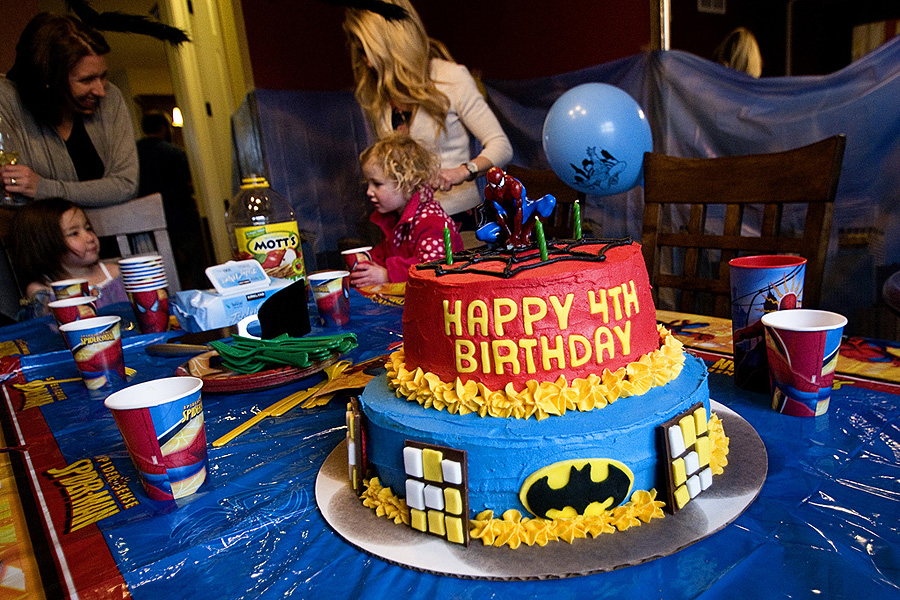
I was asked to make a superhero birthday cake for a little boy who just turned 4. I jumped at the chance, as I usually don’t have the opportunity to make super cute birthday cakes. My inspiration for this cake was taken from Mandy at CakeCentral.com.  One of these days I will do a step-by-step tutorial on how to make, stack, frost, and decorate tiered cakes, but until then, here’s the details about this cake and how it was made.

PS: I have to thank my wonderful friend Meghan, who helped with the whole process. She decorated the cupcakes below and developed a definite love/hate relationship with fondant!

  • The bottom tier was vanilla cake and the top tier was chocolate. For the vanilla cake, I used Smitten Kitchen’s Best Birthday Cake recipe. For the chocolate cake, I used Kevin and Amanda’s Best Chocolate Cake recipe.
  • The “buildings” for Gotham city were pieces of Hershey chocolate bars – with squares of white and yellow fondant. I “glued” the fondant onto the chocolate using corn syrup.
  • The batman logo and yellow letters were made with fondant. Meghan traced the logo and cut it out. The letters were done using small alphabet cutters.
  • The yellow trim was done using a M1 tip.
  • The spider web on the top of the cake was done by hand using black frosting.
  • The SpiderMan candle was purchased at Walgreens.
  • If you are interested in trying to make a tiered cake, you MUST MUST MUST use cake dowels for structural support. There are tons of tutorials online about cake dowels – what they are, how to use them, etc.
  • I had never made a large tiered cake prior to this, so it was a bit of an experiment. I was so pleased with the outcome! The frosting isn’t perfectly smooth and the cakes aren’t perfectly straight – and that okay! Don’t be afraid to try :)

Springtime Flower Cupcakes

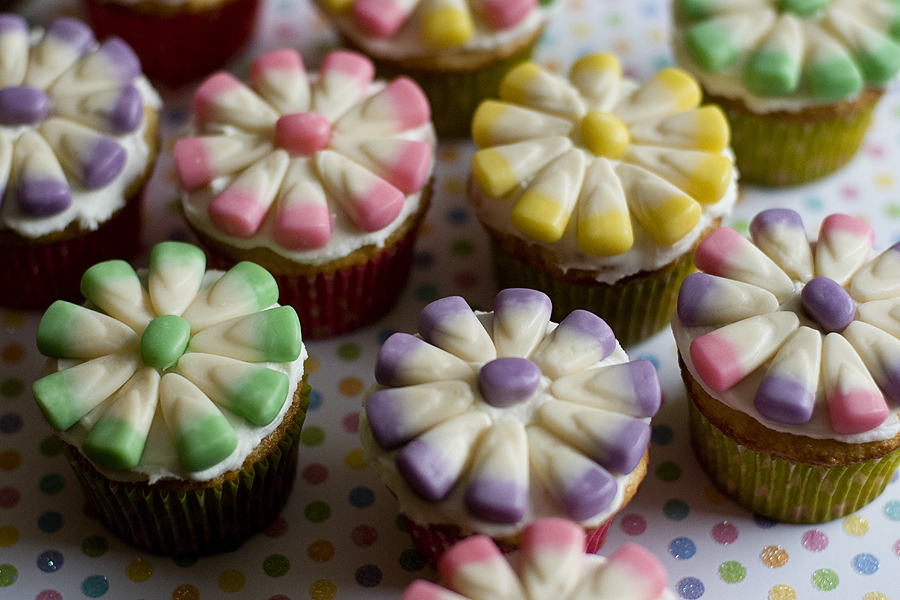
March 20th is the first day of spring! Thank god. I live in the Midwest and couldn’t be more sick of winter, so I’m thrilled that spring is now “official”. To celebrate, here are some cute flower cupcakes.

1. Make a batch of any cupcakes of your choosing and frost with white frosting (you can use store-bought or homemade buttercream).
2. Top with pastel candy corn (check the Easter candy aisle!).

Simple!

Gooey Butter Cake

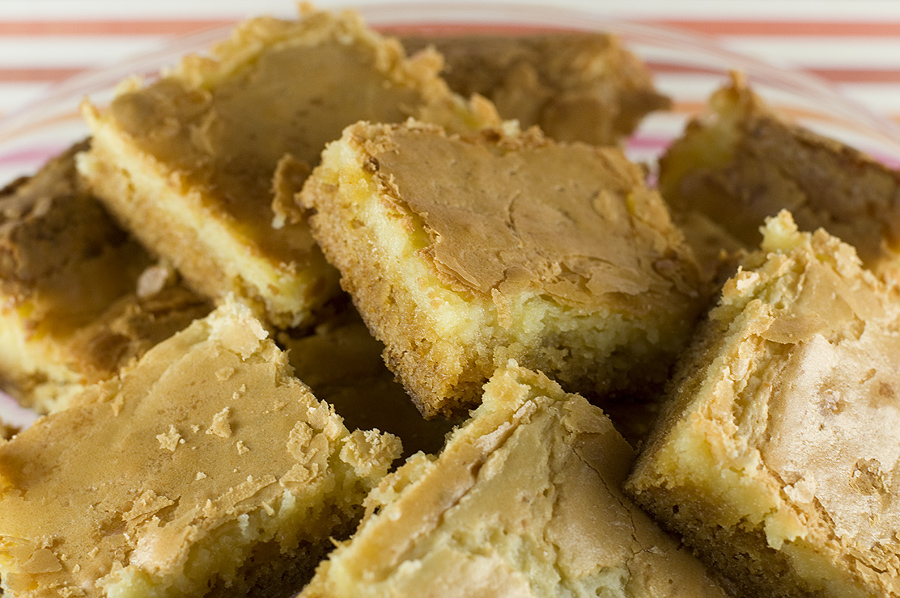
I have been hearing about Paula Deen’s infamous Gooey Butter Cake for a long, long time. It’s a mystery as to why it’s taken me this long to make it, because it’s basically heaven in it’s purest form. Cake + cream cheese + butter + gooey-ness. Yes, please. In my very humble opinion, Paula Deen can do no wrong. She is the Baroness of Butter and every one of her recipes are golden. This one is no exception. Trust me.

Gooey Butter Cake
Recipe source: Paula Deen
Print Recipe

Cake:
1 box yellow cake mix
1 egg
8 Tablespoons butter, melted

Filling:
8oz cream cheese, softened
2 eggs
1 teaspoon vanilla
8 Tablespoons butter, melted
1 lb powdered sugar

1. Preheat oven to 350F.
2. Combine the cake mix, egg, and butter; mix well with an electric mixer. Pat the mixture into the bottom of a greased 9×13 baking pan.
3. In a large bowl, beat the cream cheese until smooth. Add the eggs, vanilla, and butter; beat together.
4. Add the powdered sugar and mix well. Spread over cake batter and bake for 40-50 minutes. Make sure not to over bake — the center should be a little gooey.

Another awesome thing about this cake? You can make many, many variations of it!

Pumpkin Gooey: Use a spice cake mix in place of the yellow cake. Follow the original recipe, adding a 15-ounce can of pumpkin pie filling and an extra egg to the cream cheese filling. Bake as usual, remove from oven, and allow to cool. Cut into squares and top each square with a pecan half. Serve with a dollop of fresh whipped cream.

Pineapple Gooey: Add a 20-ounce can of drained crushed pineapple and an extra egg to the cream cheese filling. Proceed as directed above.

Lemon Gooey: Use a lemon cake mix in place of the yellow cake. Add the juice (approximately 1/4 cup) and zest of 2 lemons to the cream cheese filling. Proceed: as directed above.

Carrot Cake Gooey: Use a spice cake mix, and add 1 cup chopped nuts and 1 1/2 cup finely grated carrots to the cream cheese filling. Proceed as directed above.

Peanut Butter Gooey: Use a chocolate cake mix. Add 1 cup creamy peanut butter and an extra egg to cream cheese filling. You can sprinkle the top of batter with 1 cup chopped peanuts if you like. Proceed as directed above.

Chocolate Chip Gooey: Use either yellow or chocolate cake mix. Sprinkle 1 cup chocolate chips and 1 cup chopped nuts on top of filling. Proceed as directed above.

Banana Gooey: Use a yellow cake mix. Prepare cream cheese filling as directed, beating in 2 ripe bananas and an extra egg. Proceed as directed above.

Nutty Gooey: Use a yellow cake mix, and add 1 cup chopped nuts to the cake mixture. Proceed as directed above.

Chippy Gooey: Stir 1 cup white chocolate chips, peanut butter chocolate chips, butterscotch morsels, Heath Almond Toffee Bits or Heath Milk Chocolate Toffee Bits into filling. Proceed as directed above.

Happy St. Patrick’s Day

Ooops.

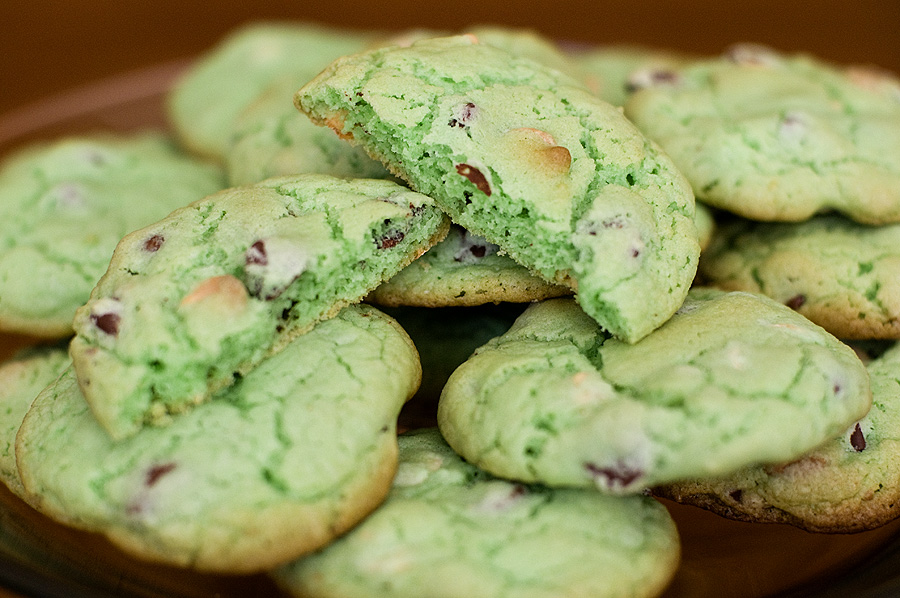
I burned these cookies.

But they still tasted good. Mistakes happen in baking – don’t let them deter you from trying. :) Happy St. Patrick’s Day, everyone.

Mint Chocolate Chip Cookies
Recipe source: The Family Kitchen
Print Recipe

3/4 cup butter, at room temperature
2 3/4 cup flour
1 1/4 cups sugar
2 eggs
1 teaspoon baking powder
1/2 teaspoon salt
1 teaspoon vanilla extract (I used mint extract instead)
Green Food Coloring, 8 – 10 drops
2 cups Andes Creme de Menthe Baking Chips (I didn’t have these, so I used 1 cup chocolate chips and 1 cup white chocolate chips)

1. Preheat oven to 375 degrees. Add butter and sugar to stand mixer. Cream until light and fluffy. Add eggs, scrape down the sides of the bowl and mix again. Add vanilla and mix until light and fluffy again.

2. Sift together flour, baking powder and salt. Add to mixer and mix on low until combined. Add enough green food coloring to get the right color. Different brands will take different amounts, but 8 – 10 drops is about what it will take. (The color of the dough should be a little darker than you want the cookie color to be.) Add mint chips and mix until incorporated.

3. Drop cookie dough by the tablespoon onto parchment paper on a baking sheet. Bake for 12 – 14 minutes at 375 degrees. Let cool.