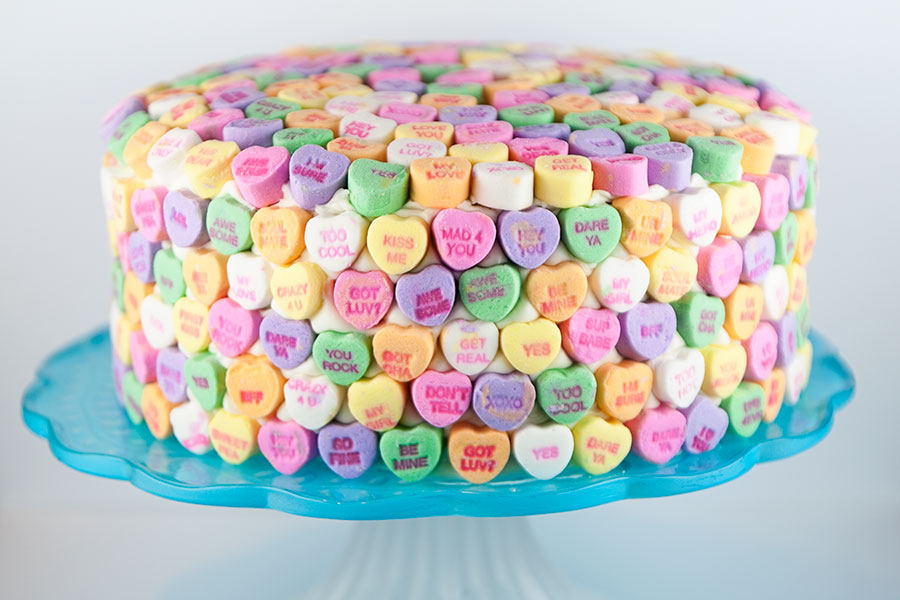
February is TOMORROW – and that means the next holiday to fret over is Valentine’s Day. I saw a cake like this floating around Pinterest and thought it was awesome. But can we just stop and discuss something? Why do…
Bakery Review: Grace & Shelly’s
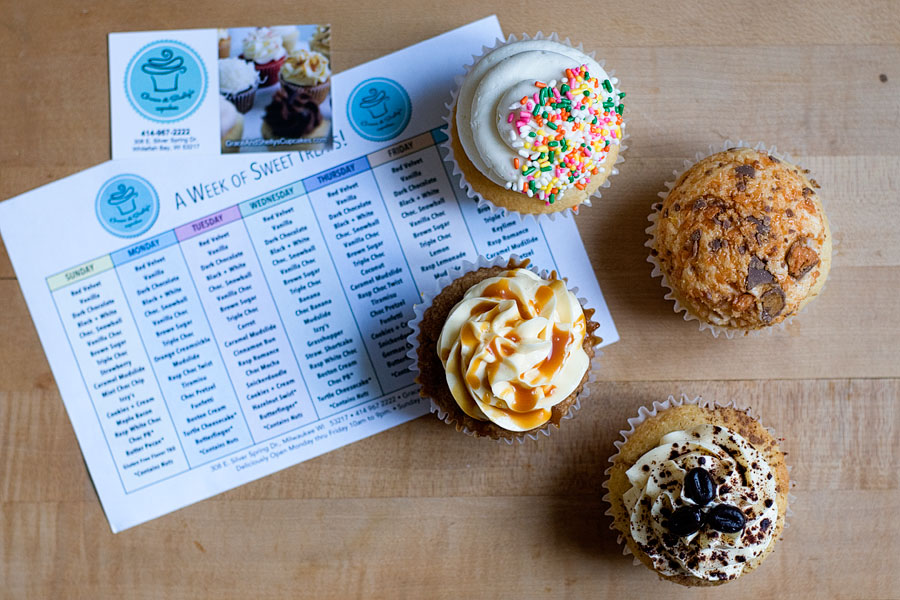
I’m reviewing Grace and Shelly’s cupcake shop – located in Whitefish Bay, WI! Grace and Shelly’s shops are primarily located in Florida. The Milwaukee area must be pretty special in order to get one! ;) I really like this bakery….
I went to Disney World!

I feel as if I’ve neglected my blog lately. But life has been busy. Let me catch you up with a few bullet points. December marked a flurry of activity around here. A lot of Christmas treats were posted, but…
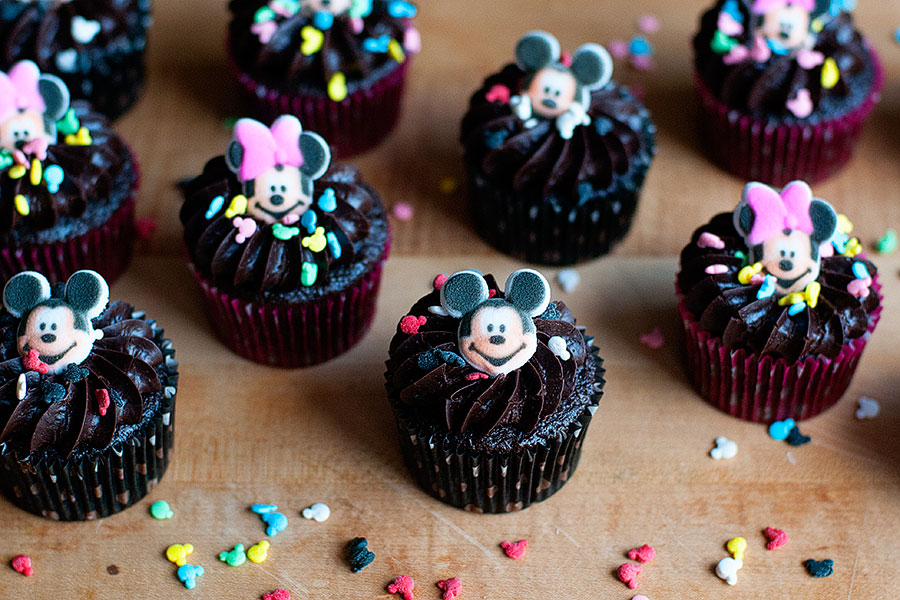
Mickey & Minnie Cupcakes
I’m off to Disney World with a girlfriend from law school! To mark the halfway point of law school, we’re reverting back to childhood and enjoying a week in the land of magic. As a result, I may be a…
Smiley Face Cupcakes – and Happy 2014!
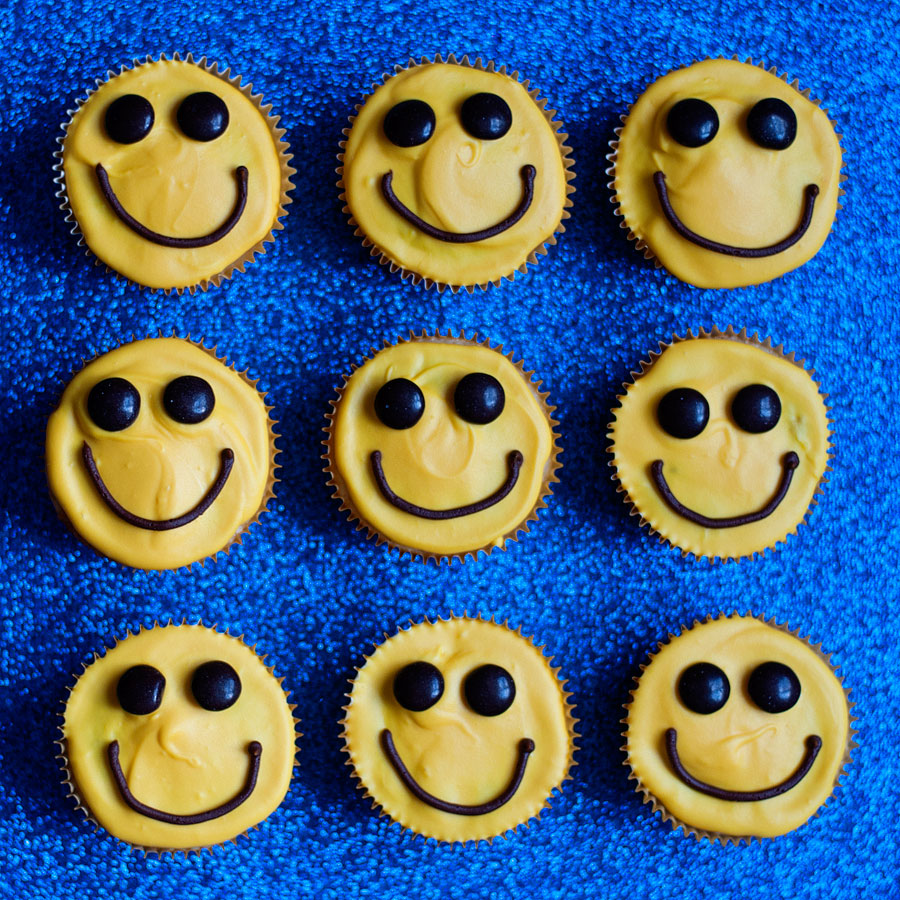
Happy New Year, everyone! I hope you are all enjoying the first day of 2014! I wanted to make something excessively cheerful for my first post of the new year — and I think these classic yellow smiley face cupcakes…
Brown Butter Baked Donuts
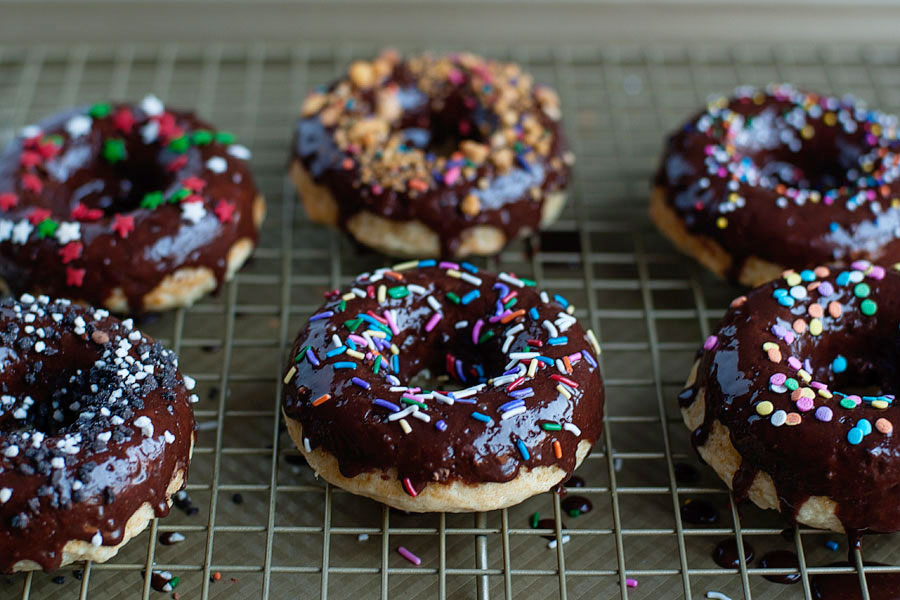
Looking for something fast, easy, and delicious to make on Christmas morning? Try these brown butter baked donuts! They’re not fried (I still have an irrational fear of making real donuts — hot, bubbling oil makes me nervous), but they…


