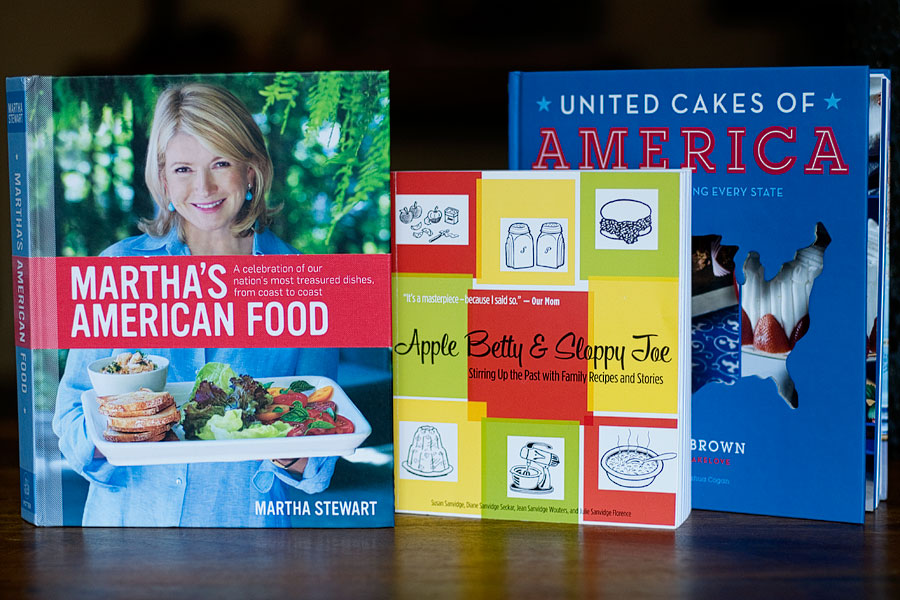
Christmas is just about a week away! Are you still looking for a gift for the cooking or baking lover in your life? If so, I hope this post can help. I have a TON of books relating to food,…
Christmas Ideas 2013
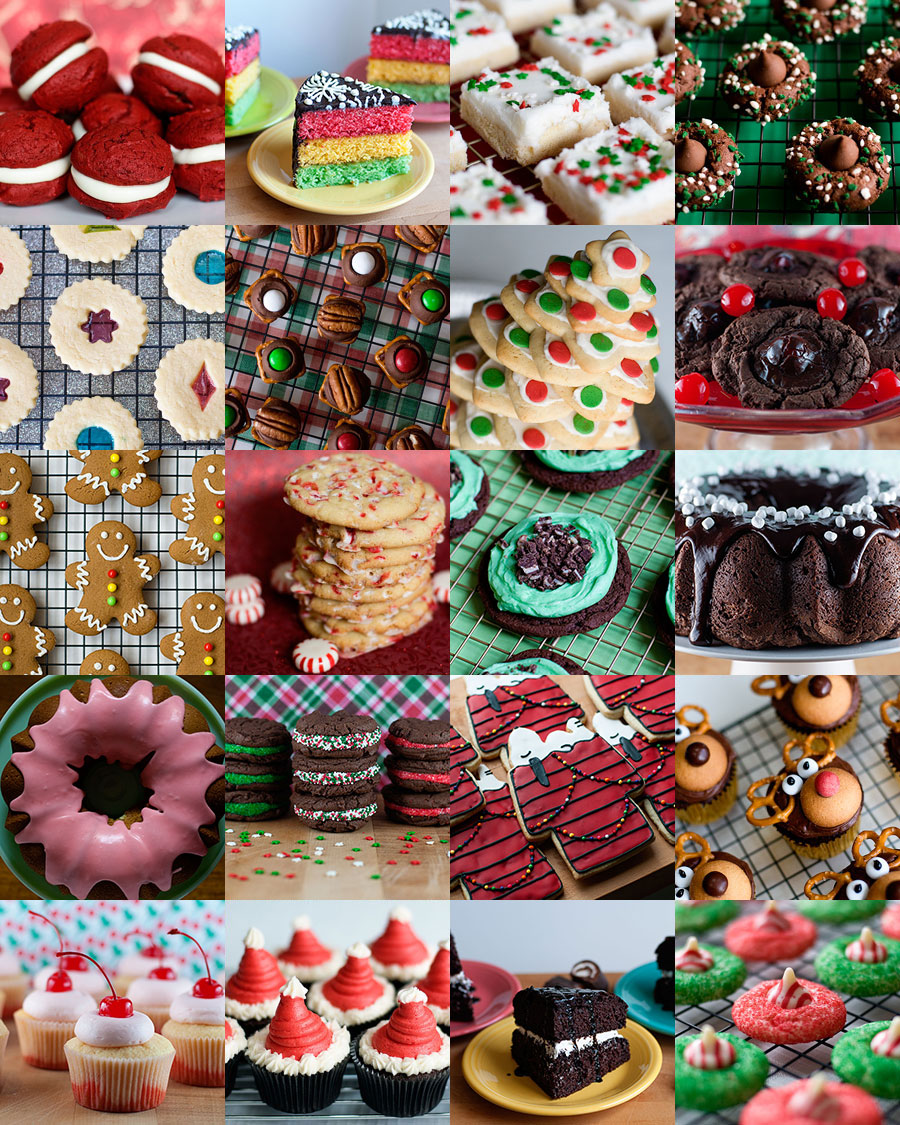
Still need a few ideas for your holiday cookie exchange or Christmas festivities? Here’s my list for 2013! 1. Red Velvet Whoopie Pies 2. Italian Rainbow Cake 3. Sugar Cookie Squares 4. Mint Chocolate Kiss Cookies 5. Stained Glass Sugar…
12 Days of Christmas: Snoopy Christmas Cookies
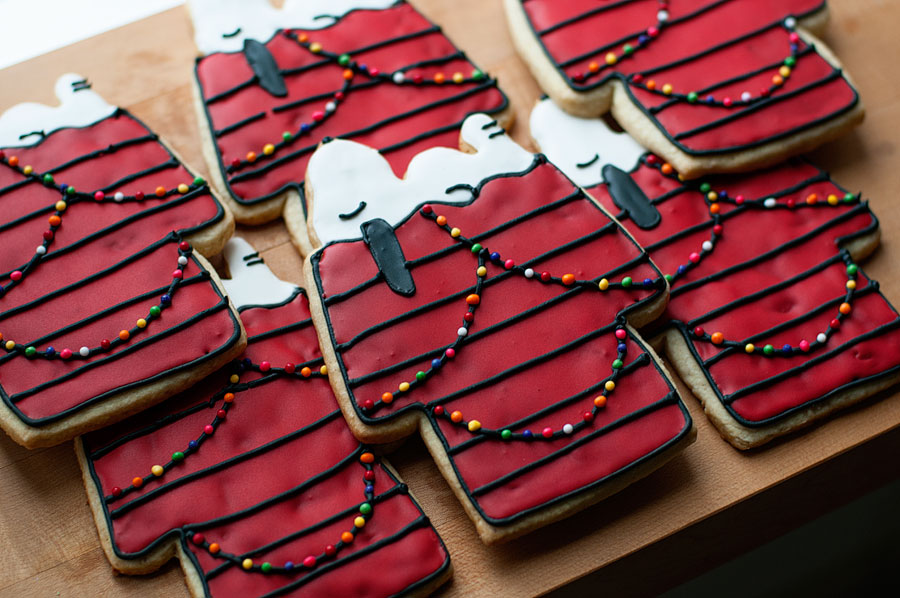
These cookies just make my heart happy. Who doesn’t love Charlie Brown and the whole Peanuts gang? Rather than a step-by-step tutorial, here are some bullet points explaining how I made these: These cookies were inspired by Pink Apron Baker…
12 Days of Christmas: Shirley Temple Cupcakes
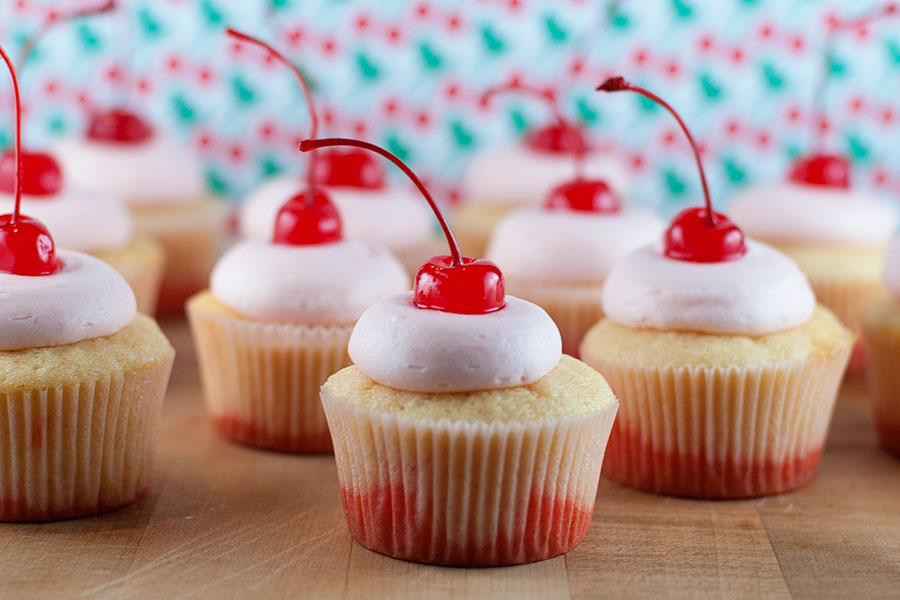
My love of all things cherry continues! Shirley Temples are THE drink to make little kids feel like grown ups. Nothing like a little 7up, ginger ale, and grenadine to make you feel like the coolest kid on earth. I…
12 Days of Christmas: Italian Rainbow Cookie Cake
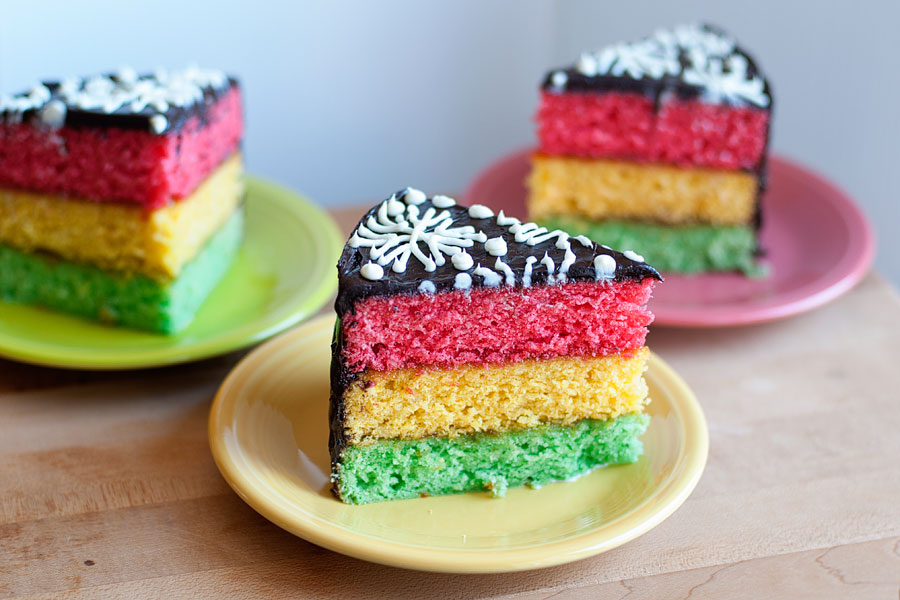
Two winters ago, I featured one of my all-time favorite cookies — the 7 Layer Cookie (aka, the Italian Rainbow Cookie). I know what you may be thinking. It looks more like a bar than a cookie. I can’t figure…
12 Days of Christmas: Hot Chocolate Bundt Cake
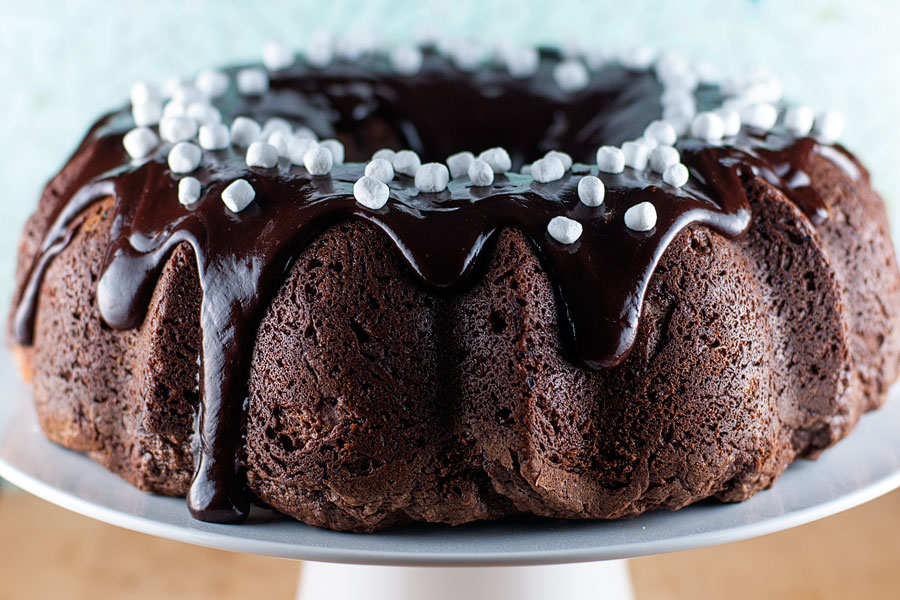
OMG, these mini marshmallow bits are the cutest things. It’s like being able to eat a handful of the marshmallow bits from Lucky Charms cereal! I’ve only been able to find the mini marshmallow bits at Target. Have any of…


