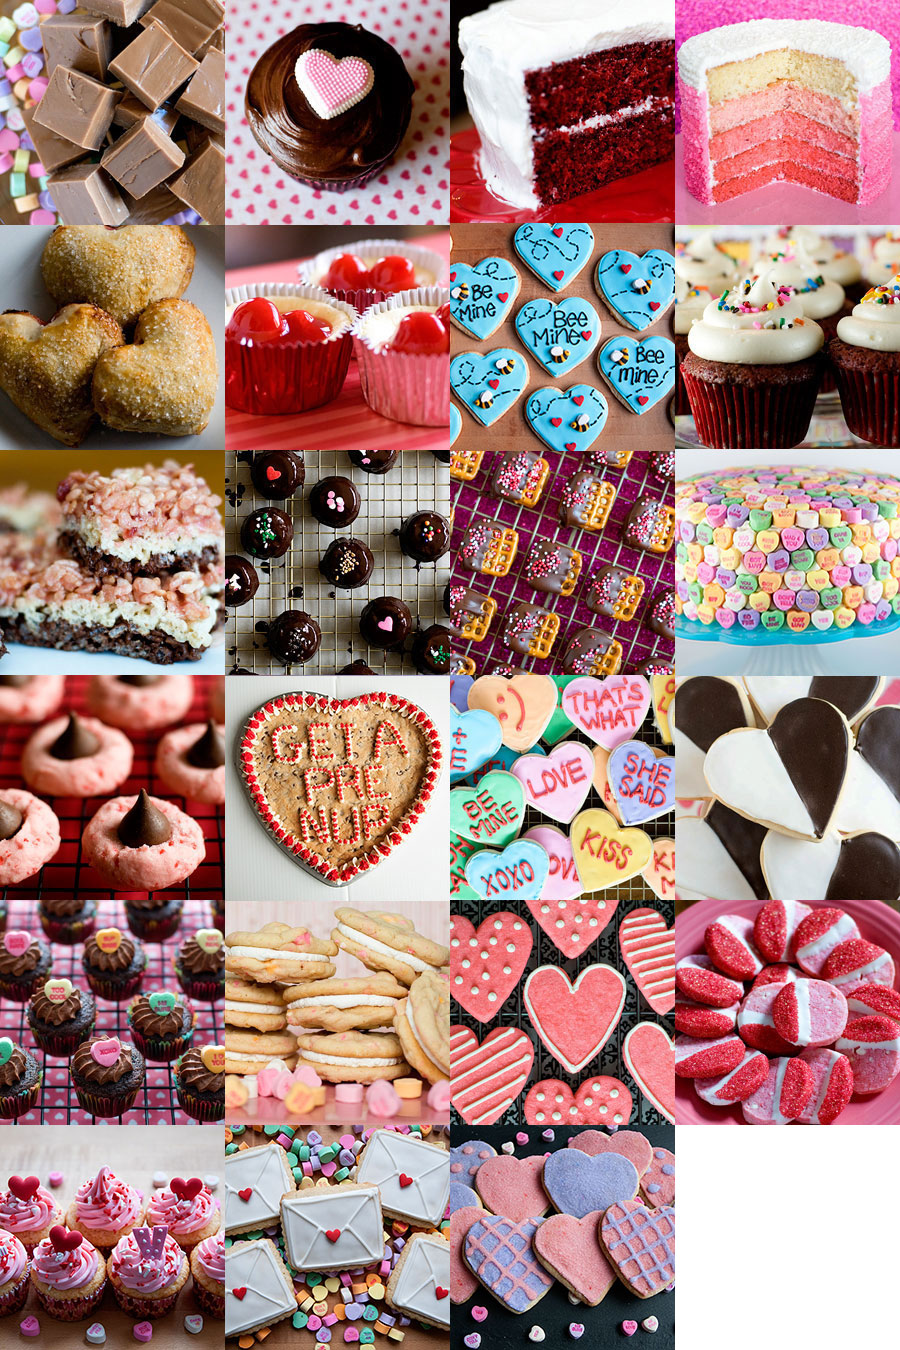
Valentine’s Day is this weekend! If you need sweet ideas, you’ve come to the right place! 1. Tootsie Roll Fudge 2. Chocolate Mayonnaise Cupcakes 3. Red Velvet Cake 4. Pink Ombre cake 5. Pear-Raspberry Heart Pies 6. Mini Cherry Cheesecakes 7….
Love Letter Cookies
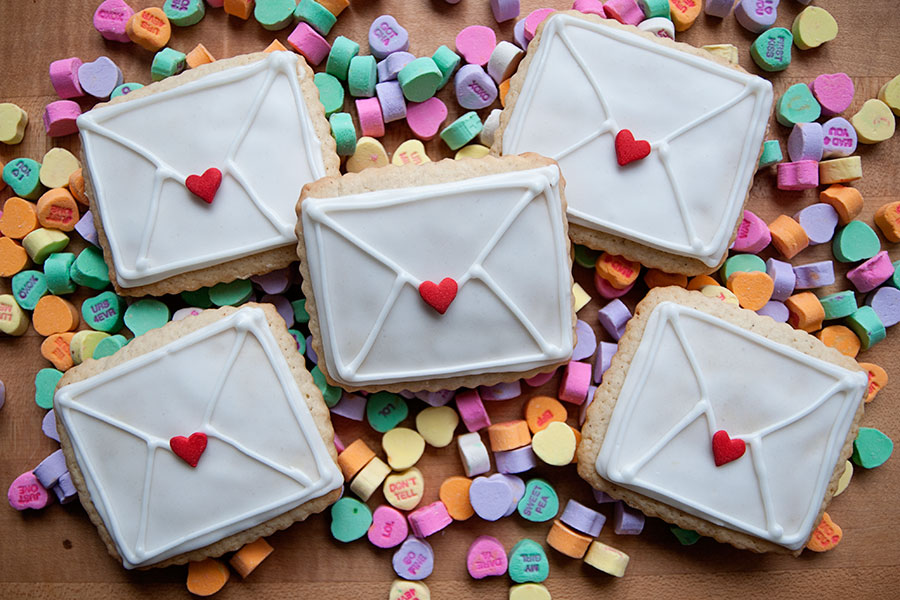
Handwritten letters and notes are the best, right? I love technology, the Internet, and social media like crazy, but I am also a huge believer in hand-writing thank-you notes, letters, etc. There’s just something more personal about receiving a hand-written note…
LOVE Cupcakes
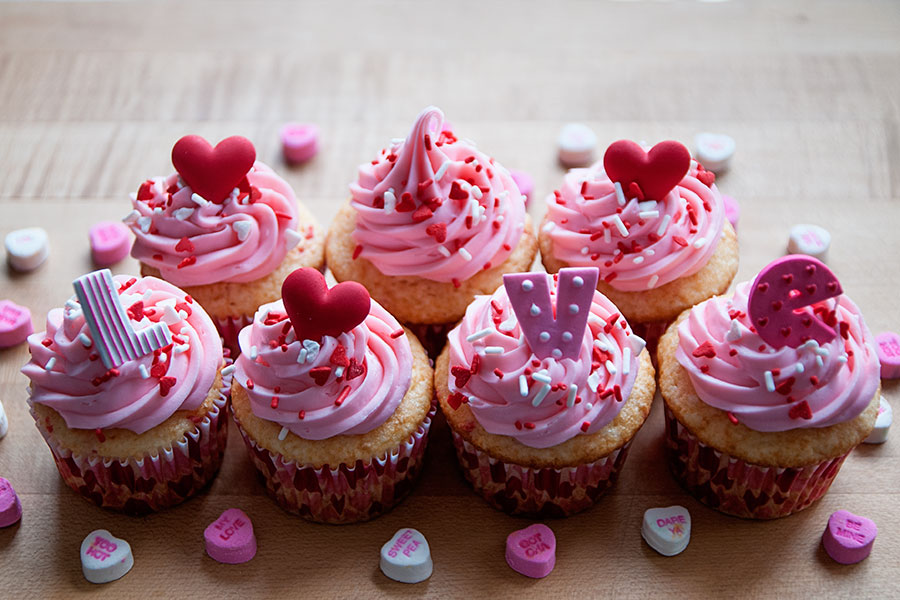
If you need something EASY to make for work or for your kid’s class, this post is for you! Side note: are kids allowed to celebrate Valentine’s Day at school? Or is this another fun, innocent event that has been…
Pink + Purple Hearts
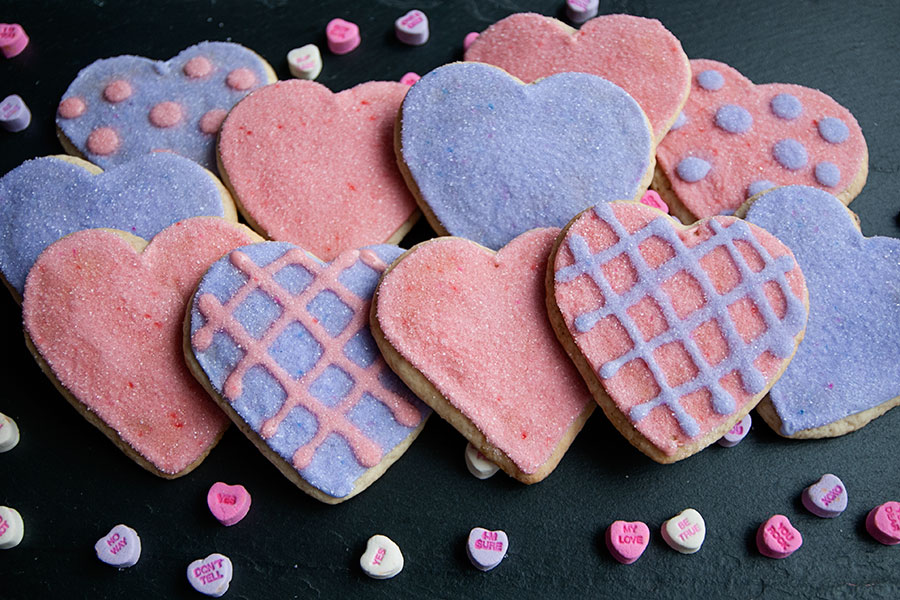
‘Tis the season for hearts and love! These cookies didn’t turn out quite like I had envisioned, but I’m posting them anyway. And a weird thing happened — some of the sprinkles turned red or blue overnight. See the little…
Sprinkles 101
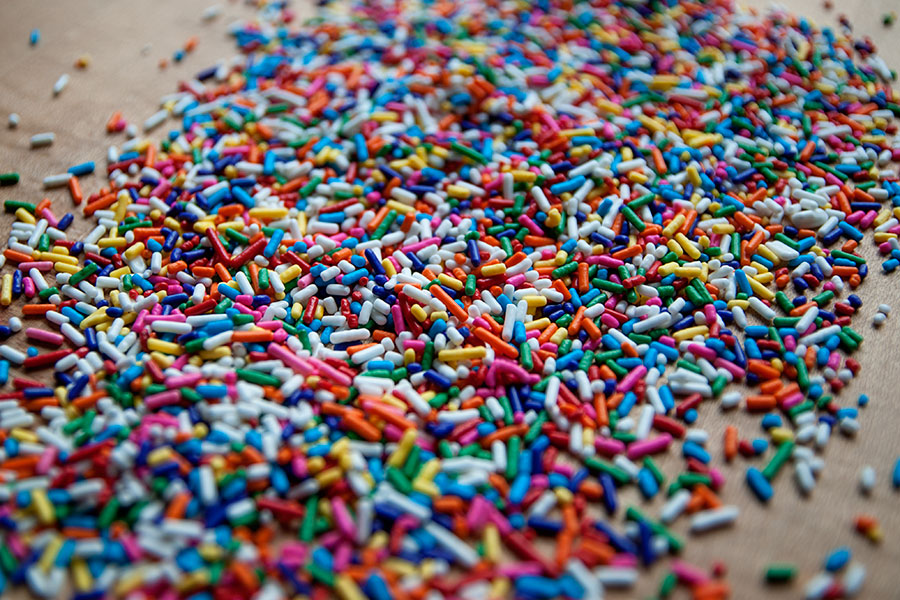
The title of my blog includes the word “sprinkles”, so it should be no surprise that I am obsessed with them. What I have learned in my years of baking is that there are about 3,297 different types of sprinkles. Jimmies….
Buckeye Brownies

One of the universe’s greatest flavor combinations is chocolate + peanut butter. If you are not a fan, GTFO of my life. That is how strongly I feel about chocolate + peanut butter. So naturally, I’m a big fan of…


