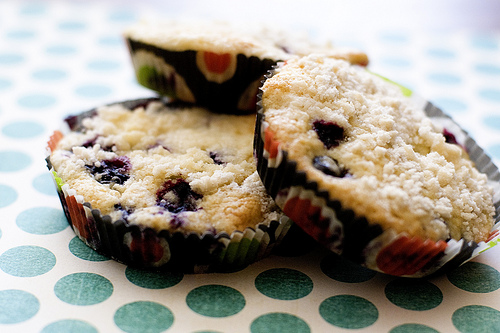
We all know that muffins are the same thing as cupcakes — but muffins are a little less cute and attractive. We all also know that the muffin top is the best part of the muffin. Why even continue after…
Happy Easter!
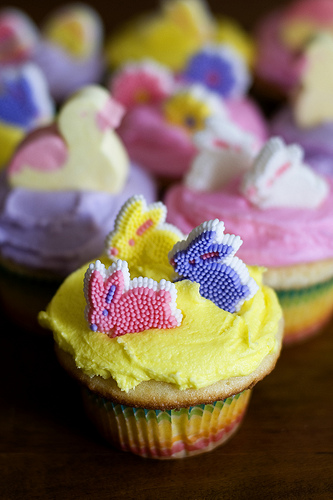
Happy Bunny Day!
Mini Cupcakes
Happy April – the month of spring, in my opinion! The weather is finally improving, Easter is approaching, and all things spring are here. I made these little cupcakes as my last baking project in my previous apartment. Admittedly, I…
Vanilla Vanilla Cupcakes
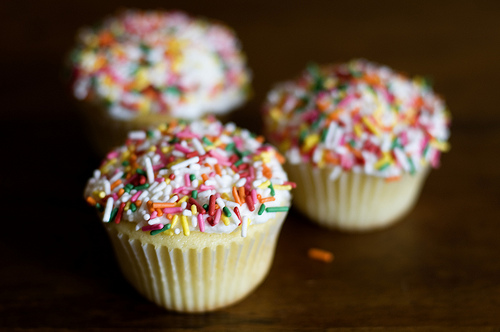
Sometimes simple is better. A simple vanilla cupcake paired with simple buttercream frosting. Of course, no cupcake would be complete without a ton of sprinkles! Vanilla Vanilla Cupcakes Recipe Source: Billy’s Bakery 1 3/4 cups cake flour, not self-rising 1…
Guinness Brownies
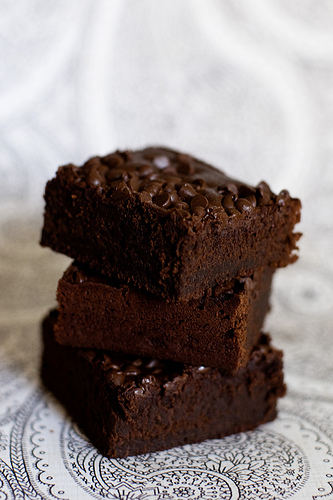
I had some Guinness leftover from last week’s Irish Car Bomb cupcakes, so I decided to make brownies! Thank you to my friend Kate for the recipe.
Peeps Sunflower Cake
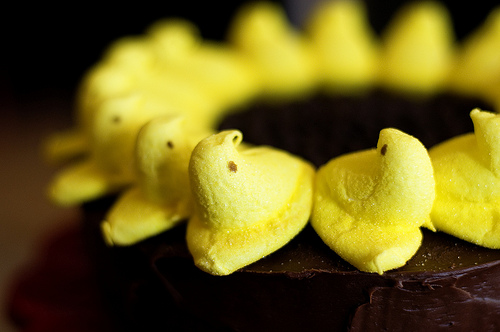
Ah, Peeps. You either love them or hate them. I tend to lean more toward the side of hating them, but each and every spring I buy a box and eat a few of the fluffy little marshmallow animals. They…


