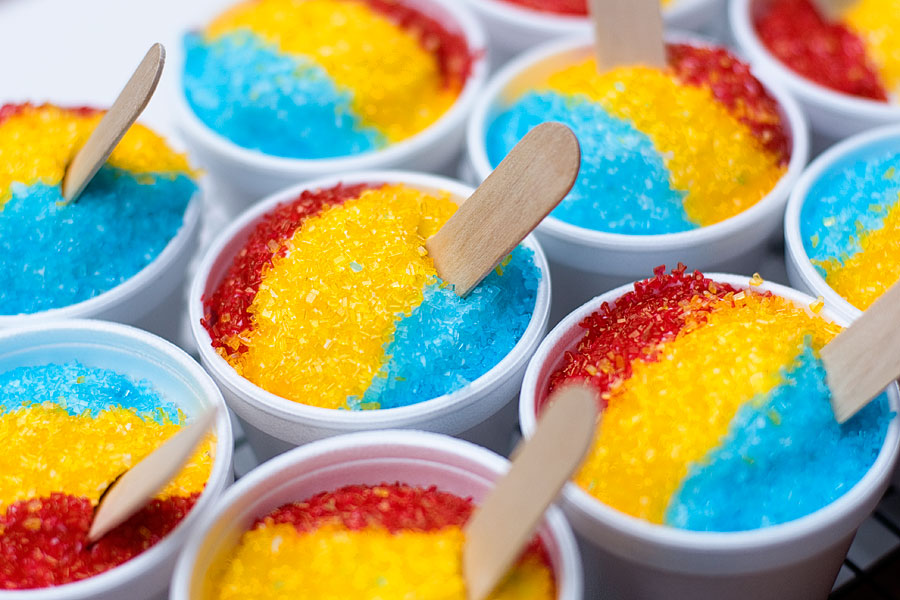
I just about squealed when I saw these adorable cupcakes in last month’s Food Network magazine. I mean, really. How cute are they?! And they really do resemble Sno-Cones! Oh, delicious Sno-Cones. I have vivid memories of eating Sno-Cones at the county fair when I was a kid. Nothing but syrup and ice, but somehow they tasted like magic (isn’t it funny how your environment can influence your perception of taste?).
These cupcakes are really easy to make. The hardest part, in my opinion, was finding the necessary Styrofoam cups and wooden spoons. I found the wooden spoons on Amazon – but if you won’t want to go this route, you could always stick a straw into your cupcakes (because many people drink their Sno-Cones instead of scooping out the ice). The 4-oz Styrofoam cups were more difficult to find. They are small and many stores don’t carry them. My Dad works in the food industry and was able to find a sleeve of them for me, but I’ve read on the Internet that Wal-Mart also carries this specific size. (and no, larger cups won’t work… the cupcakes sit juuuuuust right in the 4-oz version).
Anyway! Onto the instructions!
Sno-Cone Cupcakes
Recipe source: Food Network Magazine
Print Recipe
1 box cake mix (plus required oil, eggs)
Red, yellow, and blue sanding sugars
1 tub of store-bought vanilla frosting or 1 batch of homemade buttercream
Waxed paper, wooden spoons, and about 24 4-oz Styrofoam cups
1. Bake the cupcakes according to box directions. While your cupcakes are cooling, prepare the materials needed for assembly. Pour the sprinkles out into separate bowls. Cut strips of wax paper, about 1 inch wide.
2. Frost your cupcakes and use a generous amount on each cupcake. You want the frosting to form a little mound on the top of each cupcake.
3. Place one strip of waxed paper in the middle of the cupcake. Dip the exposed sides into the red and blue sugars. Remove the strip of waxed paper and dip into the yellow sugar.
4. Drop the cupcake into the Styrofoam cup and add a wooden spoon.


These are sooo pretty! Love it!
These are so adorable!!