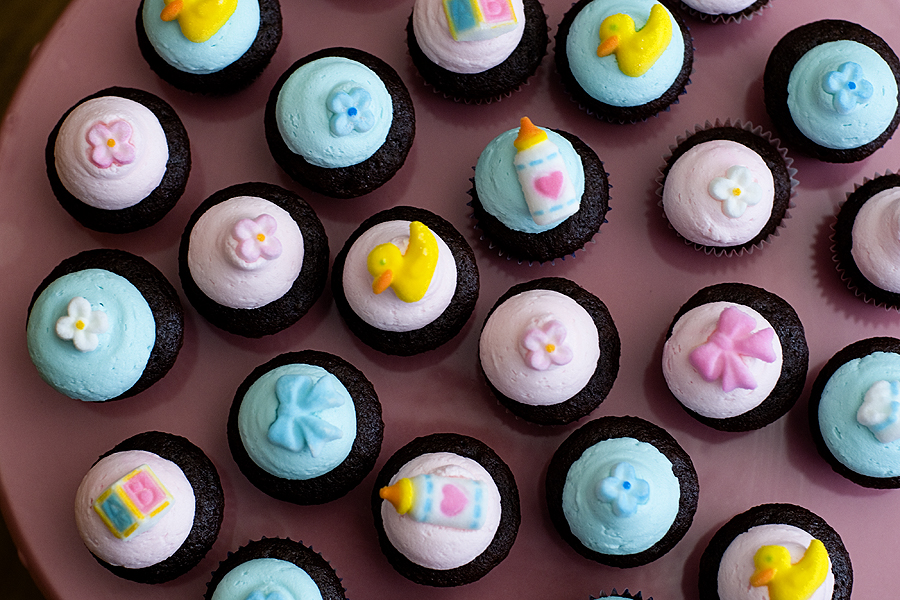
One of my former co-workers is expecting a baby in early October (hi, Jenny!). Our former boss hosted a cookout last week and I decided to make mini cupcakes for dessert — with a baby girl/baby boy theme! The mom-to-be…
Archives for August 2011
Farm Cake

My friend (and cake decorating partner-in-crime) Meghan and I wanted to make a Thank You cake for the assistant director of our graduate program. Barb has been part mother, part friend, part problem-solver, part chocolate supplier, and a constant and…
Corn Dog Muffins
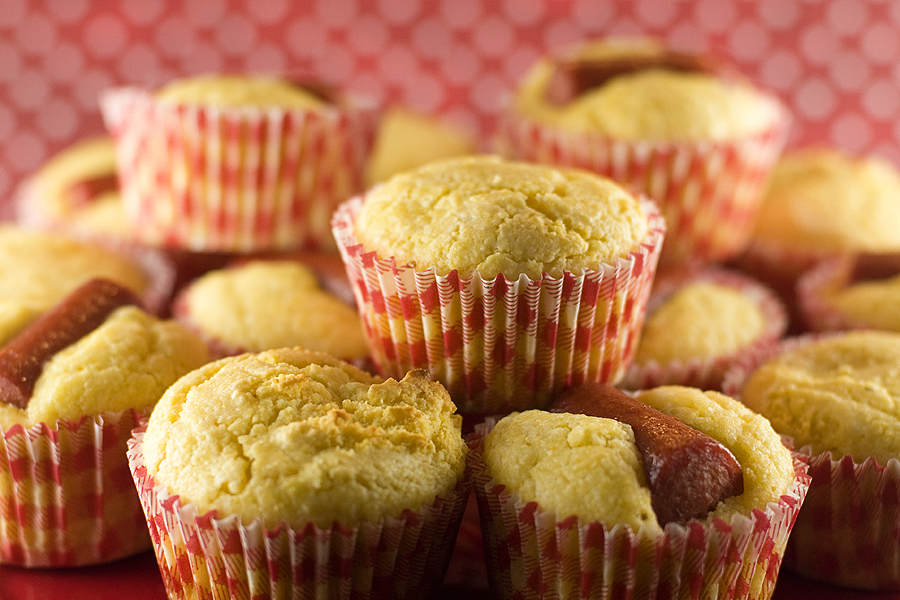
Ahh, August. The month of state and county fairs here in the Midwest and throughout the country. I visited my local county fair a few weeks ago and debated trying a fried Oreo or fried beer (yes, fried beer). But…
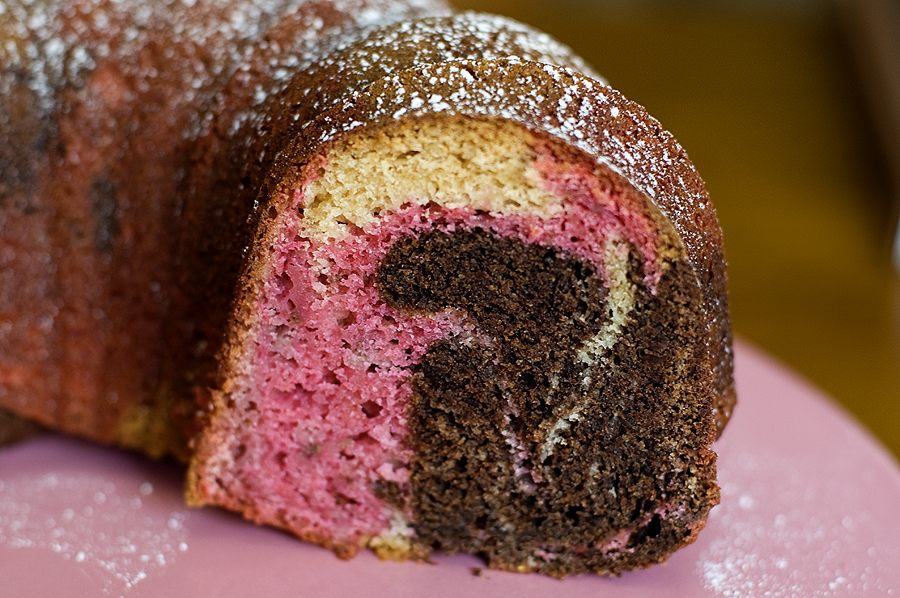
Neapolitan Bundt Cake
I’m baaaack! Aside from yesterday’s post, it’s been a while since I’ve posted and for that, I apologize! Summer is always a busy season and I’m not in the kitchen as much as I’d like to be. I was browsing…
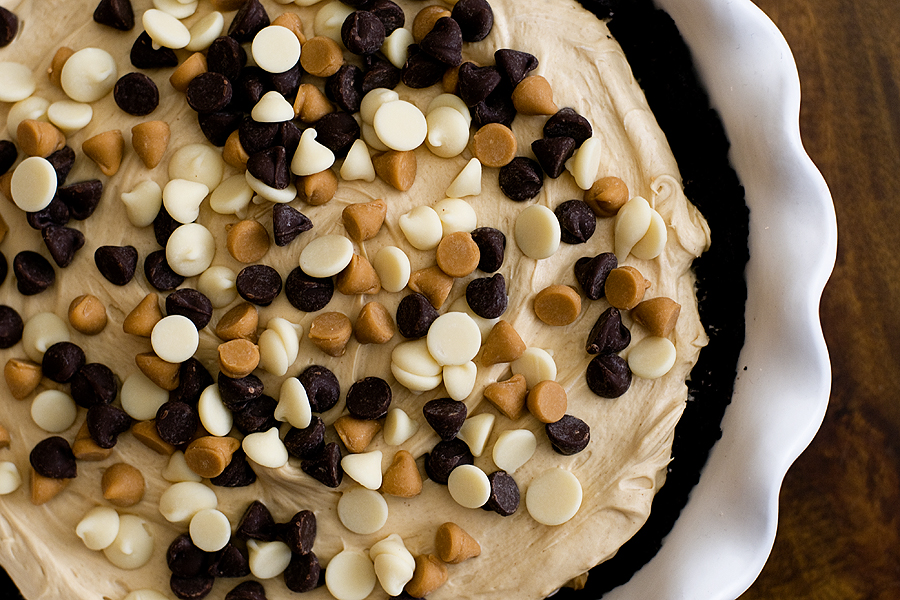
Peanut Butter Pie
I currently follow about two hundred baking/food blogs on my Google Reader. One of those blogs belongs to Jennifer Perillo. Jennifer lost her husband Mike last week due to a massive and sudden heart attack. He left behind Jennifer and…


