
These cookies, or some version of them, have become my go-to recipe. I make these for my friends at school quite a bit because they always disappear within hours, which I take a sign of their deliciousness. The cookies are…
Bakery Review: Grebe’s
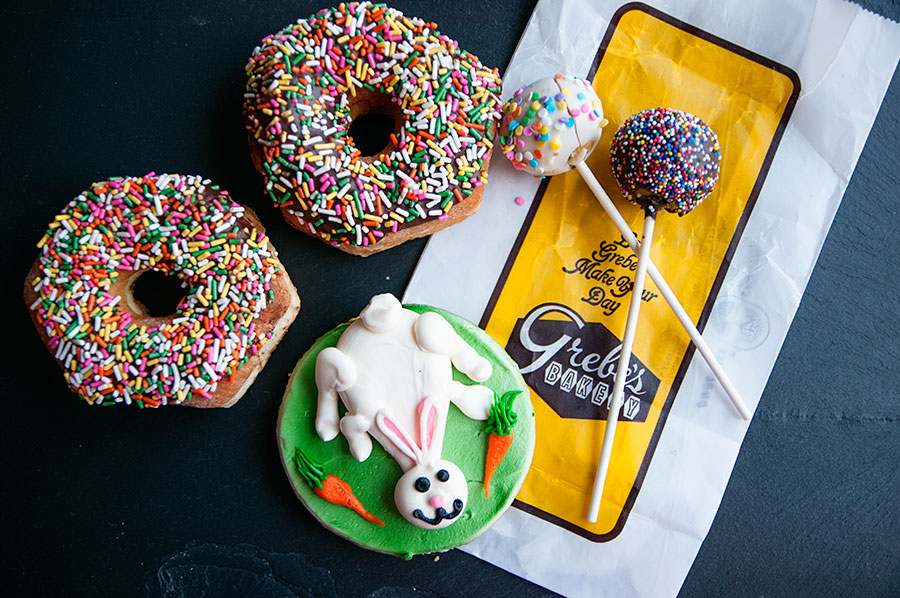
Happy Milwaukee Day! April 14th is Milwaukee Day because 4/14 = 414, which is Milwaukee’s area code. The Milwaukee Day concept is relatively new, but it’s gaining momentum and there are countless promotions, deals, and ideas floating around social media…
Sunshine Lemon Bars
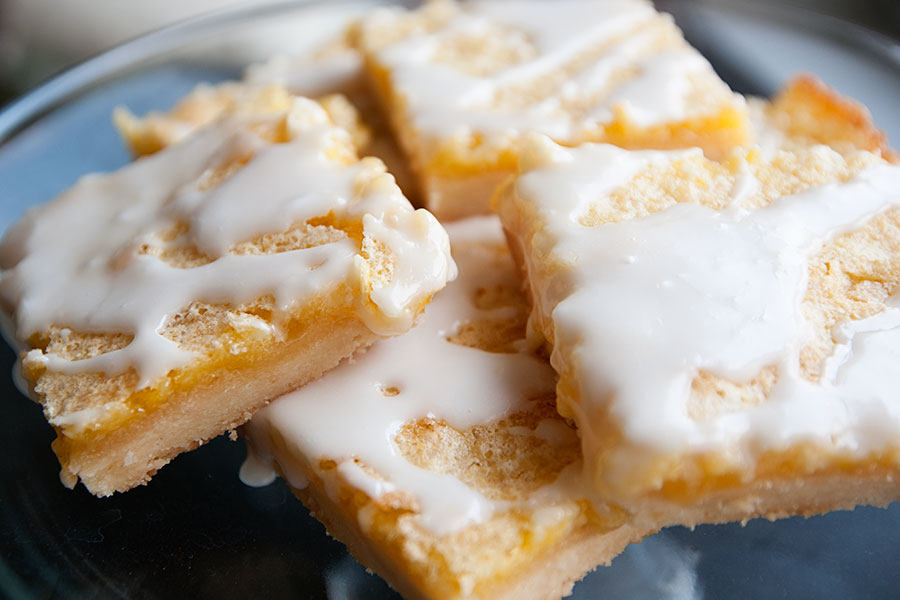
My momma’s 65th birthday is on Saturday. I adore my mom and will openly admit that she is my soulmate. My mom loves crossword puzzles, daffodils, Civil War trivia, iced tea with LOTS OF ICE, coffee with LOTS OF CREAMER,…
Happy Opening Day!
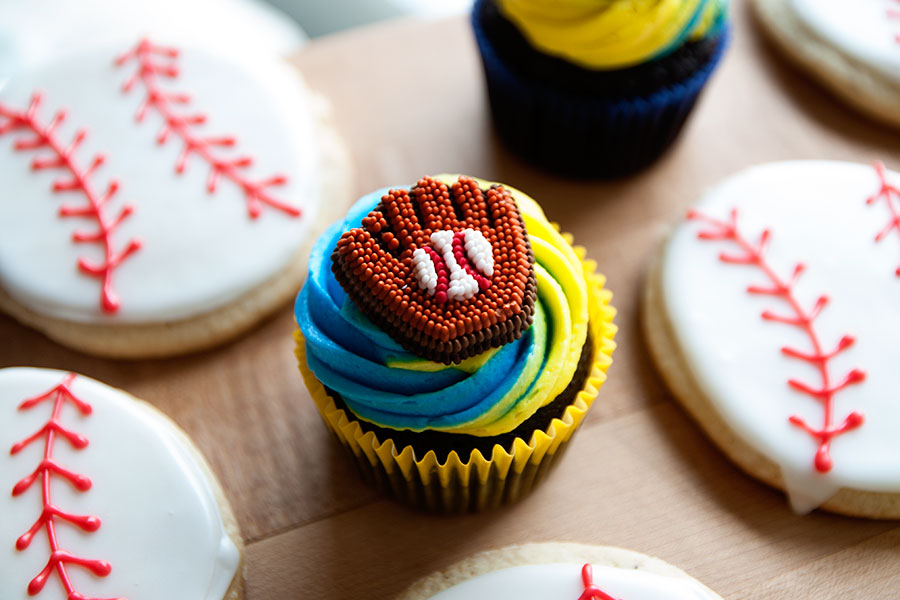
It’s opening day for the Brewers today! And the Badgers are playing in the championship game against Duke tonight! BIG DAY for Wisconsin sports. I don’t have a recipe to share today, but here are some cute treats I made….
Easter Ideas 2015

Here’s the Easter idea roundup for 2015! 1. Tuxedo Peeps 2. Easter Egg Cookies 3. Hot Cross Buns 4. Peep Cookies 5. Butterscotch Birds’ Nests 6. Coconut Easter Cupcakes 7. Cadbury Creme Egg Cupcakes 8. Homemade Peanut Butter Eggs 9….
Speckled Egg Cookies
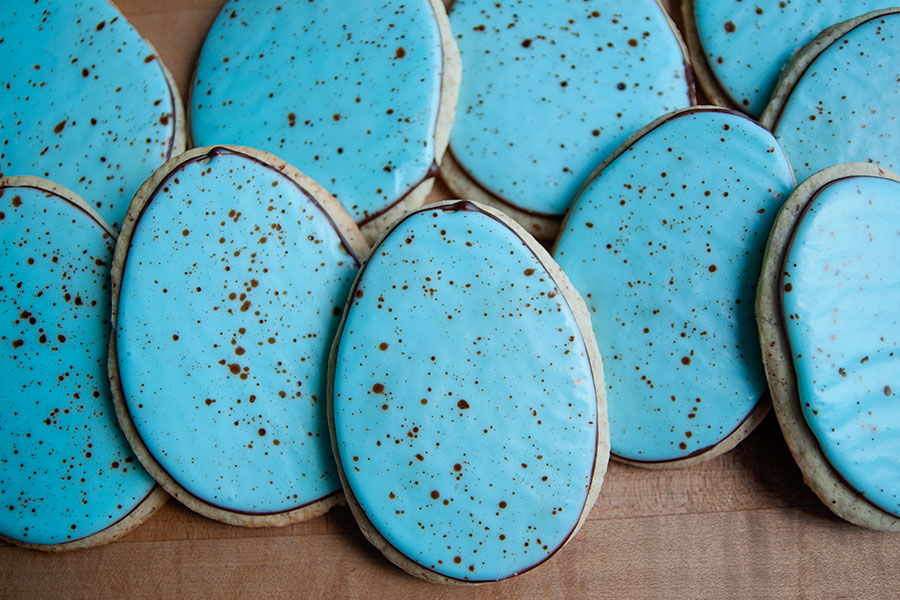
Speckled eggs! A sign of spring. I always feel twinges of sadness when I see one of these during the spring season — usually because the egg is on the ground, cracked, and the baby bird had no chance. This…


