Hey guys! Summer is almost over and I have blogged nothing. Nothing. I’m sorry for neglecting my little blog. The reasons why I basically peace’d out are numerous. Adjusting to work has been difficult (as I mentioned in my last post…
I’m alive!
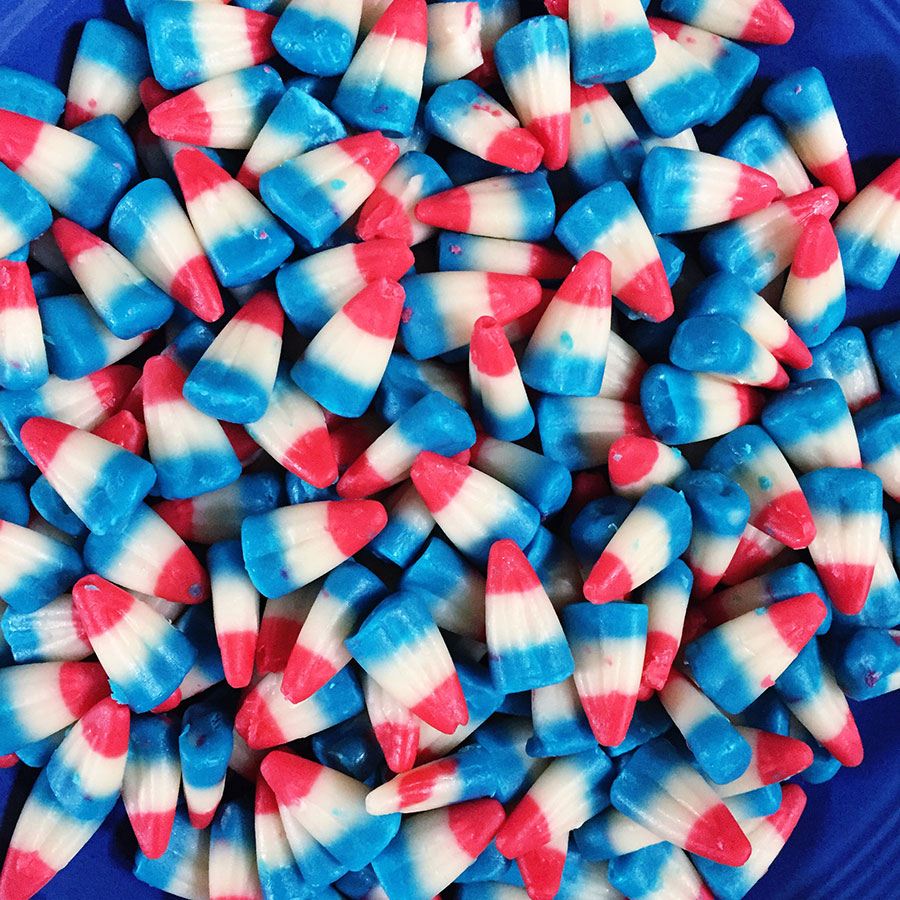
I’m alive! And hey, did you know that they make patriotic candy corn? I didn’t either. So I haven’t forgotten about my blog, nor have I lost my desire to bake. I’ve just been really busy, guys. The entire month…
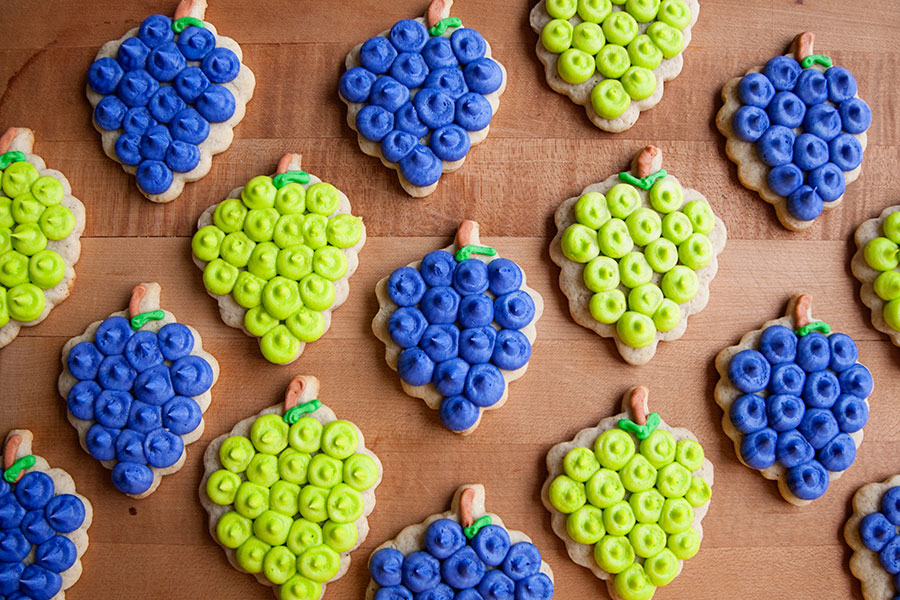
Goodbye to Milwaukee + a Hiatus

Hello lovely blog readers! I will be going on a month-long (or maybe a bit more) hiatus because I’m GRADUATING LAW SCHOOL! AND MOVING! AND STARTING A NEW JOB! OMG! This is all very overwhelming. Good overwhelming though. Because of…
Soft M&M Cookies
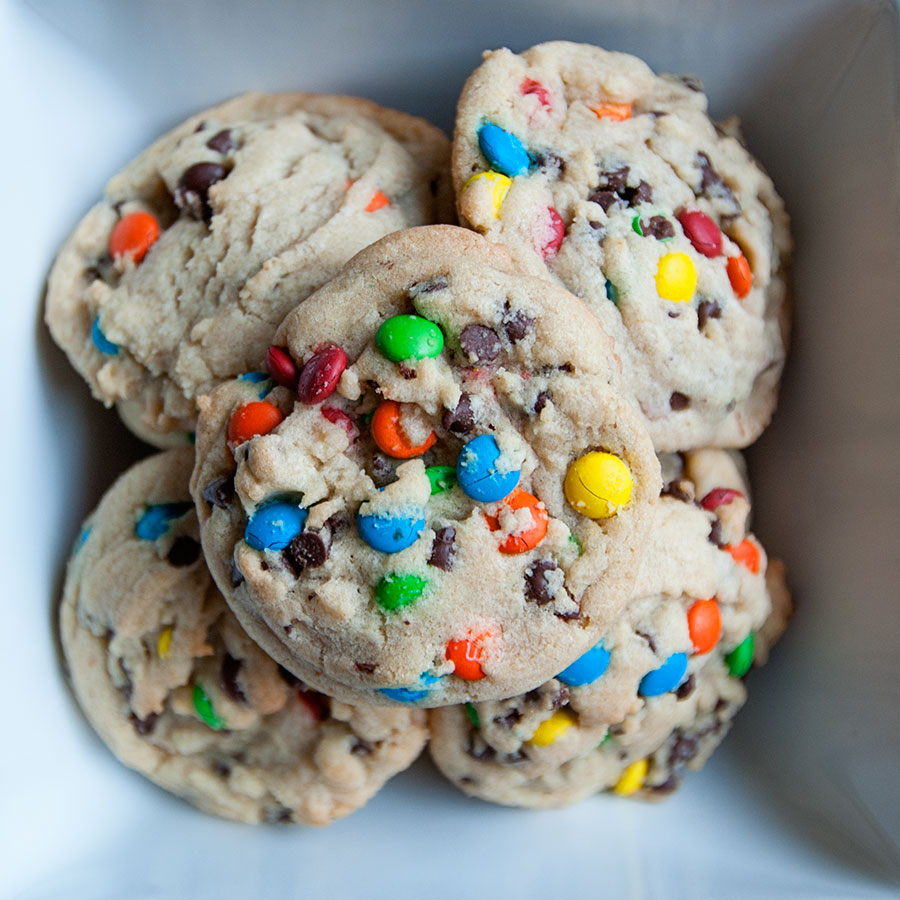
The end of April is here, final exams are in full swing, and law school is winding down for good. Throughout my three years of law school I’ve brought many of the treats I’ve made to school. Hungry and stressed…
Peanut Butter / Chocolate Cookies
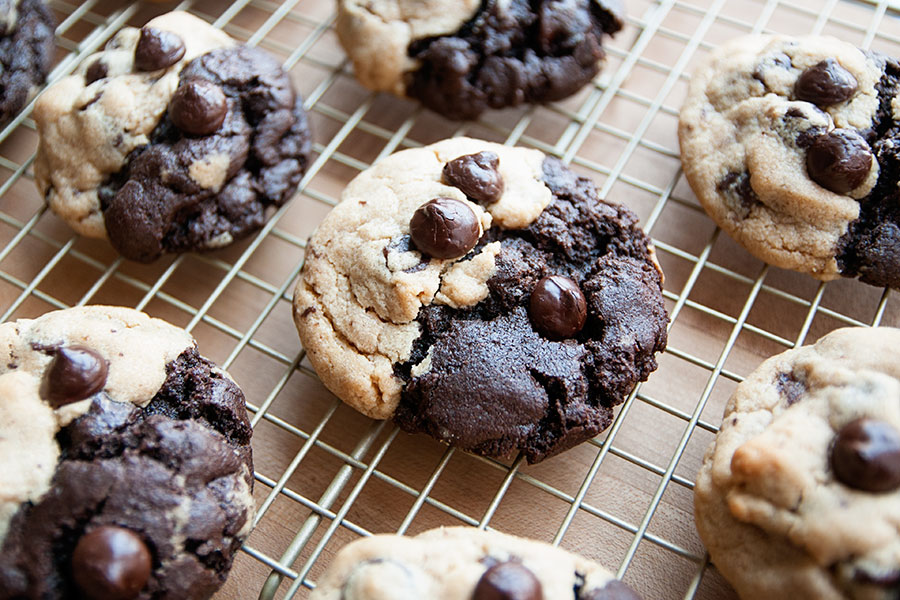
This is a recipe that went over BIG at school. The chocolate lovers were happy. The peanut butter lovers were happy. And if you didn’t peanut butter or chocolate, you could just eat one half! And don’t be hesitant to…
Bakery Review: National Bakery
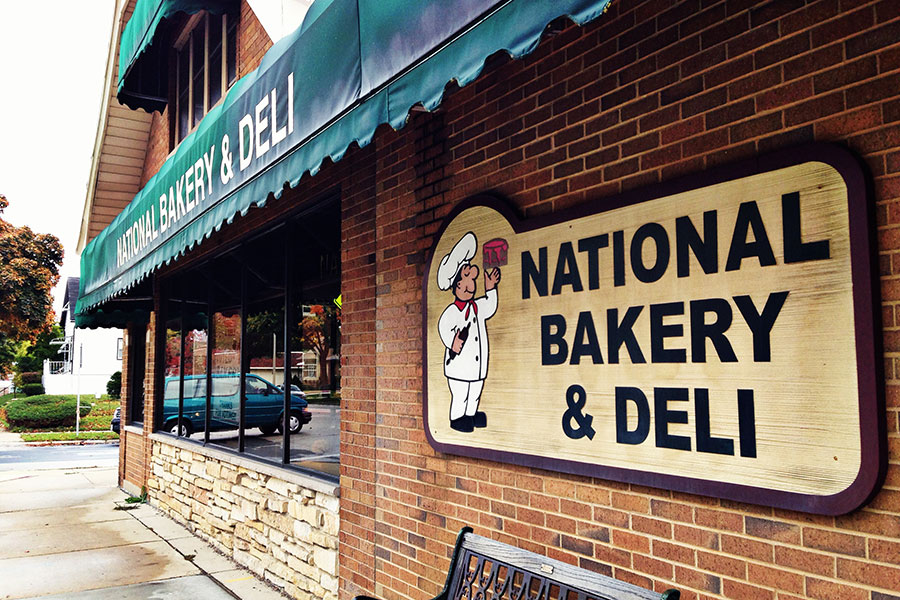
National Bakery has become one of my favorites in Milwaukee. In addition to bakery treats, they also sell deli meats and sandwiches. They have three locations in Milwaukee, but I always visit their 16th Street store. Every time I’ve been…


