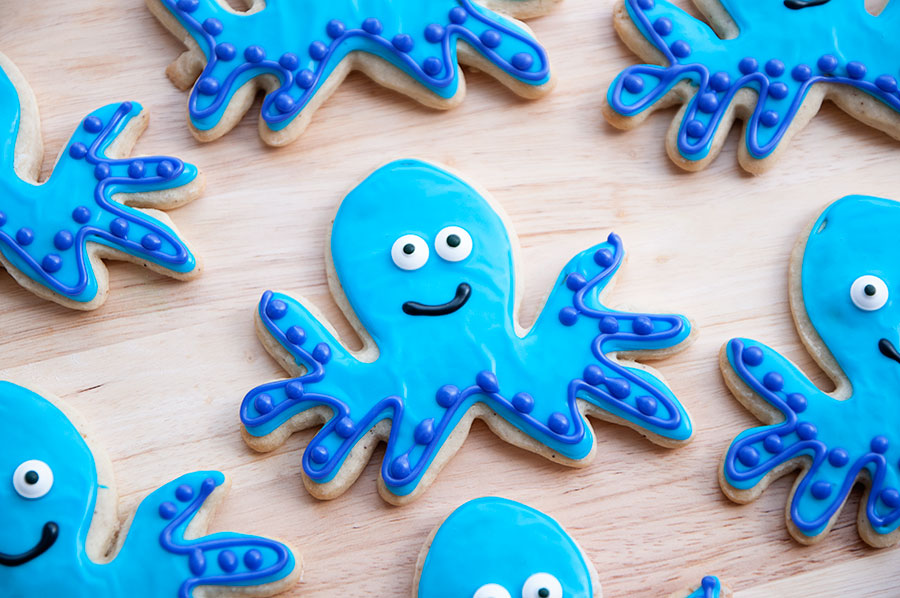
Stop what you’re doing right now and watch Ze Frank’s True Facts About the Octopus. Just trust me. It’s WEIRD and hilarious and you will thank me. You will also realize that octopi are total badasses. And kind of cute….
Palm Tree Cookies
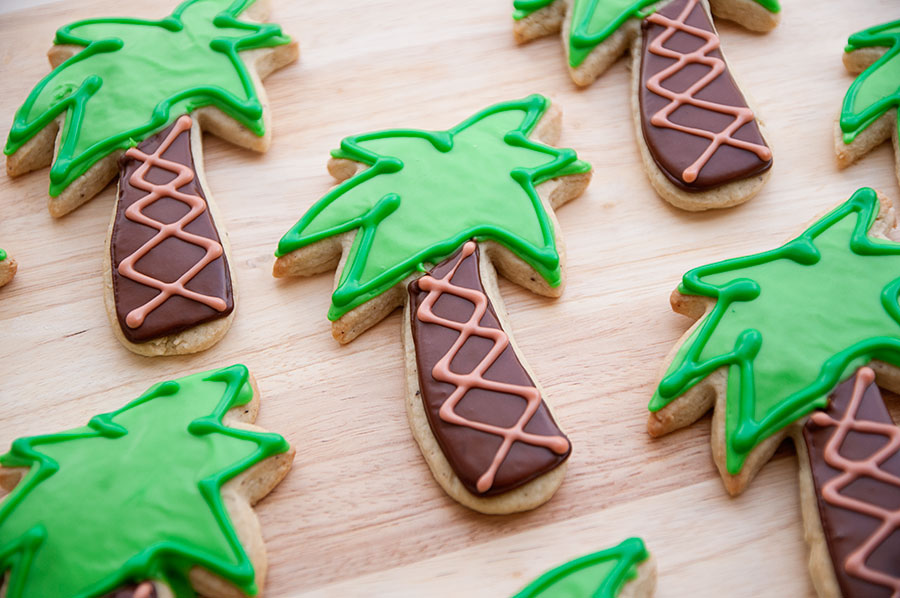
So, confession: I made these cookies after drinking a few cocktails. And I made the discovery that this cookie cutter could be used to make X-rated cookies — just modify these palm trees in a few ways and, uh, yeah….
Rainbow Cookies
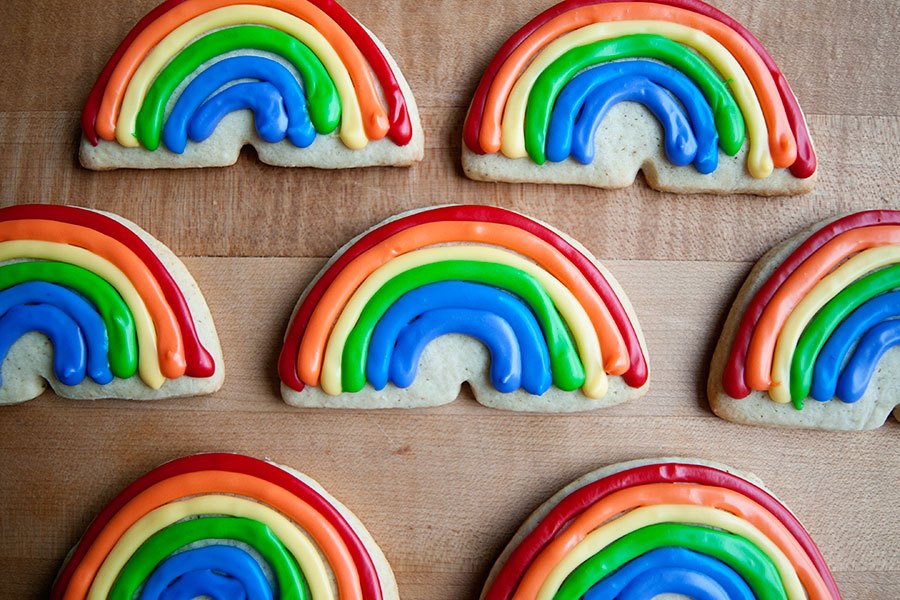
I’m a sucker for anything having to do with rainbows — because, duh, COLOR! Color that is so neatly organizing in a visually pleasing order. Swoon! Continuing on with my I-wish-I-were-in-Hawaii theme, Hawaii is full of rainbows. You will see…
Whale Cookies
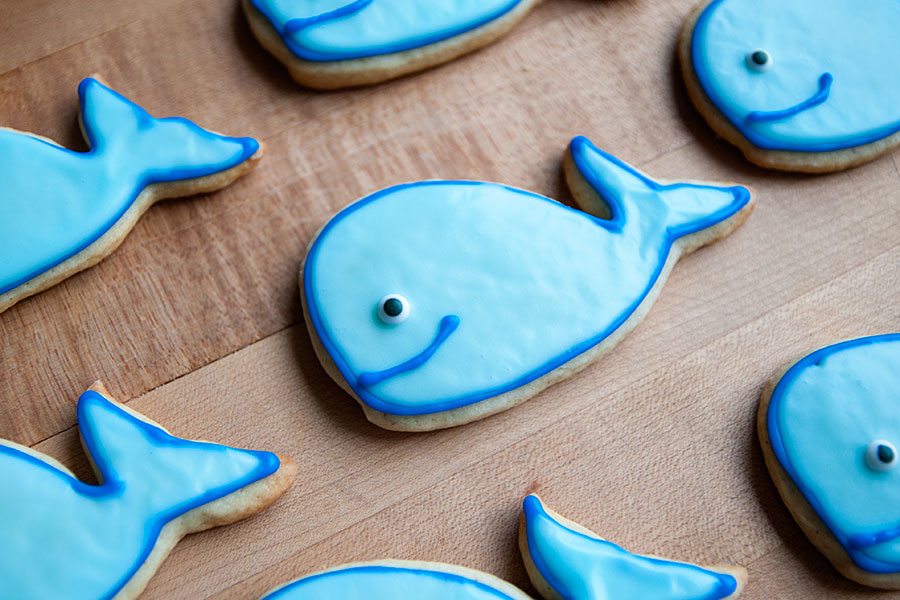
One of my favorite things about going to Hawaii is whale watching. You can take boat trips out to see the whales — or you can sit on the beach and watch the whales from the shore. If you visit…
Pineapple Cookies
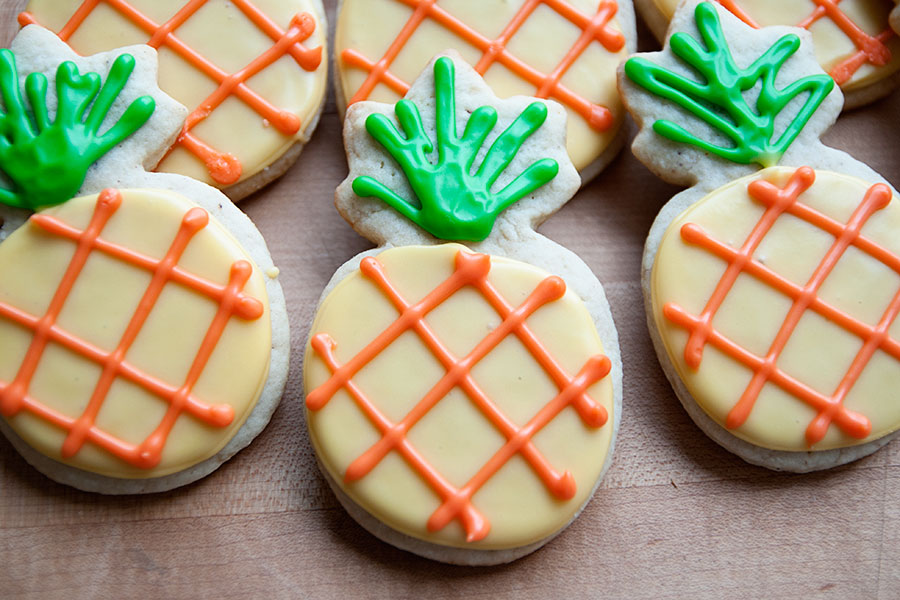
Yesterday I featured pineapple cupcakes, today I’m featuring pineapple cookies. Can you tell I’m obsessed with pineapples? The next week or so will feature whale cookies, rainbow cookies, palm tree cookies, octopus cookies, and sunshine cookies. Can you tell I’m…
Pineapple Cupcakes
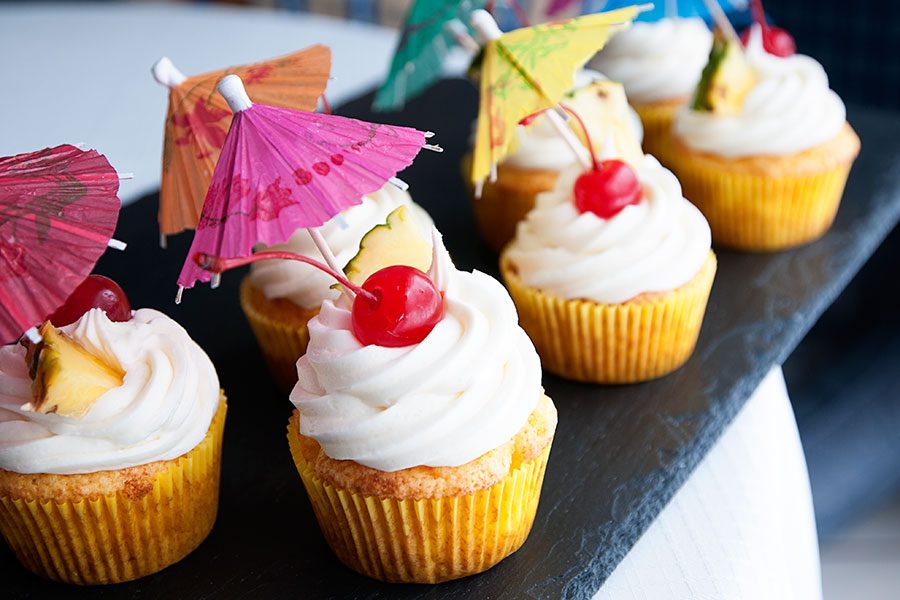
Pineapple is my favorite fruit (despite the fact that it gives me heartburn like whoa) and will forever remind me of family vacations to Hawaii. Aside from pineapple upside-down cakes, I haven’t found many baked goods that feature my most…


