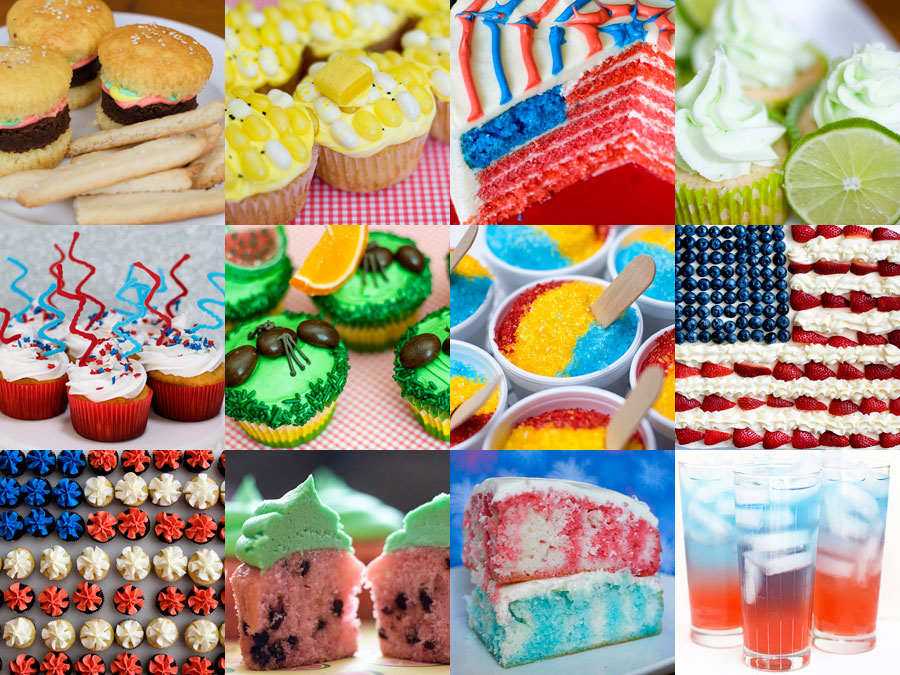
Here are some ideas for 4th of July or summer baking projects! I will be on vacation and away from my computer until mid-July. I’ve got a ton of posts scheduled for this blog, but I may be a little…
Archives for June 2012
Sno-Cone Cupcakes
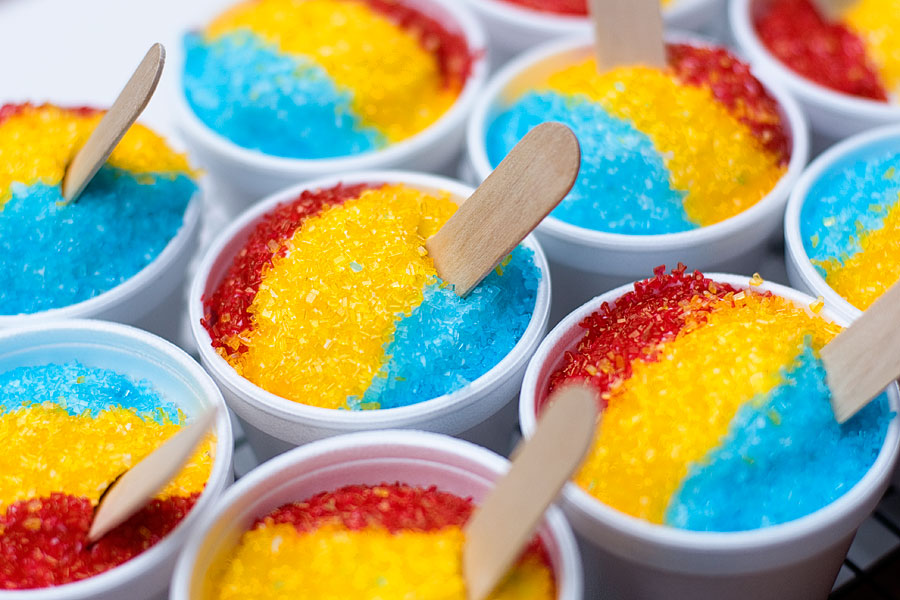
I just about squealed when I saw these adorable cupcakes in last month’s Food Network magazine. I mean, really. How cute are they?! And they really do resemble Sno-Cones! Oh, delicious Sno-Cones. I have vivid memories of eating Sno-Cones at…
Red & Blue Poke Cake
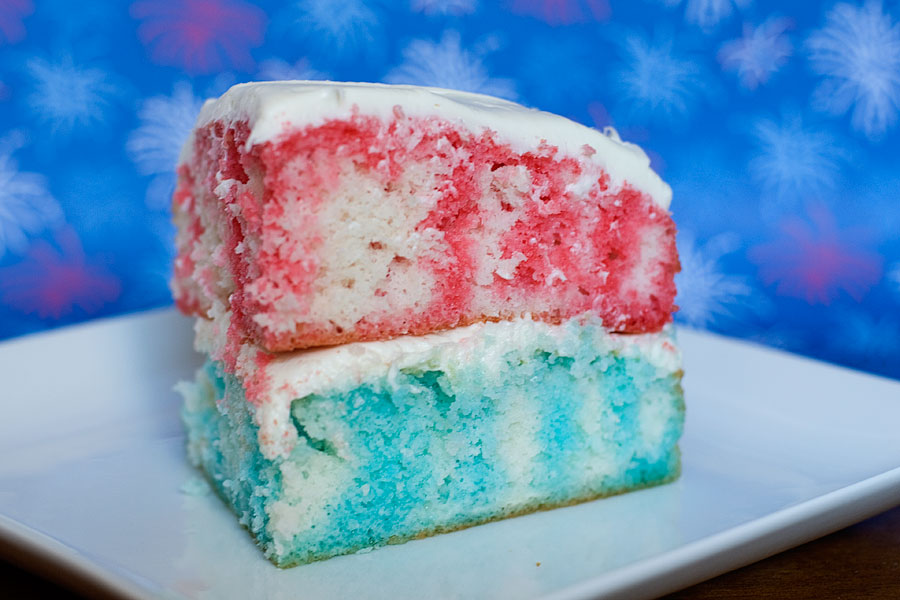
A friend of mine mentioned the concept of a Poke Cake to me many, many months ago. I was bewildered. She describe it as, “OK, you bake the cake, and then poke it, and then pour Jello over it, and…
Patriotic Punch
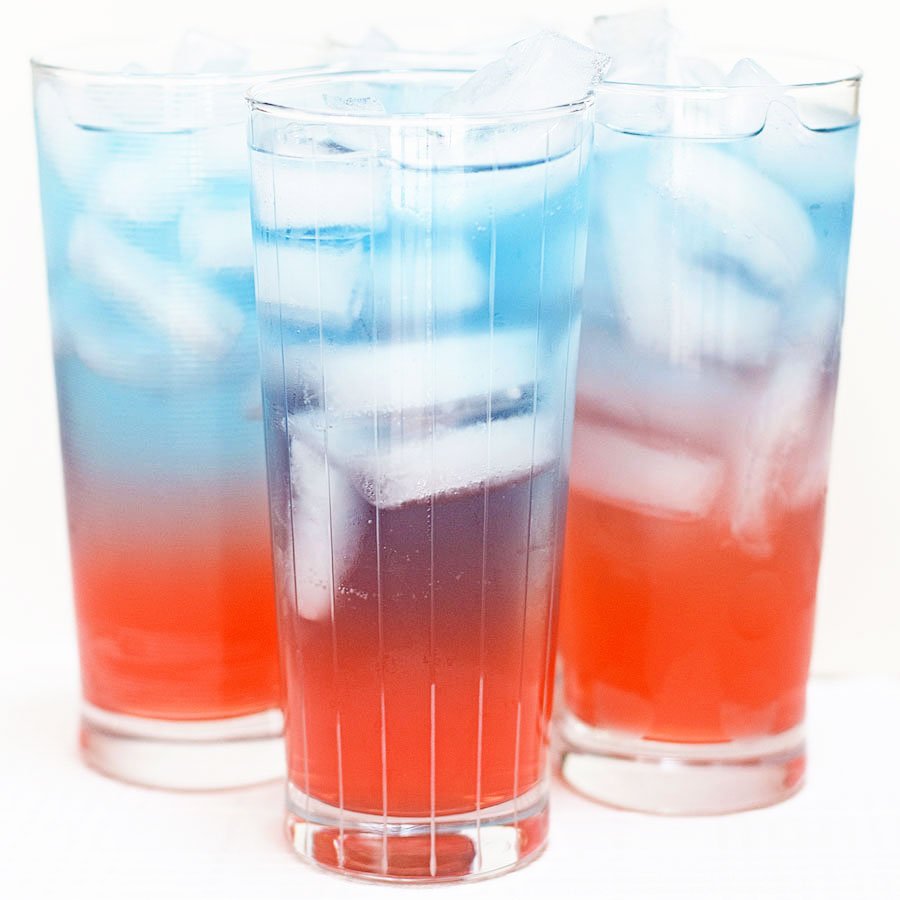
I live in the Midwest, so the 4th of July is usually hot, sweaty, and humid. This colorful punch is a great way to cool down! Since many 4th of July celebrations include kids, this recipe is alcohol-free. Ever wonder…
Sparkler Cupcakes
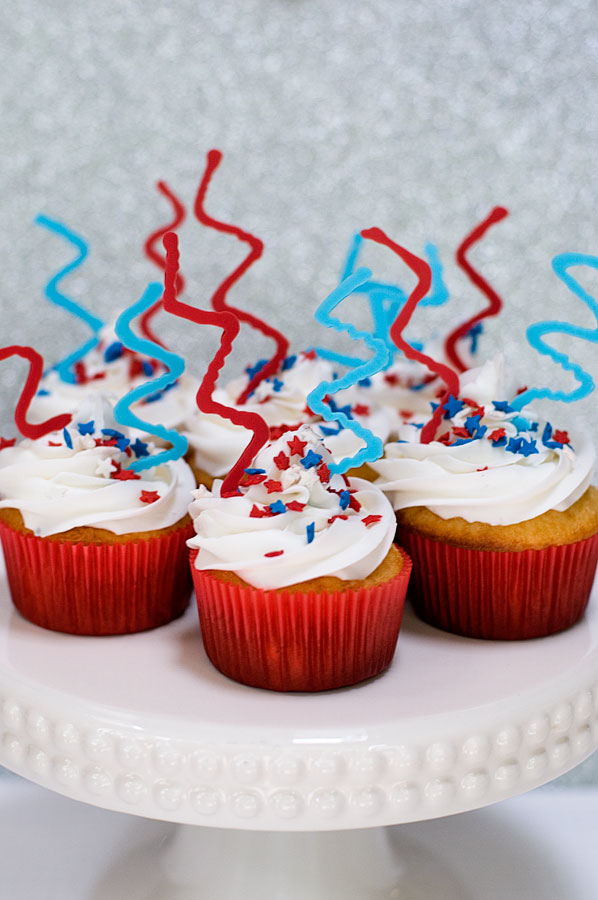
The 4th of July is almost here! It’s one of my favorite holidays because it involves summertime, explosives, patriotism, and a whole lot of a good food. These cupcakes were inspired by a Betty Crocker magazine that I picked up…
Father’s Day Golf Cake
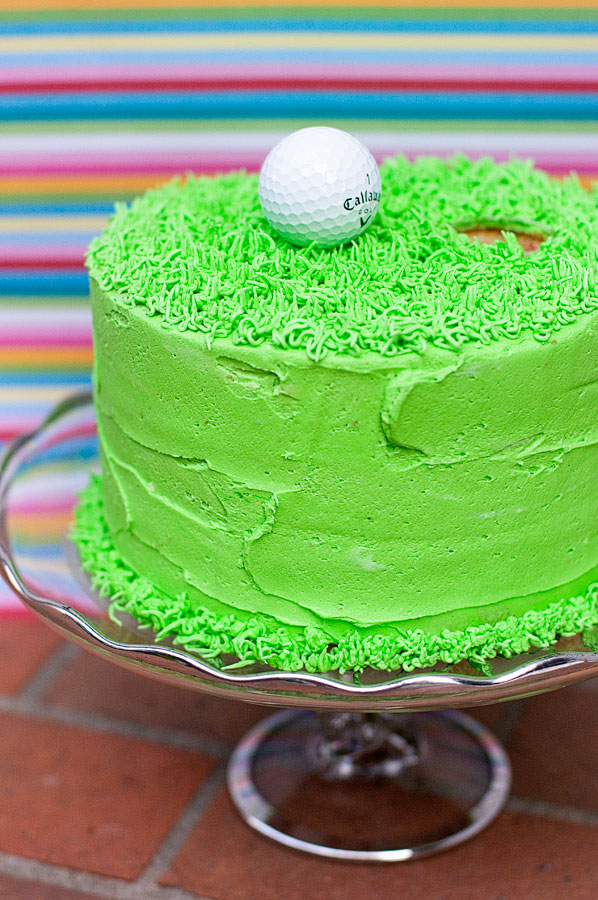
Happy almost-Father’s Day! My Dad loves golf more than most things on this earth, so I decided to make him golf in cake form. My Dad (and his side of the family) is where I get my love of food…


