
One of the universe’s greatest flavor combinations is chocolate + peanut butter. If you are not a fan, GTFO of my life. That is how strongly I feel about chocolate + peanut butter. So naturally, I’m a big fan of…
Archives for January 2015
How-To: Swirled Frosting
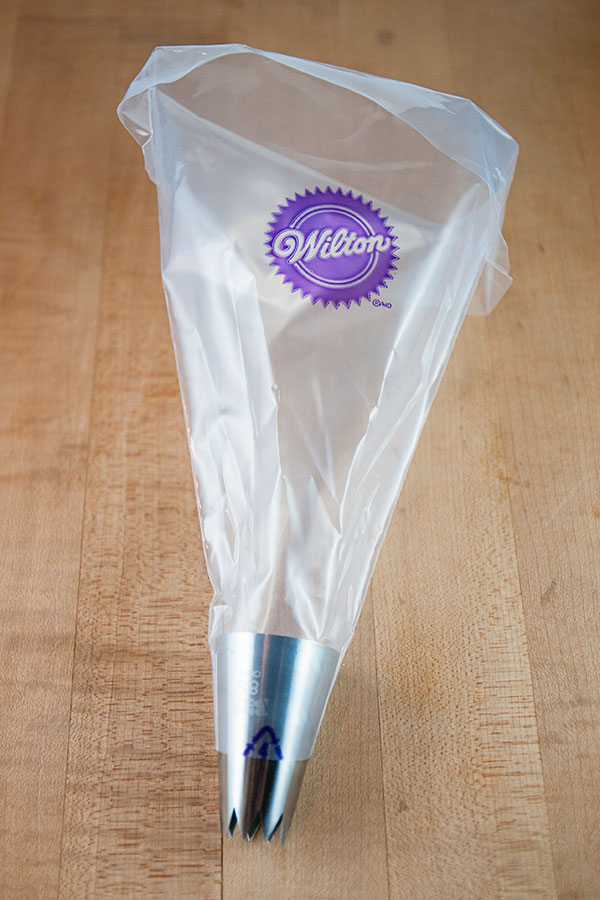
Have you ever wondered how to make swirled frosting? You know, when the frosting on top of a cupcake is two or more colors swirled together — like chocolate and vanilla. Side note: we all know that swirled soft-serve is…
Lollipop Cupcakes
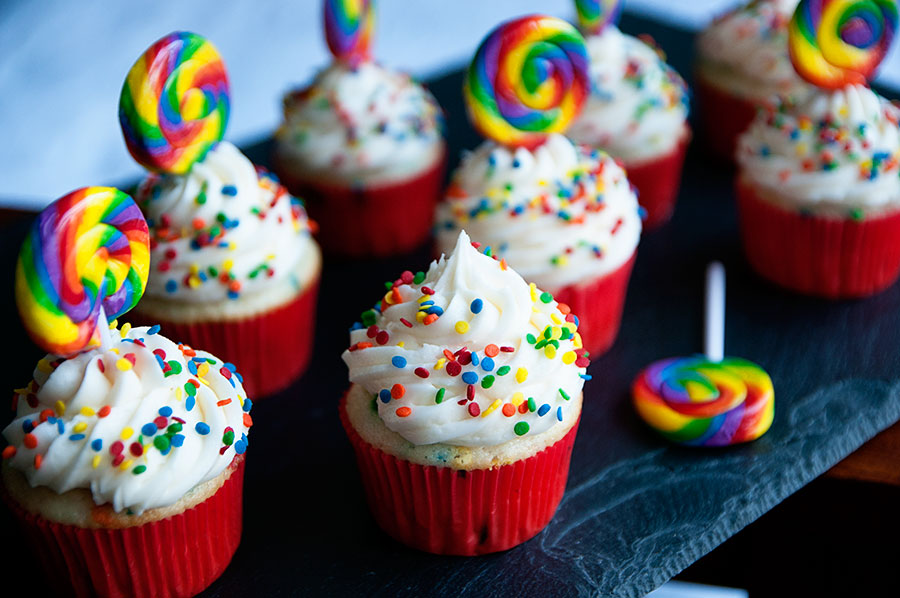
This is kind of a weird post because there’s no real or interesting recipe to present. It’s just a decorating idea. I found these rainbow lollipops waaaaaay in the back of my cupboard. I don’t even remember buying them (a…
Ron Swanson Cupcakes
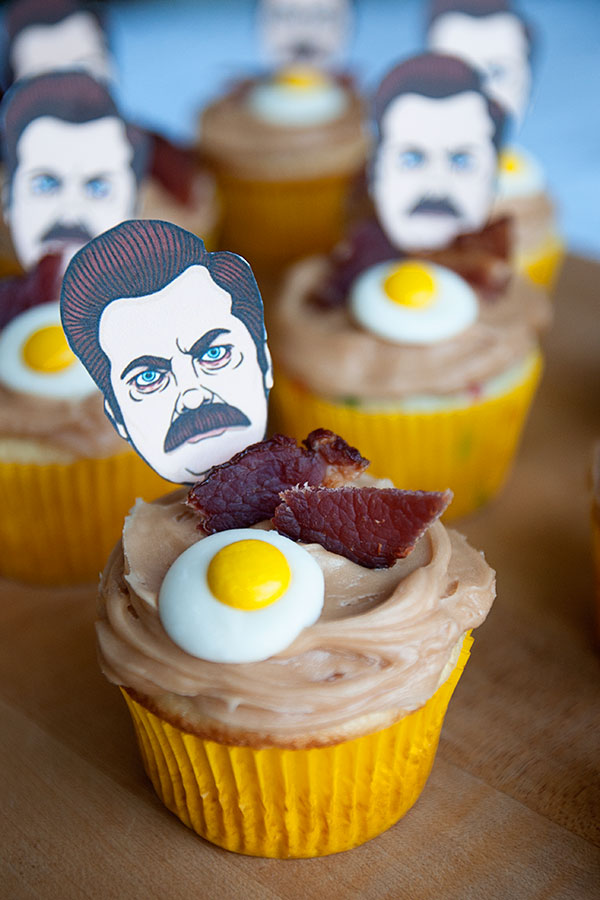
I am *so* sad that Parks and Rec has begun its LAST season. It’s one of my favorite TV shows. I love every single character (which is rare to experience with a TV show, amiright?!), but I really love Ron…
Bakery Review: The Crispery
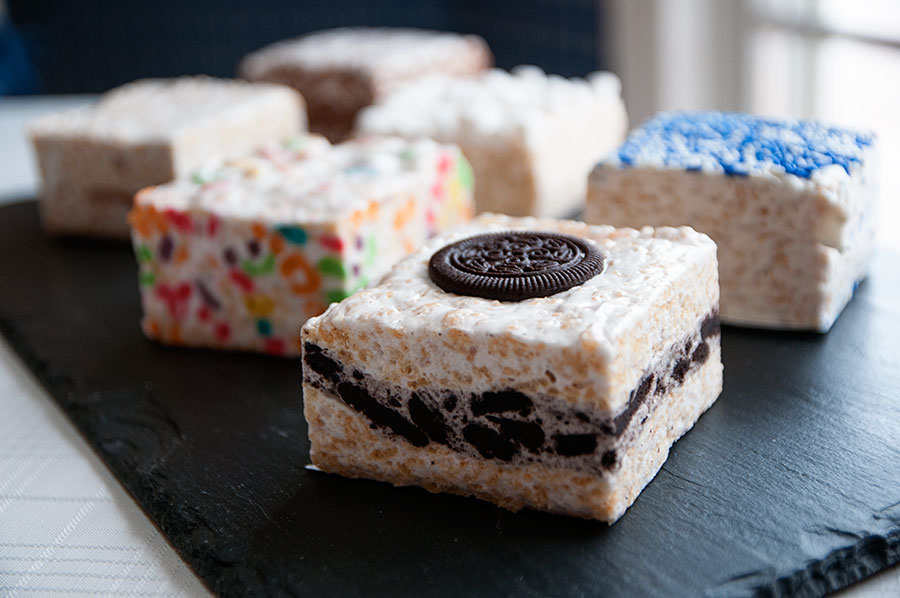
Today I’m reviewing The Crispery! I had been hearing good things about the Crispery for months. I sent a gift box of these treats to a friend of mine when she had surgery — and she loved them. So I…
Snowflake Cookies
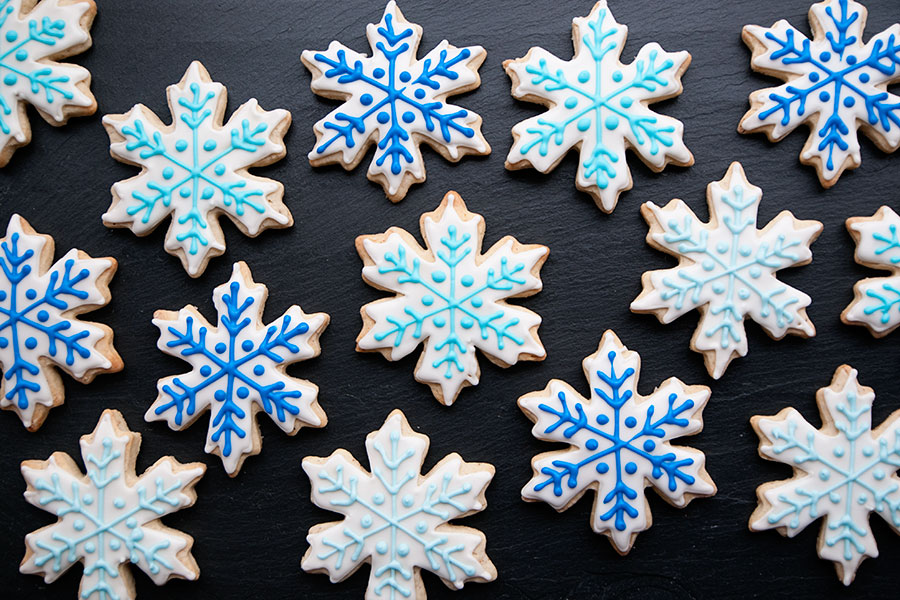
Hi, everyone! I’m back from my blogging hiatus, back in school, and ready to bake my way through another semester. I made these cookies on Christmas Eve – we were without snow here in Wisconsin (weird, right?), so I made…
Happy New Year!
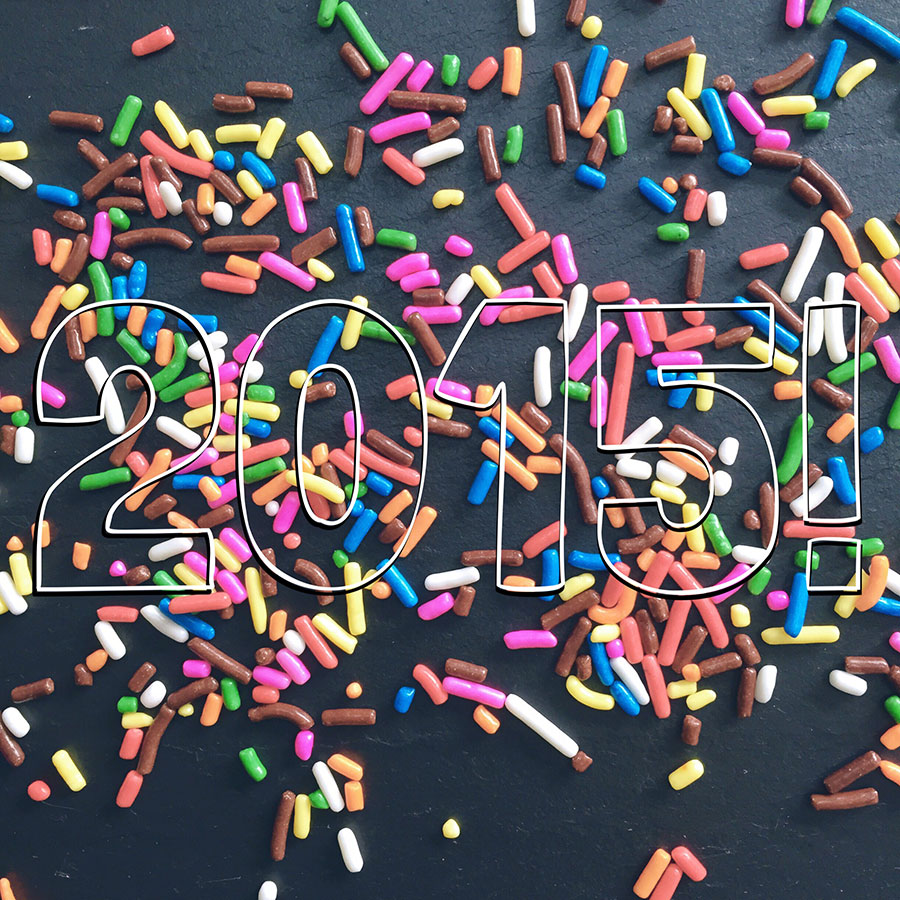
Happy New Year! I am still enjoying my blog hiatus aka winter break! I will be back in about a week with plenty of treats, so please check back. I hope you all had a safe, happy, and healthy holiday season.


