Author: Annie

Care Bear Cupcakes

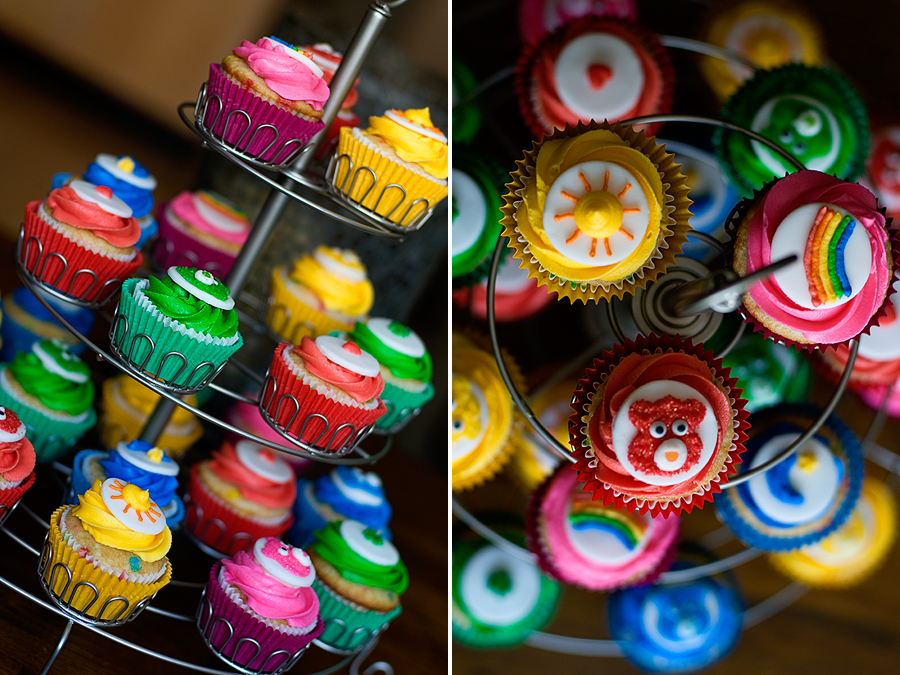
Raise your hand if you were a child of the 1980s! If so, these cupcakes will send pangs of nostalgia running through your heart. Who didn’t love the Care Bears? Cheer Bear was my favorite, because of the rainbow. I was asked to make these cupcakes for a Baby Shower, as Care Bears were the mom-to-be’s favorite show growing up. I scoured all of Madison trying to find Care Bear-themed ANYTHING, but no such luck. As a result, my friend Meghan and I made all of the designs from scratch. Here’s a list of what was used and what we did:

Care Bear Cupcakes
Print Recipe

24 cupcakes (I used funfetti box mix, but feel free to make any kind you’d like)
Colorful cupcake liners
Food coloring (I used AmeriColor neon pink and Wilton gel colors for the rest)
White fondant
A small circle cookie cutter
Pressed sugars in shape of hearts and shamrocks (you could also use icing to create these, but we took the easy way out!)
Piping bags + pastry tips

  • Bake the cupcakes and allow them to cool completely.
  • Decide which Bears you will be making — I chose Cheer Bear (pink + rainbow), Bedtime Bear (blue + moon), Good Luck Bear (green + shamrock), Funshine Bear (yellow + sunshine), and Love-a-Lot Bear (red + heart).
  • Make a batch of icing. I used the White Buttercream Icing recipe found here.  Save about a cup of the white icing and divide and separate the rest, dyeing each batch accordingly.
  • Pipe icing onto the cupcakes using an M1 Wilton tip.
  • Cut 24 small circles out of rolled fondant.
  • Design the squares to represent each bear. I piped rainbows, moons, and sunshines using icing — and used the pressed sugars for the hearts and shamrocks.
  • Meghan made the Bear cupcakes. She sketched out the shape of the bear’s head and piped frosting onto the fondant in that shape. She dipped the bear into sanding sugar to give it the appearance of fur. She then added sugar “eyes” and made a nose out of icing.

Apologies that the directions for these cupcakes are a little vague — we did a lot of improvising! Let me know if you have any questions :)
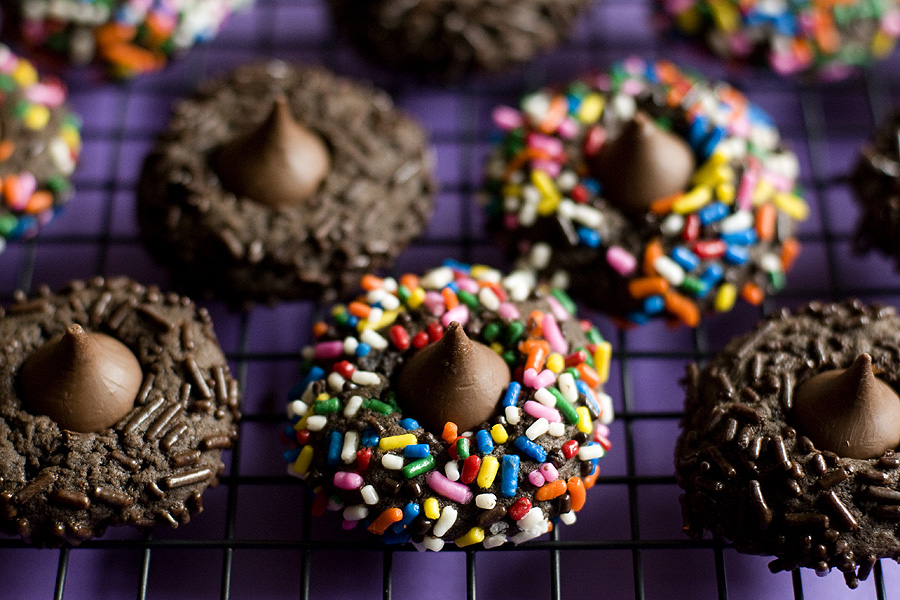
Chocolate Kiss Cookies

Are you sick of the kiss cookie recipes yet? If so, never fear – today is the last day! I’m ending the week with a classic: simple chocolate kiss cookies. Covered in sprinkles, of course. Have a wonderful weekend, everyone! I’ll be back next week with a post featuring a CandyLand birthday cake!

Chocolate Kiss Cookies
Recipe source: The Curvy Carrot
Print Recipe

2/3 cup unsalted butter, softened
1/2 cup sugar
1/4 cup unsweetened dark cocoa powder
1/4 teaspoon baking soda
1/8 teaspoon salt
1 egg
1 teaspoon vanilla
1-1/4 cups all-purpose flour
3/4 cup chocolate or multicolor sprinkles (or both)
~20 milk chocolate kisses, unwrapped

1. Preheat oven to 375 degrees.  Line two cookie sheets with parchment paper.
2. In a large mixing bowl, beat butter on medium-high speed for 30 seconds. Add sugar, cocoa powder, baking soda, and salt.  Beat until combined, scraping the sides of the bowl occasionally. Beat in egg and vanilla until combined. Beat in the flour.
3. Your dough should be at ball-rolling consistency at this point.  If it’s not, let it chill in the refrigerator for a while to firm up a little. Once easily handled, roll dough into 1-inch balls. Roll balls in sprinkles to coat.
4. Place balls 2 inches apart on your lined cookie sheets, and, using your thumb, make an indentation in the center of each cookie.
5. Bake for 7 to 8 minutes or until edges are firm.  Immediately press a chocolate kiss into each cookie’s center.  Transfer to a wire rack and let cool.

Makes about 20 cookies.

Cookies ‘n’ Cream Kiss Cookies

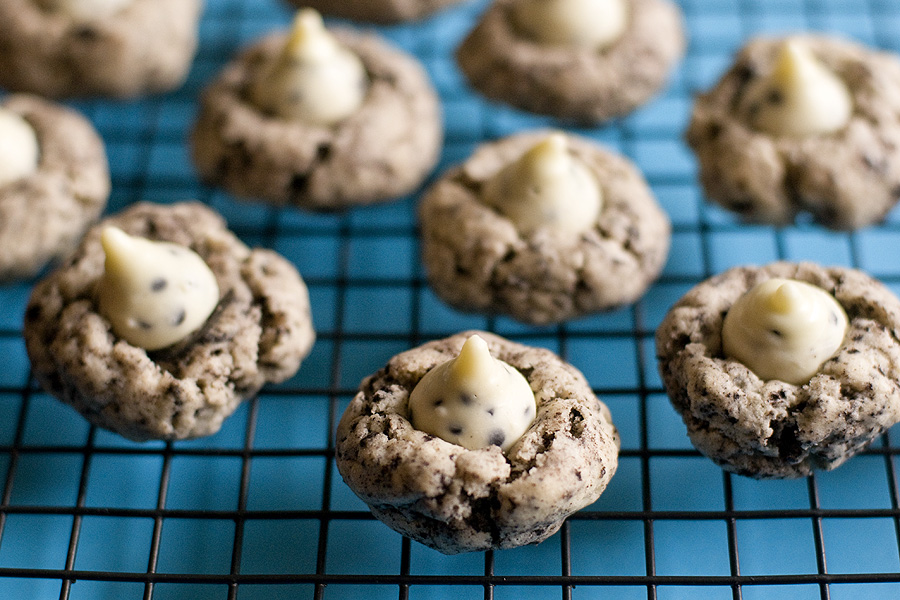
In yesterday’s post I professed my love for all things mint. Today I am professing my love for all things cookies ‘n’ cream. I love a lot having to do with food. I love cookies ‘n’ cream because it involves OREOS. Cookies ‘n’ cream is my favorite ice cream flavor (followed closely by butter pecan, Jimmy Fallon’s Late Nite Snack, and mint chocolate chip) and Hershey now makes cookies ‘n’ cream kisses. Heaven, I tell you. These cookies were delicious and the addition of a bit of almond extract gave them a unique flavor.

Cookies ‘n’ Cream Kiss Cookies
Recipe source: Sugar Plum
Print Recipe

2 cups all purpose flour
1 tablespoon cornstarch
1-1/2 teaspoons baking powder
1/2 teaspoon salt
4 ounces cream cheese, softened
1/2 cup unsalted butter, softened
3/4 cup granulated sugar
1 large egg
1 teaspoon vanilla extract
1/4 teaspoon almond extract
1 cup coarsely chopped Oreo cookies
24 cookies ‘n cream kisses

1. Preheat oven to 350 degrees F.  Coat cookie sheets with cooking spray or parchment paper.
2. In a medium mixing bowl, sift together flour, cornstarch, baking powder and salt.  In a large mixing bowl, using a mixer on medium speed, beat cream cheese until softened.  Beat in butter until creamy.  Beat in sugar until well combined.  Beat in egg, vanilla and almond extract until combined.  Reduce mixer speed to low and gradually beat in flour mixture until just combined; stir in Oreos until combined.
3. Chill cookie dough in the freezer or refrigerator until cold.  Place rounded tablespoons of dough onto cookie sheets.  Bake 12 minutes or until puffed and light golden brown around edges.
4. Remove pans from oven; press a kiss in the center of each cookie.  Transfer cookies to wire racks to cool.

Makes 2 dozen cookies.

Mint Chocolate Kiss Cookies

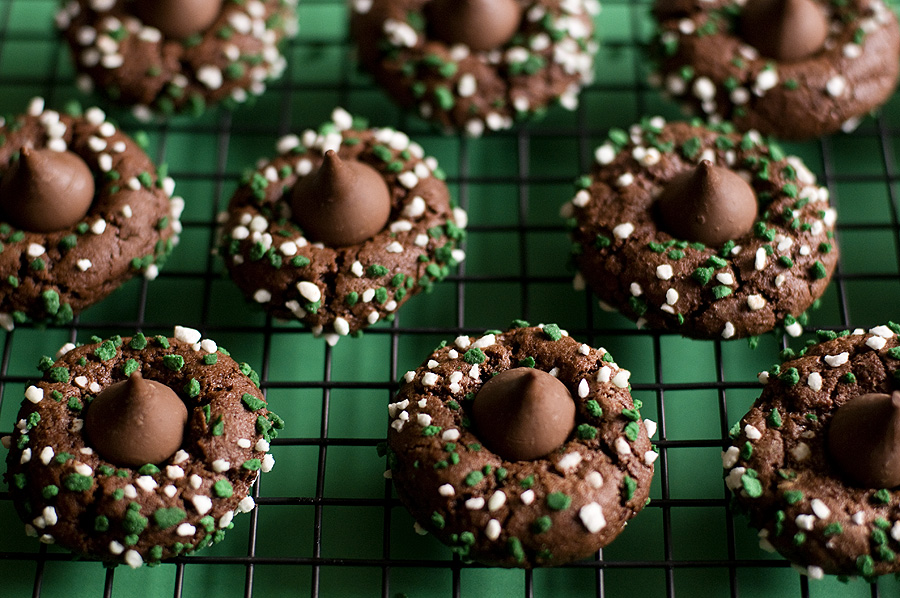
Oh baby, oh baby. Mint + chocolate is one of my all-time favorite combinations. These cookies would be great at Christmastime, as you could roll them in red and green sugars. By the way, fellow mint lovers of the Interwebz: have you tried the Oreo Fudge Creme Mint cookies? I swear I’m not trying to do a product plug for Oreo (though I would any day, cause I LOVE Oreos), but those cookies are AMAZING. They taste like Thin Mints…but BETTER. Try them. You will thank me, your resident Oreo expert.

Mint Chocolate Kiss Cookies
Recipe adapted from Recipe Girl
Print Recipe

2 cups all purpose flour
1 cup unsweetened cocoa powder
2 teaspoons baking powder
1/2 teaspoon salt
2 cups granulated white sugar
1/2 cup vegetable oil
4 large eggs
1 teaspoon vanilla extract
1 teaspoon peppermint extract
1 cup powdered sugar (I used Wilton mint sprinkles instead)
2 teaspoon green colored sugar (I skipped this ingredient)
Bag of mint truffle flavored Hershey’s Kisses (I couldn’t find mint-flavored Kisses, so I used plain chocolate)

1. In a medium bowl, whisk together flour, cocoa powder, baking powder and salt; set aside.
2. In a large bowl, whisk together sugar, oil, and eggs until well mixed. Whisk in extracts.
3. Stir dry ingredients into wet ingredients just until combined. Cover bowl with plastic wrap and refrigerate for at least 2 hours.
4. Preheat oven to 350F. Line cookie sheets with parchment paper. Roll dough into 1/2 Tablespoon balls. Roll balls into mint sprinkles (or powdered sugar!).
5. Place on cookie sheets about 1 1/2 inches apart. Bake for 11 to 13 minutes, until cookies crackle and dough doesn’t look raw.
6. Remove cookies from oven and immediately place an unwrapped kiss onto the center of each cookie. Cool cookies thoroughly on wire racks.

[edit: It was pointed out to me by a reader of this blog that it sometimes works better to cool the cookies for 5 minutes or so before placing the Kiss on top]

Makes about 60 cookies.


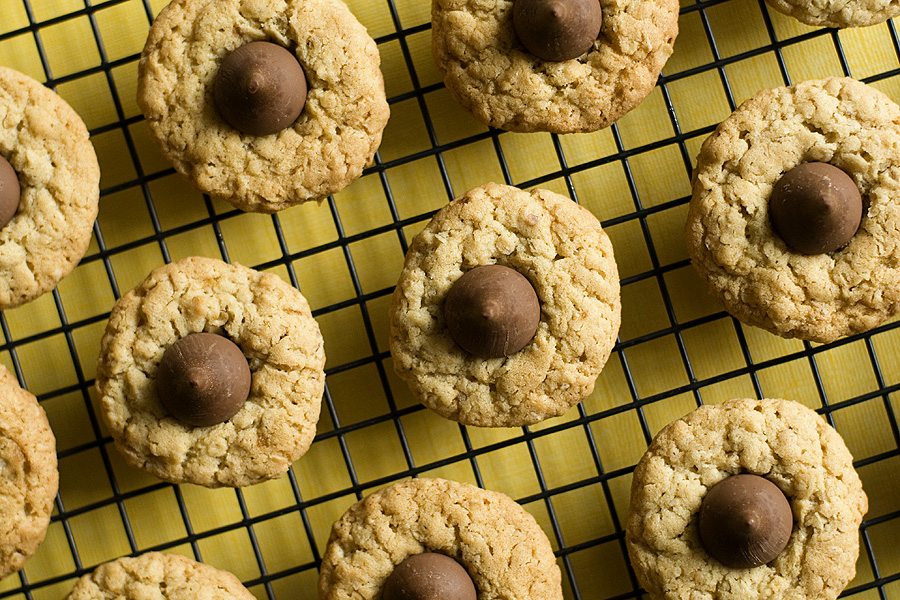
Oatmeal Kiss Cookies

Day 2! All of you oatmeal lovers will enjoy these.

Oatmeal Kiss Cookies
Recipe source: Taste of Home
Print Recipe

1/2 cup butter, softened
1/2 cup shortening
1 cup sugar
1 cup packed brown sugar
2 eggs
2 cups all-purpose flour
1 teaspoon baking soda
1 teaspoon salt
2-1/4 cups quick-cooking oats
1 cup chopped nuts (I left these out because I’m not a nuts-in-my-cookies lover)
72 milk chocolate kisses

1. Preheat oven to 375F and line baking sheets with parchment paper.
2. In a large bowl, cream the butter, shortening and sugars until light and fluffy. Add eggs, one at a time, beating well after each addition.
3. Combine the flour, baking soda and salt; gradually add to creamed mixture and mix well. Stir in oats and nuts.
4. Roll into 1-in. balls. Place 2 in. apart on ungreased baking sheets. Bake for 10-12 minutes or until lightly browned. Immediately press a chocolate kiss in the center of each cookie. Remove to wire racks.

Makes about 6 dozen cookies.