Author: Annie

Gruyere Popovers (Kind Of)
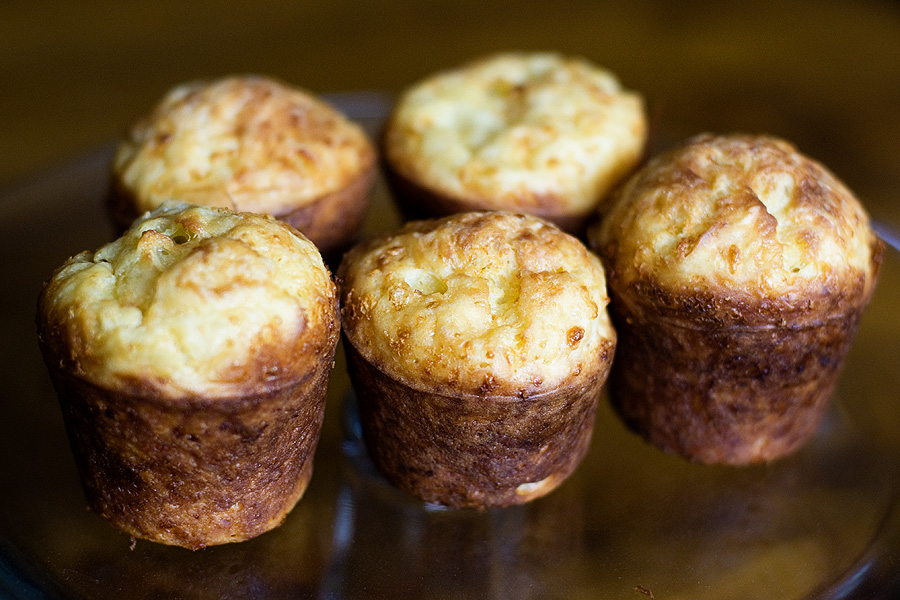
A few weeks ago I was sitting in my apartment watching the Voice, my new favorite show (go Team Adam!). Between watching Dia Frampton kick all sorts of ass on her Kanye West cover and developing a growing distaste for Jared Blake and his bandana, I started thinking about popovers. I love popovers. LOVE THEM. But I rarely make them. Who knows why. I got the genius idea to add gruyere to my tried-and-true popover recipe. Well, let’s just say that I wasn’t a genius and there’s a reason why I don’t write my own recipes. Popovers are supposed to be relatively airy and they are supposed to “pop” over the pan. My gruyere popovers did not pop, but they were actually REALLY good. The end result was a dense, cheese-filled nugget of deliciousness.

Gruyere Popovers
Print Recipe

2 large eggs
1 cup milk
1 cup flour
1/4 teaspoon salt
4 oz. Gruyere cheese, grated

Preheat oven to 425F and grease a popover pan with non-stick spray. Mix all ingredients in a large bowl. Fill each popover cup about 3/4 full. Bake 30 minutes.
*If you’ve never made popovers before, check out my original post.
Funfetti Birthday Cake (from scratch!)

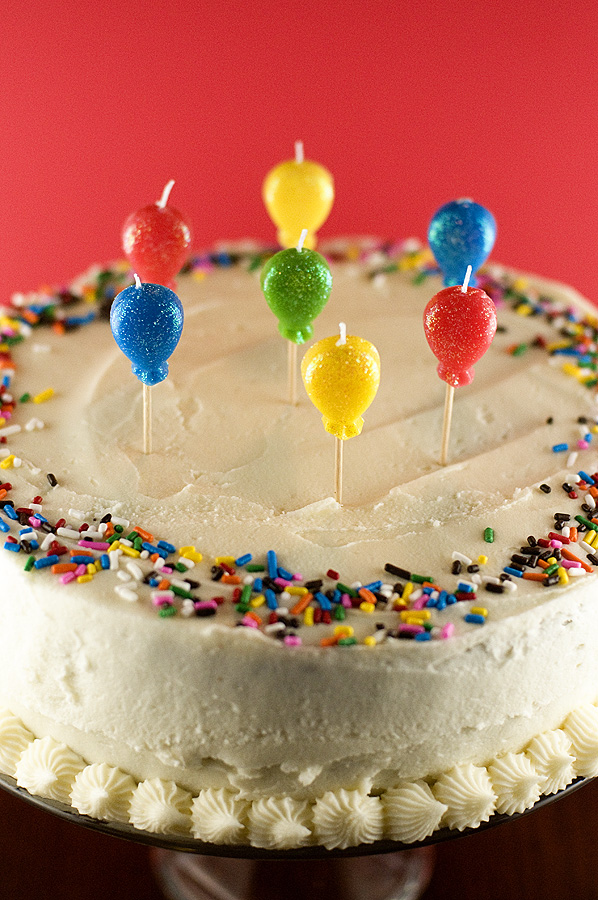
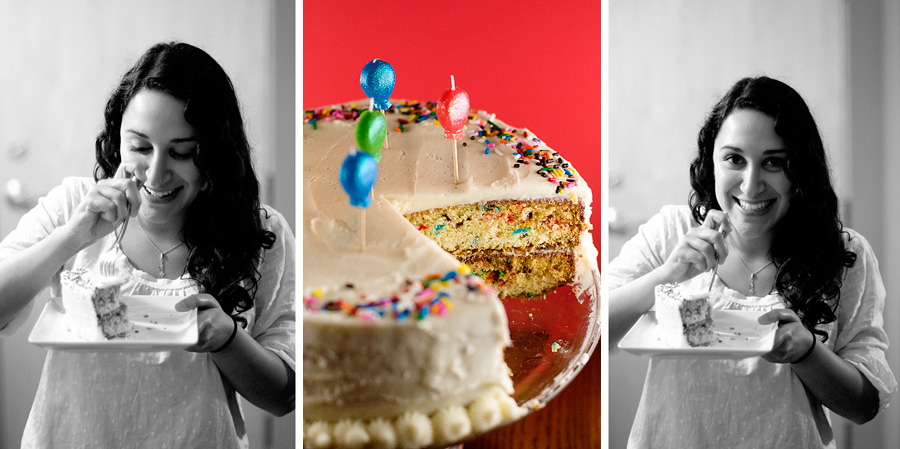
My sweet friend Azin had a birthday at the beginning of June. I made her a funfetti birthday cake from scratch because a) I heart Azin b) I love making birthday cakes and c) I always love a reason to generate blog material! I’ll never forget the night I made this cake, because I had to stop during the middle of it because of a tornado warning. Gotta love the midwest and its summer storms, green skies, and trips to the basement. When the cake was finished, I cut an enormous piece out of it so I could photograph the inside of the cake. Azin proclaimed that she was going to eat the entire piece and I told her, “I think you’re gonna regret that decision…” Sure enough, while the cake was delicious, she lapsed into a crazy sugar coma and passed out on my couch for about 2 hours. Cake is not to be messed with!

Funfetti Cake
Recipe source: thekitchn.com
Print Recipe

4 egg whites from large eggs
1 cup milk, divided
1 teaspoon vanilla
1/2 teaspoon almond extract
3 cups cake flour
1 1/2 cups white sugar
4 teaspoons baking powder
1/2 teaspoon salt
4 tablespoons unsalted butter, very soft
8 tablespoons non-hydrogenated shortening
1/3 cup multi-colored sprinkles

1. Preheat oven to 350F. Lightly grease two 9-inch round cake pans.
2. In a small bowl mix the egg whites, 1/4 cup milk, vanilla and almond extract. Set aside.
3. In the bowl of a stand mixer mix the cake flour, sugar, baking soda, and salt. Mix for 30 seconds or until well-combined. Add the butter and shortening and mix for another 30 seconds, or until well-combined with the flour mixture. Pour in the remaining 3/4 cup milk and continue mixing on medium speed for about 3 minutes. Scrape down the sides of the bowl.
4. Gradually pour in the egg white mixture, mixing for 30 seconds after each addition. Mix for one more minute. Gently fold in the multi-colored jimmies.
5. Divide the batter evenly between the prepared cake pans.  If baking four layers, bake for 18 to 20 minutes, or until the tops are slightly golden and spring back when pressed. If baking two layers, bake for 25 to 30 minutes.
6. Remove from the oven and place the pans on baking racks to cool for about 10 minutes. Turn the pans over onto the rack. Flip the cake layers over and let them cool completely before icing.

Buttercream Icing
Recipe source: i am baker

1 cup unsalted butter, softened
6-8 cups powdered sugar
1/2 cup milk
2 teaspoons vanilla extract (use clear vanilla if you’d like white buttercream)

Place the butter in a large mixing bowl. Add 4 cups of the sugar and then the milk and vanilla. On the medium speed of an electric mixer, beat until smooth and creamy, about 3-5 minutes. Gradually add the remaining sugar, 1 cup at a time, beating well after each addition (about 2 minutes), until the icing is thick enough to be of good spreading consistency.

Rainbow Cake

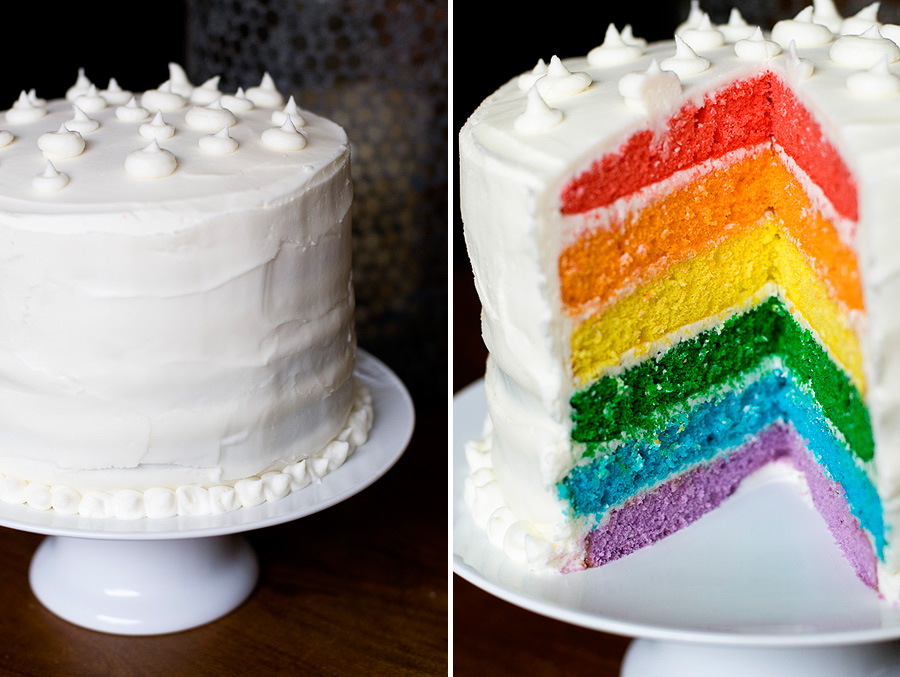
I usually don’t love to bring up politics where they don’t belong, but this weekend is fitting. I had planned on making this rainbow cake for weeks and finally got around to creating it yesterday. Just as I finished up the cake last night, New York voted to allow gay marriage. Serendipitous timing! I send love and congratulations to all of the LGBTs in New York — we’ve only got 40-something more states to go! I also mentioned to a friend of mine that this newly passed law could single-handedly save our economy — gays planning weddings! :)

Alright, on to the instructions for this cake. I’ll likely never bring up politics again on my baking blog, so rest easy to those of you who don’t agree with my views.

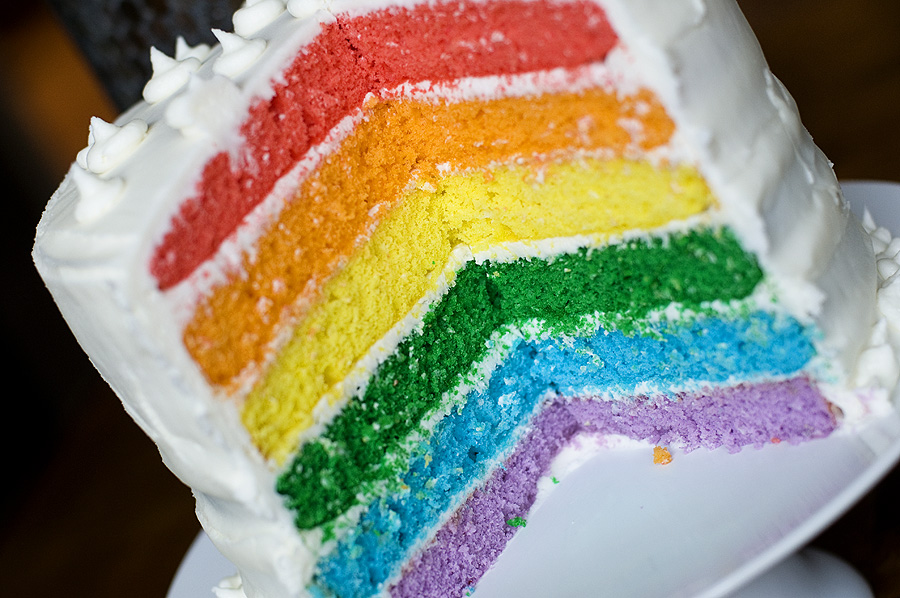
This cake was not difficult to make, but it was very time consuming. I think it worked on it for about 5 hours, so it was a labor of love! I think it would make a great cake for a kids birthday party. I was OBSESSED with rainbows when I was a little girl and my parents would always buy a rainbow cake from our local bakery. My cakes had four layers (pink, yellow, green, and purple) and included raspberry filling between the layers. I remember the anticipation and excitement of cutting into the cake and seeing all of the colors. So much fun!

Rainbow Layer Cake
Recipe adapted from: The Tasty Kitchen
Print Recipe

For the cake:
2 boxes white cake mix (plus ingredients like eggs and oil, as called for on the box mix)
Red, orange, yellow, green, blue, and purple food coloring
*note: I used whole milk instead of water as called for by the directions, I think it leads to a denser and more tasty cake

For the frosting:
1 stick unsalted butter, softened
1 stick salted butter, softed
1 cup shortening
1 Tablespoon clear vanilla (if you want WHITE frosting)
2 lbs powdered sugar
4-6 Tablespoons milk
* note: You may need to make a double batch of this frosting; the rainbow cake is quite tall and uses a lot of frosting to cover it, so be sure that you have enough of the frosting ingredients on hand in case you need to make another batch!

1. Preheat oven to 350F and make 1 box cake mix according to box directions. Separate the batter into 3 bowls with roughly 1 cup of cake batter per bowl. Add food coloring (purple, blue, green) to each.
2. Spray three 8″ round cake pans with nonstick spray. Bake cakes for about 17-20 minutes — because of the small amount of batter, the cake does not take long to bake. Be sure to check on the cakes periodically to make sure they are not over-baking. Remove cakes from oven and cool on wire racks.
3. Repeat this process with another box cake mix, this time adding red, orange, and yellow food coloring. You will end up with six cakes when you are finished baking.
4. For the frosting, cream the butters and shortening together. Add the vanilla. Slowly add the powdered sugar until incorporated. Add 4-6 Tablespoons of milk as needed to thin the frosting.

Cake assembly:
1. Level each cake with a large bread knife. This is important because the cake layers will not sit evenly if they are not leveled… and your cake won’t be as pretty as it could be! Don’t worry about being perfect, just try to get rid of the little dome that forms on top of baked cakes.
2. Start with the PURPLE layer first. Once leveled, place the purple layer on your cake stand or plate (I usually “glue” the first layer down by placing a small amount of frosting in the middle of the cake stand, and then placing the cake on top). Add enough frosting to cover the purple cake.
3. Add the BLUE layer of the cake on top of the purple layer. Add enough frosting to cover the top of the blue cake.
4. Add the GREEN layer of the cake on top of the blue layer. Add enough frosting to cover the top of the green cake. At this point, you will have a three layer cake. Spread enough frosting around the outside of the cake to coat the entire cake — this will be your crumb coat. Don’t worry if it’s messy and don’t try to be clean and perfect here — just make sure that all of the cake is covered in frosting.
5. Freeze your cake for 1 hour or refrigerate for 2 hours.
6. Remove cake from the freezer or refrigerator and place the YELLOW layer on top of the green layer. Add enough frosting to cover the top of the yellow cake.
7. Add the ORANGE layer of the cake on top of the yellow layer. Add enough frosting to cover the top of the orange cake.
8. Add the RED layer of the cake on top of the orange layer. Add enough frosting to cover the top of the cake. At this point, you will have a six layer cake. Spread enough frosting around the outside of the yellow, orange, and red layers. Again, this should not be perfect. Just slap some frosting onto the cake and get it covered!
9. Freeze or refrigerate the cake one more time before beginning the final coat of frosting. Cooling the cake down helps to keep it stable and prevents it from wobbling. It is also MUCH easier to frost frozen cakes.
10. Once cooled, remove the cake from the freezer or refrigerator and begin the final stage of frosting. This is where you will be able to make the cake look more smooth and pretty. Add more frosting to the cake to thoroughly coat. Use an off-set spatula for this and dip it into hot water to help smooth the frosting over the cake. If you’d like, add some frosting to a pastry bag and pipe a few polka dots or decorations on top of the cake.

Enjoy!

Mini Cupcakes & the Solar System

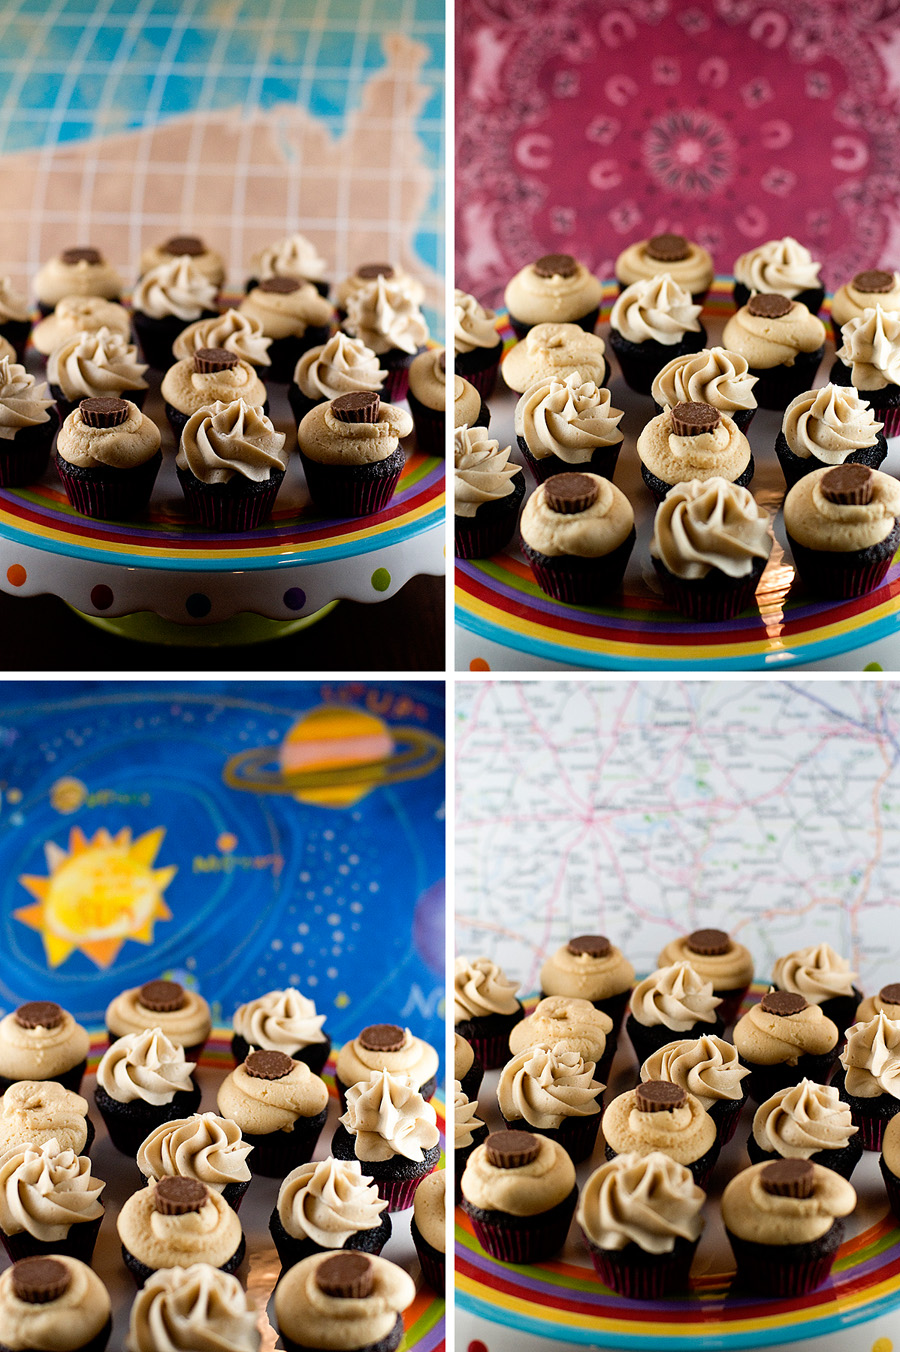
Happy Friday! A few weeks ago my friend Meghan came over and made gluten-free chocolate mini cupcakes with peanut butter frosting. First, let me just say that I think Meghan is the frosting whisperer. I want her to start a blog dedicated solely to frosting. She just adds a bunch of stuff, mixes, and the result is amaaaaazing. Peanut butter frosting. Nutella frosting. Caramel frosting. So good. But I digress. She finished her mini cupcakes and wanted me to take photos of them, so I told her to go pick out some paper for the background. I use scrapbooking papers for the backgrounds of most of my food photos. Meghan and I both laughed at some of the random papers that I own, so we decided to use them all.

The United States! A bandana! The solar system (my personal favorite)! And a road map! I would post a recipe for the cupcakes and frosting, but the cupcakes were made using a Betty Crocker gluten-free mix and the frosting was Meghan’s recipe-less creation.

Have a great weekend, everyone.

Brownie Bites

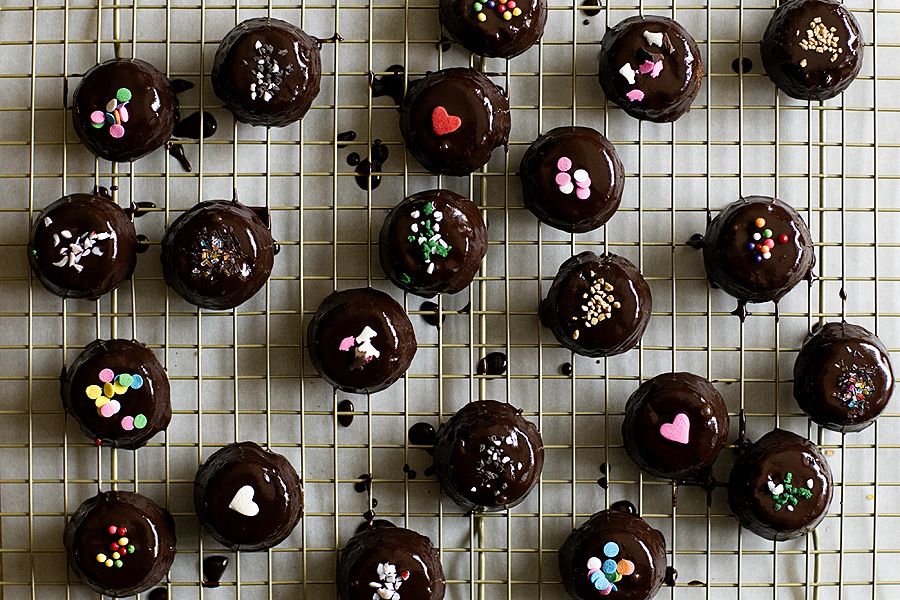
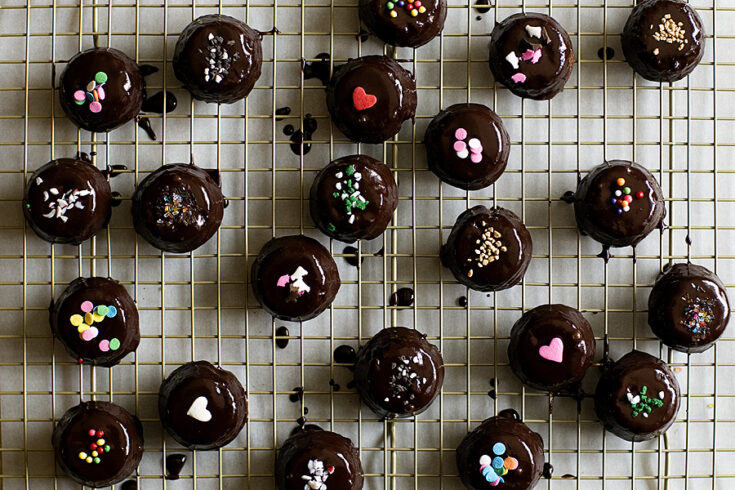
Bite sized brownies covered in ganache. What’s not to like about this recipe?!

These were easy to make because I took the easy way out: I used a box brownie mix. The brownie bites can be decorated any way you’d like. As you can see, I used nearly every type of sprinkle that I own.

Yield: About 30-40 brownie bites

Brownie Bites

Brownie Bites

Brownies... but make them tiny and cute!

Prep Time 30 minutes
Cook Time 15 minutes
Total Time 45 minutes

Ingredients

  • 1 box brownie mix (plus required ingredients according to box directions)
  • 8 oz. semi-sweet chocolate, chopped
  • 1 cup heavy cream, heated
  • 2 Tablespoons light corn syrup
  • 2 teaspoons vanilla extract

Instructions

    1. Preheat oven to 325F. Make brownie mix according to box directions.

    2. Spoon a generous teaspoon of batter into a well-greased *mini* muffin pan. Emphasis on the WELL-GREASED. Do not over fill the muffin pan because you don’t want muffin tops.

    3. Bake for 10-14 minutes, or until set. Cool brownies for a few minutes in the pan, then remove to wire rack for complete cooling.

    4. Mix the cream with the corn syrup in a microwave-safe container. Add chopped chocolate to a separate bowl. Add vanilla to warm cream mixture, then pour over chopped chocolate. Stir until chocolate totally melts and the mixture is smooth.

    5. Dunk the brownie bites into the chocolate mixture and thoroughly coat. Remove with a fork — tapping the fork on the side of the bowl to get rid of the excess chocolate. Carefully set on a baking mat or sheet of waxed paper.

    6. Decorate the brownie bites with sprinkles, salt, nuts, fruit, etc.

Notes

Recipe credit: The Pioneer Woman