Author: Annie

Hot Cross Buns

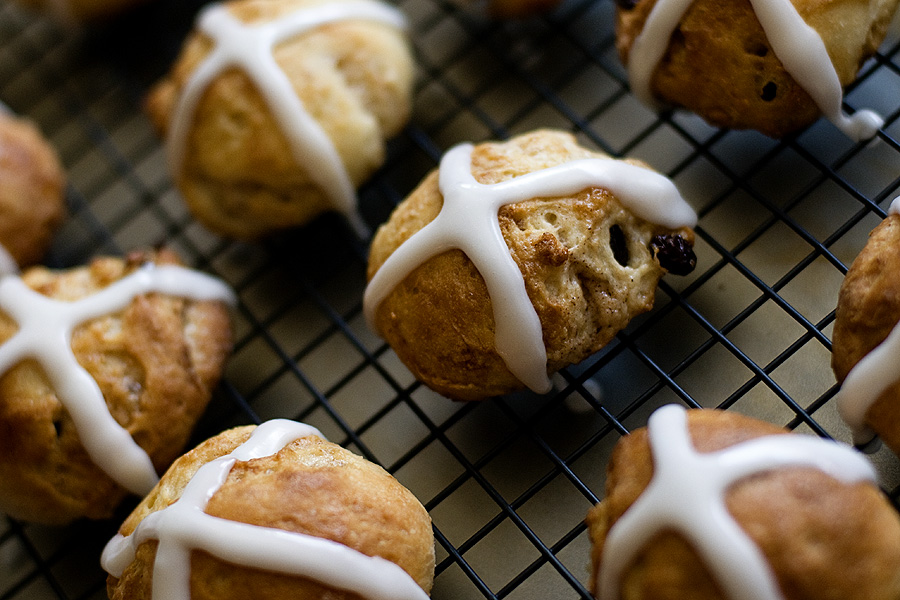
Easter is almost here! Hot cross your buns! Up until recently, I had no idea that these baked goods were tied to Easter. But I get a pass… because I’m not Christian. How was I supposed to know?! I just liked them because they involve icing and cinnamon and delicious raisins. Apparently these babies have quite the history.

The buns are traditionally eaten hot or toasted on Good Friday, with the cross standing as a symbol of the crucifixion. English folklore has many superstitions regarding the buns: if you bake them on Good Friday, they will never spoil; they can help to cure ill individuals; sharing a hot cross bun with another is supposed to ensure friendship throughout the coming year; if taken on a sea voyage they will protect against shipwreck; and if hung in the kitchen they will protect against fire.

Either way, they are delicious! And if you aren’t a fan of raisins, leave them out! No worries if they are absent from the cinnamon sugary deliciousness. (also, props to Wikipedia for all of the bun-related trivia)

Hot Cross Buns
Recipe source: The Pioneer Woman
Print Recipe

For the buns:
2 cups whole milk
1/2 cup canola oil
1/2 cup sugar
1 package (2 1/4 teaspoons) active dry yeast
4 cups all-purpose flour
1/2 cups (additional) flour
1/2 teaspoon (heaping) baking powder
1/2 teaspoon (scant) baking soda
2 teaspoons salt
1/4 cup sugar
1 teaspoon cinnamon
Spices: cardamom, nutmeg, allspice (optional)
1/2 cup raisins

For the glaze:
1 whole egg white
Splash of milk

Icing:
1 whole egg white
Powdered sugar
Splash of milk

1. Combine 2 cups milk, canola oil, and 1/2 cup sugar in a saucepan. Stir and heat until very warm but not boiling. Turn off the heat and allow to cool until mixture is still warm, but not hot-about 30 minutes.
2. Sprinkle yeast over mixture. Add 4 cups of flour and stir to combine. Mixture will be very sticky. Cover with a towel and set aside for 1 hour.
3. Add 1/2 cup flour, baking powder, baking soda, and salt. Stir till combined.
4. Combine 1/4 cup sugar with cinnamon and whatever other spices you want to use.
5. Lightly flour surface. Press to slightly flatten dough. Sprinkle a couple tablespoons of the sugar/cinnamon mixture. Sprinkle on about a third of the raisins. Then fold the dough over on itself and flatten again so the dough is “plain” again. Repeat the sugar/raisin process, then fold the dough again. Repeat a third time until all the raisins are used.
6. Pinch off ping pong or golf ball-size bunches of dough. With floured hands, quickly roll it into a ball, then turn the edges under themselves slightly. Place on a lightly greased cookie sheet. Cover and allow to rise in a warm place for at least 30 minutes…an hour-plus is better. (I turned my oven on and set the pans containing the dough on top of the stove – it gets them all warm ‘n’ cozy!)
7. If you haven’t done it already, preheat the oven to 400F.
8. Mix 1 egg white with a splash of milk. Brush onto each roll.
9. Bake for 20 minutes, give or take, or until tops of buns have turned nice and golden brown. Remove from pan and allow to cool on a cooling rack.
10. Mix 1 egg white with enough powdered sugar for icing to be very thick. Splash in milk as needed for consistency. Add icing to a small Ziploc bag and snip the corner. Make icing crosses on each roll, making sure they’re completely cooled first.
Coconut Easter Cupcakes

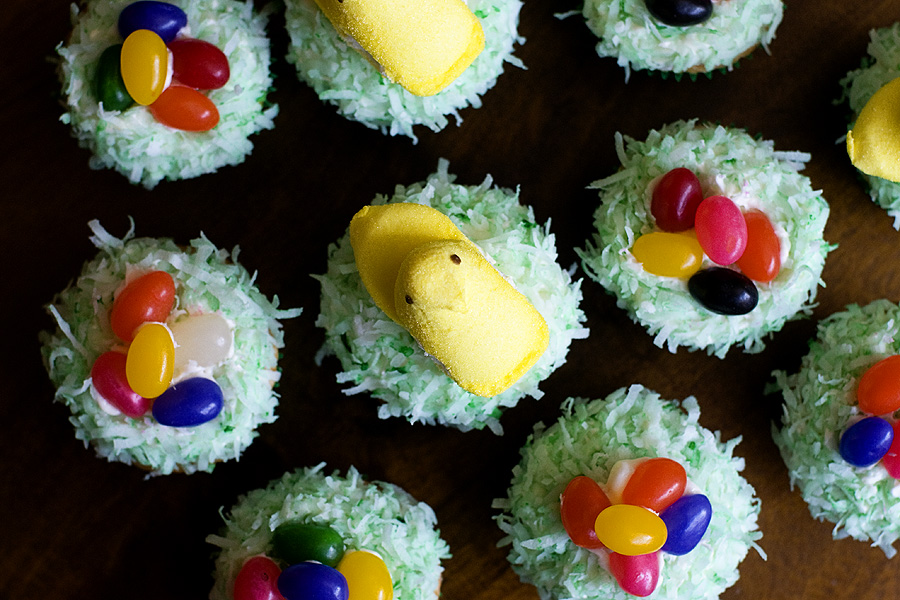
These cupcakes are SUPER easy to make — great if you need a quick dessert for your Easter dinner or an easy treat to make for your kids. I went the box-mix-and-tub-of-frosting route on these, but you can always make homemade cupcakes and frosting if you’d like.

Coconut Easter Cupcakes
Print Recipe

1 box cake mix (plus the necessary eggs and oil)
1 tub of store-bought white frosting
1 bag sweetened coconut
Jelly beans
Peeps

1. Make cupcakes according to box directions and frost with vanilla or cream cheese frosting.
2. Pour the coconut into a ziploc bag and add a few drops of green food coloring. Close the bag and shake to distribute the food coloring. If you’d like to the coconut to be a darker green, add more coloring.
3. Place the now-green coconut into a bowl and dip each cupcake into the coconut to cover.
4. Place a Peep on top of some of the cupcakes — you may need to add a bit of frosting to the bottom of the Peep to help it stick to the coconut. Add jelly beans to the rest of the cupcakes.

If you don’t like jelly beans, you can always use chocolate eggs (like Cadbury Mini Eggs) or other Easter candies!

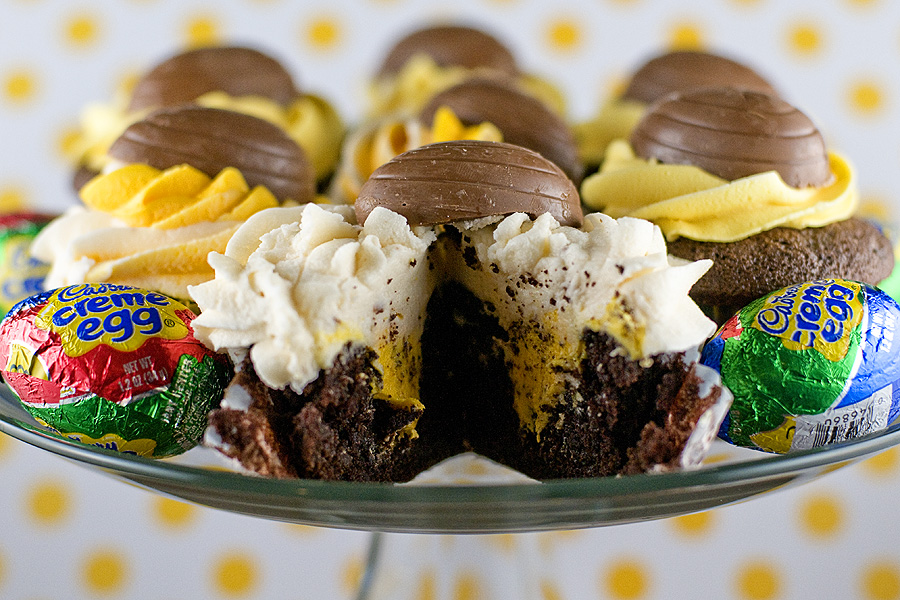
Cadbury Creme Egg Cupcakes

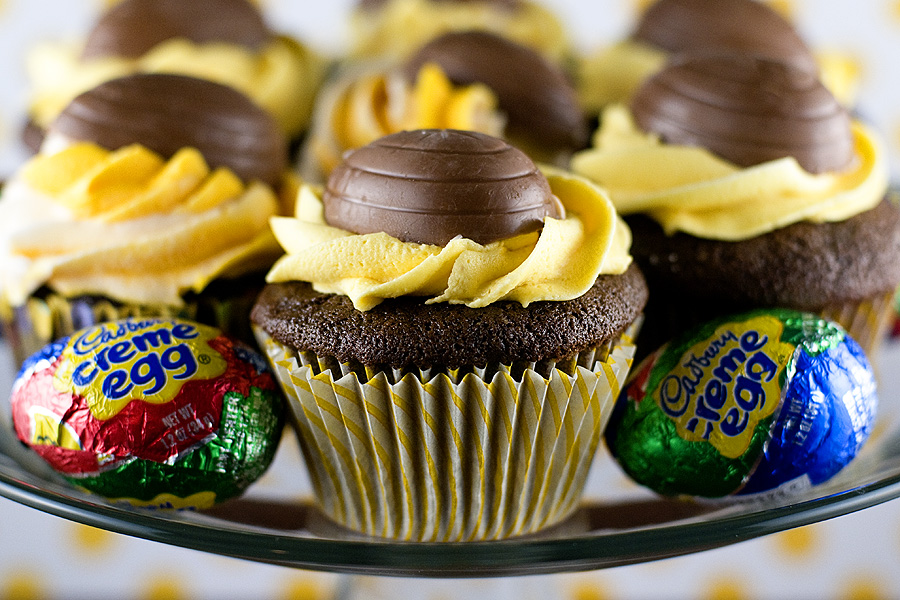
Cadbury Creme Eggs: you either love them or you hate them. My friend Meghan and I made these cupcakes last week and nearly lapsed into diabetic comas because of their SWEETNESS! The frosting is incredibly rich and sweet, but is balanced by a devil’s food chocolate cupcake.

Also, word to the wise, it’s a tedious task to scoop out all of the creme from the centers of the eggs — so be sure to give yourself a little extra time for that step!

Cadbury Creme Egg Cupcakes
Recipe source: Sweet City Candy
Print Recipe

Devil’s Food Cupcakes:
9 TBSP unsweetened cocoa powder
1-1/2 cups cake flour (not self-rising)
1/2 tsp salt
1 tsp baking soda
1/4 tsp baking powder
4 ounces unsalted butter, at room temperature
1-1/2 cups granulated sugar
2 large eggs, at room temperature
1/2 cup water
1/2 cup whole milk

1. Adjust the oven rack to the center of the oven and preheat the oven to 350 degrees. Line two regular size cupcake/muffin pans with liners.
2. Sift together the cocoa powder, cake flour, salt, baking soda, and baking powder in a bowl.
3. In the bowl of a standing electric mixer, or by hand, beat together the butter and sugar about 5 minutes until smooth and creamy.
4. Add the eggs one at a time until fully incorporated. (If using a standing electric mixer, stop the mixer as necessary to scrape down the sides to be sure everything is getting mixed in.)
5. Mix together the water and milk. Stir half of the dry ingredients into the butter mixture, the add the water and milk. Finally stir in the other half of the dry ingredients.
6. Fill cupcake pans 2/3 of the way full with cake batter. Bake 20-22 minutes, or until a tester comes out clean.

Creme Egg Buttercream:
The centers of 20 Cadbury Crème Egg scooped out (save the chocolate shells for décor and filling)
1 cup unsalted butter, at room temperature
6 to 8 cups powdered sugar
1 TBSP vanilla extract
Milk to thin frosting

1. Place the butter in a large mixing bowl and add 4 cups of sugar the vanilla extract.
2. On the medium speed of an electric mixer, beat until smooth and creamy, about 3-5 minutes.
3. Gradually add the remaining sugar, 1 cup at a time, beating well after each addition (about 2 minutes), until the icing is thick enough to be of good spreading consistency. If too thick, thin out with milk.
4. Add the creme centers and beat until mixed. If too thick, thin out with milk.

The icing turns out to be a weird pale orange color, so I added some yellow food coloring to make it look more appetizing!


Meghan added some of the frosting to the centers of her gluten-free chocolate cupcakes. :)

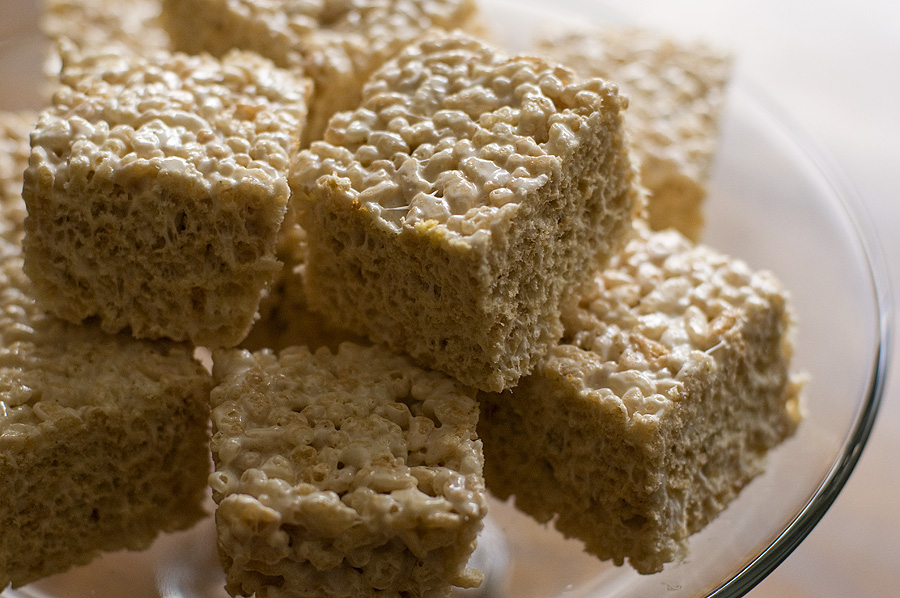
Brown Butter Rice Krispie Bars

These are rice krispie treats… with a twist. Browning the butter gives these treats a different flavor – they become more rich, filled with nutty undertones, and infinitely more delicious.

They are just as easy to make as regular rice krispie treats, so give them a try.

Yield: 16 krispie treats

Brown Butter Rice Krispie Treats

Brown Butter Rice Krispie Treats

Take rice krispie treats to a whole new level!

Cook Time 20 minutes
Total Time 20 minutes

Ingredients

  • 1 stick salted butter
  • 1 10-ounce bag marshmallows
  • 6 cups Rice Krispies cereal

Instructions

    1. Butter (or coat with non-stick spray) an 8-inch square cake pan with 2-inch sides.

    2. In a large pot, melt butter over medium-low heat. It will melt, then foam, then turn clear golden and finally start to turn brown and smell nutty.

    3. Stir frequently, scraping up any bits from the bottom as you do.

    4. Pay attention because the butter will brown in what seems like an instant! You want the butter to smell nutty and take on a darker color. As soon as it does this, remove from the heat and stir in the marshmallows.

    5. Remove the pot from the stove and stir in the cereal.

    6. Quickly spread into prepared pan. Let cool & cut into two-inch squares.

Notes

Recipe credit: Smitten Kitchen

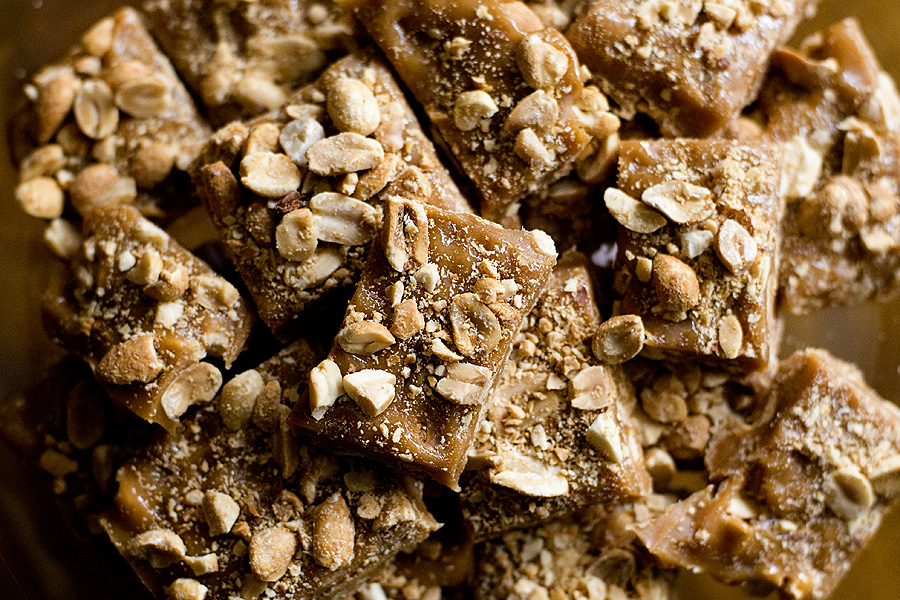
Salted Peanut Bars

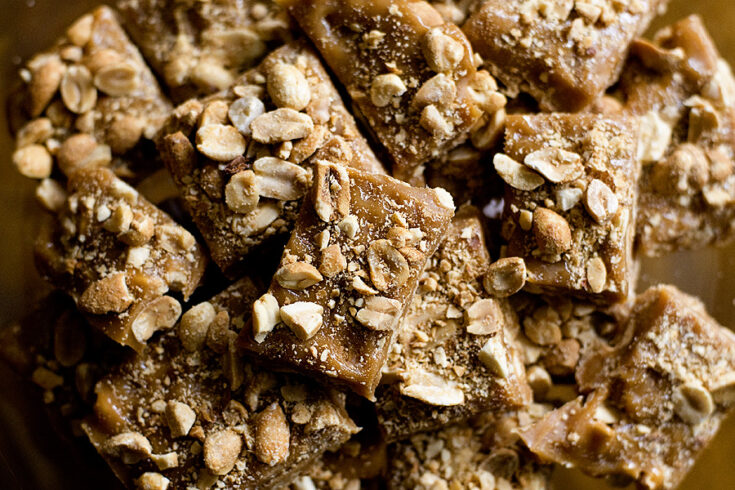
Mmmm. Three of my favorite things: peanuts, caramel, and marshmallows. All combined into one chewy, ooey, gooey treat.

Yield: About 9 bars

Salted Peanut Bars

Salted Peanut Bars

A wonderful and EASY ooey, gooey, peanut-y treat!

Prep Time 10 minutes
Cook Time 10 minutes
Additional Time 2 hours
Total Time 2 hours 20 minutes

Ingredients

  • 2-1/4 cups coarsely chopped peanuts
  • 50 store-bought soft caramel squares, unwrapped
  • 1 cup mini marshmallows

Instructions

    1. Lightly coat an 8×8″ baking dish with cooking spray. Line with parchment paper, leaving a 1-inch overhang on all sides, then lightly coat parchment with spray. Cover paper with 1-1/4 cups peanuts.

    2. In a medium pot, combine 1 Tablespoon water, caramels, and marshmallows over medium heat. Cook, stirring frequently, until caramels and marshmallows melt and mixture is smooth. Immediately pour over peanuts, then top with remaining 1 cup peanuts.

    3. Let cool until set, about 2 hours. Cut into bars.

Notes

Your yield will depend on how big or small you cut your bars.