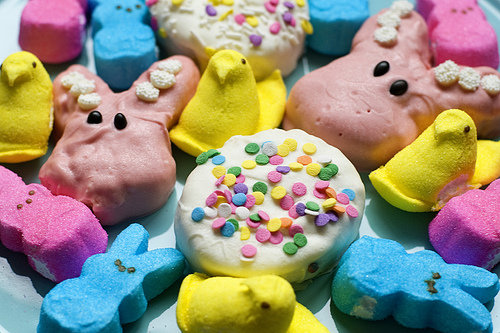
Baking does not always go as planned. You have great, cute ideas in your head and when you try to execute them, you fail. I wanted to make candy melt-coated rice krispie treats in the shape of bunnies and eggs….
Doughnut Cookies
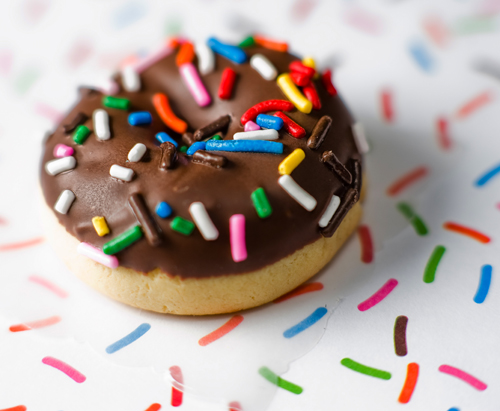
To be honest, I love doughnuts but would never make them at home. The thought of all that boiling oil is a little intimidating for me. While I work on my deep frying confidence, these little guys will have to…
Billiard Ball Cupcakes
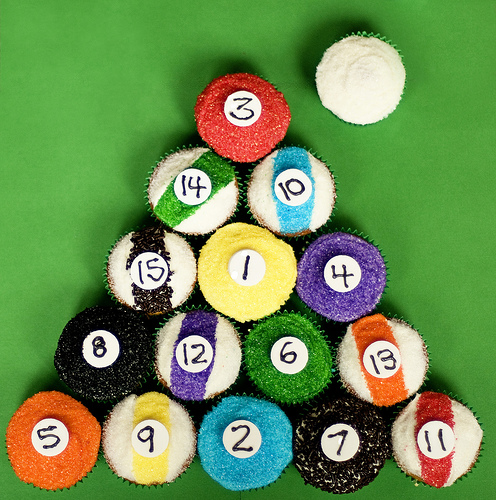
So let me clue you in on a little secret of mine. If my baking project requires a lot of time for decorating I — gasp — use cake mix from a box and store-bought frosting. I have no problems…
Double Delight Peanut Butter Honey Cookies
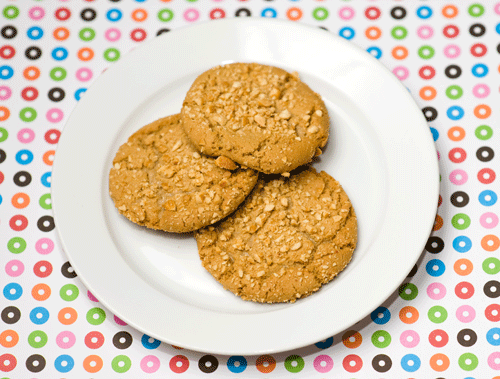
So this is my first blog entry ever! To start my foray into the blogosphere right, I took out a little insurance. This recipe is an adaptation from a post I found from www.visionsofsugarplum.com. This recipe is originally from the…
Wilton Heaven
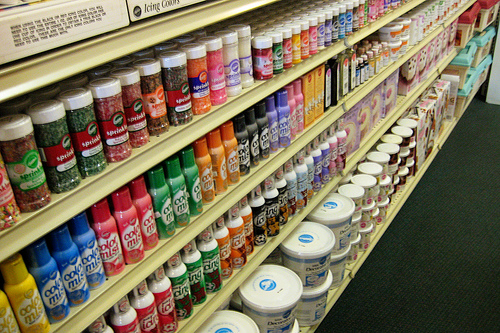
No recipe today, but I had to blog about the Wilton Homewares store. Yesterday, Val and I went out to Darien, IL to visit the Wilton Homewares store. Yes, an entire Wilton store. It was heaven. The store is stocked…
Double Chocolate Oreo Bars
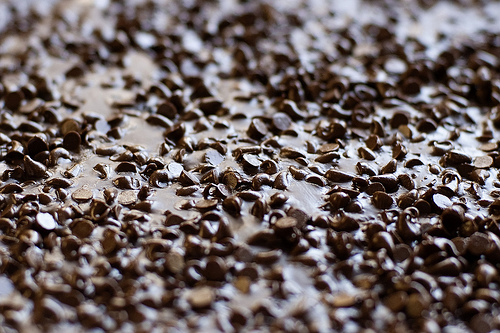
The following image is food porn for women. A FIELD OF CHOCOLATE! I haven’t made anything super chocolate-y in a while! These bars are SO easy. They took a half hour to make – start to finish. A lot of…


