Recent Posts

Zoo Cake!

I made an animal-themed birthday cake for my niece’s 1st birthday party. It was a labor of love and I was drowning in buttercream by the time I was finished! Here are the steps I went through to make the cake:

  • The cake itself is a box mix. Funfetti, in this case. Who doesn’t love funfetti?! I kind of have a rule that if the decorating is going to be time-consuming, I will use a box mix cake. It just makes my life a little easier and keeps me sane…cause baking a homemade cake isn’t always easy!
  • I frosted the entire cake with buttercream frosting. Here is my favorite recipe, Billy’s Buttercream:
    – 1 cup unsalted butter at room temperature
    – 1/2 cup whole milk
    – 1 teaspoon pure vanilla extract
    – 6-8 cups powdered sugar
    Cream the butter with an electric mixer until smooth and creamy (2 minutes). Add the sugar gradually, mixing well after each addition. Add the milk and the vanilla. If necessary, add another 1-2 cups of sugar to acheive the desired consistency. I always use 7.5 cups of powdered sugar for this recipe.
  • I bought pre-colored fondant from Hobby Lobby, rolled it out, and used alphabet cutters to spell out “Happy Birthday Anna!”
  • I left the frosted cake (with the fontant letters in place) in the refrigerator overnight. Since it was only going to be in the refrigerator for less than 12 hours, I did not cover the cake. I would suggest covering it with plastic wrap if you are going to refrigerate it longer than that.
  • I added the border of gumballs a few hours before the party started (I didn’t want the color from the gumballs to bleed into the white buttercream).

Since Val & I are going to be on vacation for the next two weeks, I’m going to schedule posts detailing how I made the animal cupcakes. So expect those posts over the next 10 days or so!

Happy baking & we’ll be back with more sugary delights soon!
Oreo Cupcakes

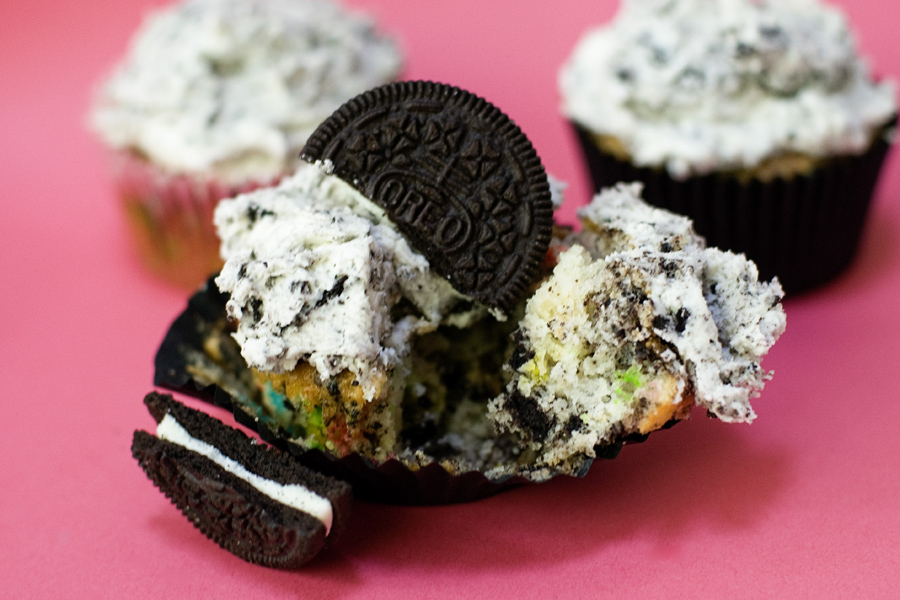
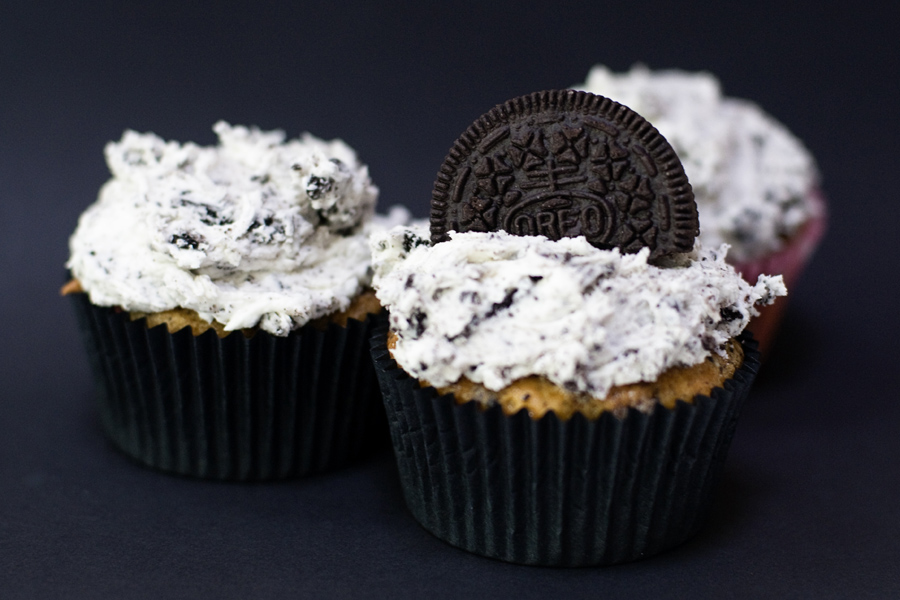
Mmmm Oreos. So bad, but so, so good. These cupcakes are semi-homemade. The cake is from a box mix (funfetti… I wanted white cake, but I only had funfetti!). I added crushed Oreos to the cupcake batter and baked according to box directions. The frosting is buttercream with crushed Oreos stirred in.

Billy’s Vanilla Buttercream
* 1 cup (2 sticks) unsalted butter, room temperature
* 6 to 8 cups confectioners’ sugar
* 1/2 cup milk
* 1 teaspoon pure vanilla extract

In the bowl of an electric mixer fitted with the paddle attachment, cream butter until smooth and creamy, 2 to 3 minutes. With mixer on low speed, add 6 cups sugar, milk, and vanilla; mix until light and fluffy. If necessary, gradually add remaining 2 cups sugar to reach desired consistency.

Makes enough to frost about 30 cupcakes.

Dinosaur Cake

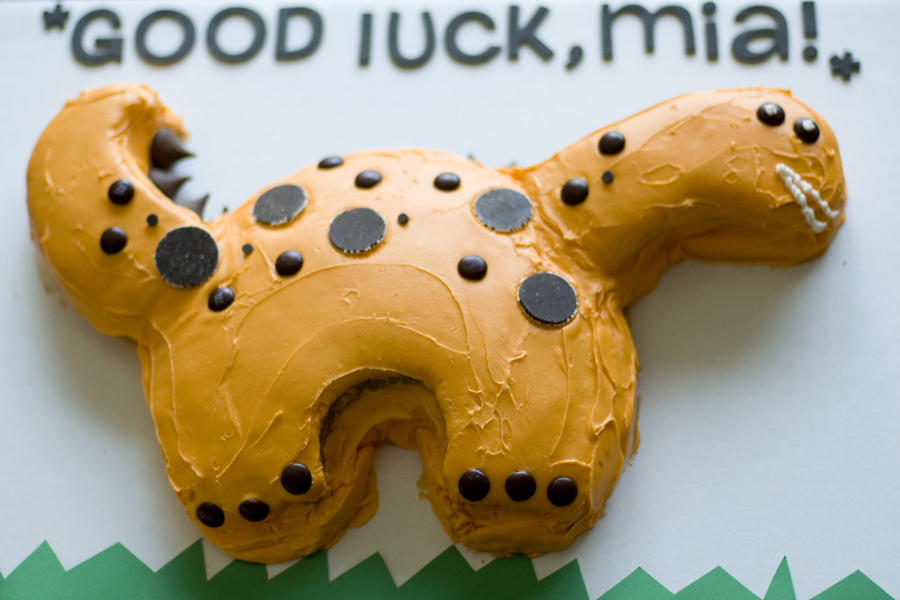
I saw this dinosaur cake in a magazine and just HAD to make it. But the question was: who would I make a dinosaur cake for? The answer was easy. My friend Amelia, who loves dinosaurs just as much as I do, is moving to Utah. I decided to make the dino cake as a going-away present of sorts.

You can find a full set of instructions at BettyCrocker.com, but here are my tips and tricks for how to make the cake.

  • You don’t need a dinosaur shaped pan. Just bake two 8″ or 9″ cakes and cut out the pieces. One cake is used for the body – and the head and tail are cut out of the other cake. You can do this freehand, or you can download a template here.
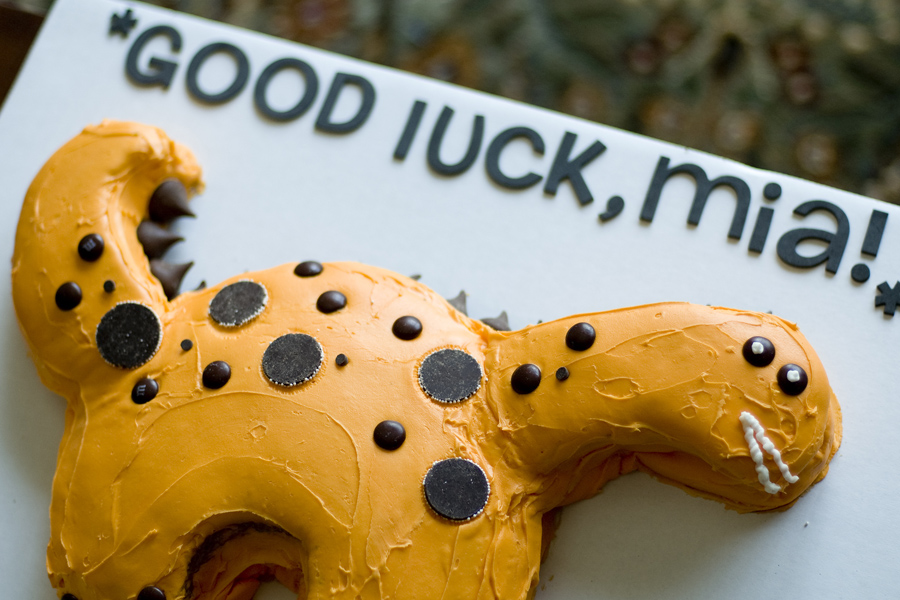
  • Use Hershey Kisses for the spine & assorted chocolate candies (M&Ms, large nonpareils, chocolate chips, etc) for the spots.
  • I used store bought frosting on this cake. If I could do it all over again, I would make homemade buttercream (or something even thicker). The store-bought frosting ended up running down the sides of the dino, as you can see in the photo above. Even with refrigeration, it still ran down the sides.
  • Another helpful hint: freezing your cakes before you frost them makes it SO MUCH EASIER. It is much easier to frost a frozen cake. You can even do a crumb coat of frosting before you freeze it – meaning that you slap on a thin layer of frosting to lock the crumbs in, freeze it for 30-60 minutes, and then frost the cake again to make it look presentable.
  • If you’ve never frozen a cake before, fear not, it’s super easy. Wrap the cake in plastic wrap – I usually wrap it twice, just to lock in as much moisture as possible. After the plastic wrap, you can also wrap the cake in aluminum foil to ensure that no moisture is lost. Make sure your cakes are COMPLETELY cooled before you freeze them though!

Almond Butter Cookies

Isn’t the rainbow background just precious? ;) But really, I think these cookies are deserving of such a magical background. They are buttery and just melt in your mouth. These little nuggets of deliciousness are also called Mexican Wedding Cookies and can be made with either pecans or almonds.

Almond Butter Cookies
Recipe credit: Taste of Home & my Grandma Baivier
Print Recipe

1 cup butter, softened
1 cup powdered sugar, divided
2 cups all-purpose flower
1 teaspoon vanilla extract
3/4 cup chopped almonds

Preheat oven to 350F. Cream the butter and 1/2 cup powdered sugar. Add flour and vanilla and mix well. Stir in the almonds and shape into 1-inch balls. Place on an ungreased baking sheet and bake for 13-16 minutes, or until the edges are golden brown. Cool for a few minutes before moving to wire cooling racks. Once cooled completely, roll in remaining powdered sugar.

Mini Black & White Cookies

Pardon the crappy photo. It was about midnight when I finished these and didn’t have any natural light to work with! These cookies turned out really well. The cookie tastes more like cake. New York bakers used to make these cookies in order to use up their extra cake batter — just add a little extra flour to the cake batter and viola, cookies appear! And I like the duality of these cookies — you can have the best of both worlds: vanilla AND chocolate.

Mini Black and White Cookies
Recipe credit: Martha Stewart’s Cookies
Print Recipe

cookies:
1-1/4 cups all-purpose flour
1/2 teaspoon baking soda
1/2 teaspoon coarse salt
6 Tablespoons unsalted butter, room temperature
1/2 cup granulated sugar
1 large egg
1/2 teaspoon pure vanilla extract
1/3 cup low-fat buttermilk

frosting:
2 cups confectioners’ sugar
1 Tablespoon plus 1 teaspoon light corn syrup
2-1/2 teaspoons fresh lemon juice
1/4 teaspoon pure vanilla extract
1 Tablespoon water, plus more if needed
1 Tablespoon unsweetened Dutch-process cocoa powder

1. Preheat the oven to 350F. Sift together flour, baking soda, and salt into a bowl.
2. Put butter in the bowl of an electric mixer fitted with the paddle attachment. Mix until creamy, about 2 minutes. Add granulated sugar; mix until fluffy, about 3 minutes. Mix in egg and vanilla. Mix in flour mixture in three batches, alternating with buttermilk.
3. Roll tablespoons of dough into balls; drop onto baking sheets lined with parchment paper, spacing 2 inches apart. Bake cookies, rotating sheet halfway through, until bottoms turn golden – about 10 minutes. Let cool completely on wire racks.
4. Make the icing: Whisk confectioners’ sugar, corn syrup, lemon juice, vanilla, and water in a small bowl until smooth. Add more water, if necessary, to achieve a consistency slightly thicker than honey. Transfer half the icing to a small bowl. Stir in cocoa powder; thin with water if needed.
5. Spread white icing on half of each cookie and cocoa icing on the other half. Let stand until set, about 30 minutes. Cookies can be stored between layers of parchment in airtight containers at room temperature up to 3 days.