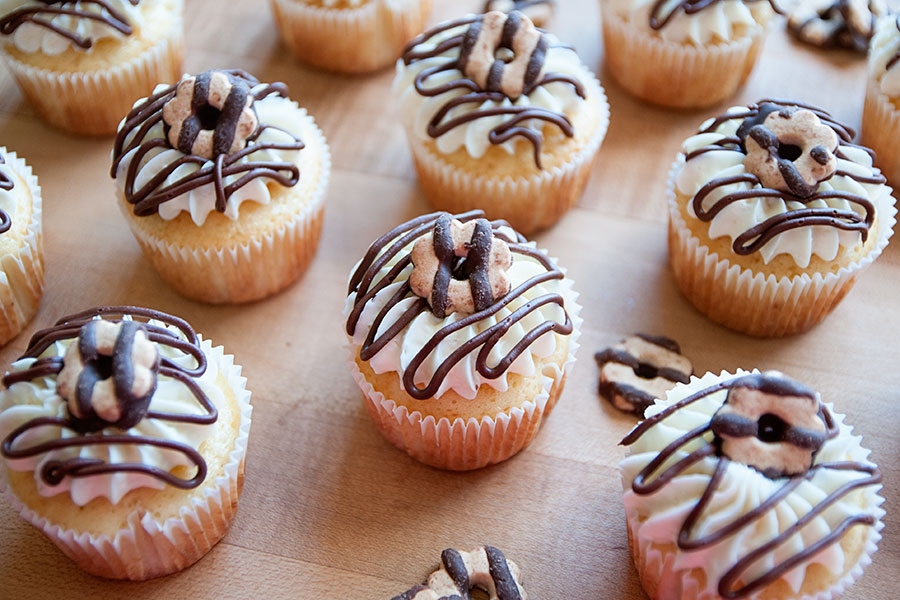
The last of my Rippin’ Good-inspired treats are these fudge striped cupcakes. When I was a kid (before all fun was removed from life and OSHA started to get picky), you could take a tour of the Rippin’ Good cookie…
Rippin’ Good Carousel Frosted Animal Cupcakes
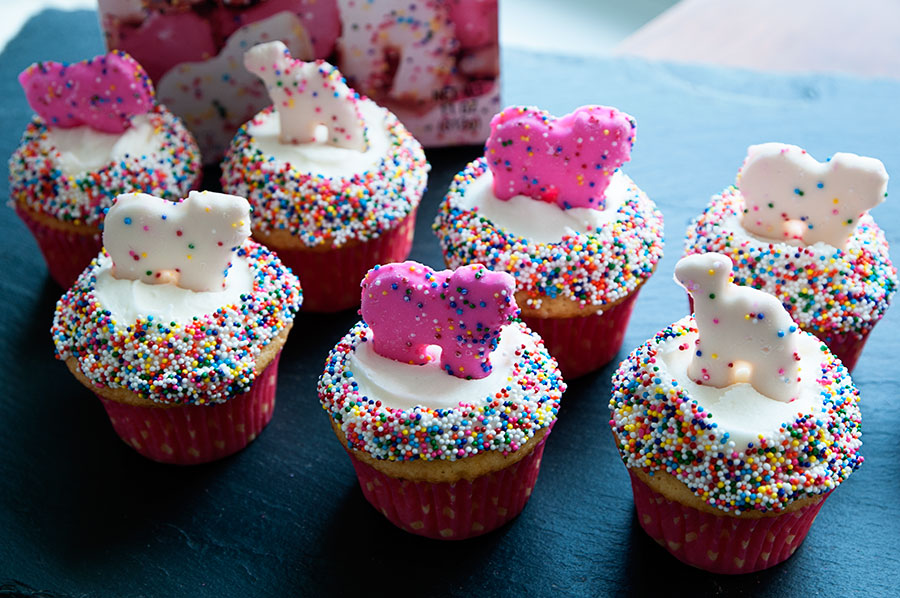
Another favorite cookie of mine (I have a lot of favorite cookies) is the Carousel Frosted Animal Cookie. These are not to be confused with other frosted animal cookies – because they are better than any of the competition. A few…
Rippin’ Good Creme Wafer Cupcakes
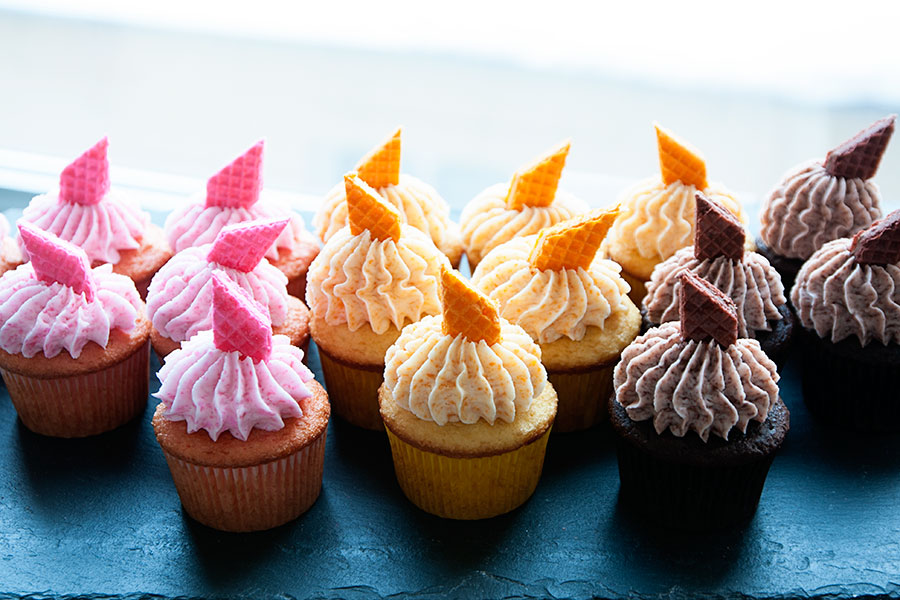
A mere 30 minutes from my hometown of Oshkosh, Wisconsin lies one of the greatest places on planet earth: the Rippin’ Good cookie factory and outlet store. Yes, a cookie outlet store. There, in this magical building, you will find…
Chocolate-Stuffed Strawberry Crinkle Cookies
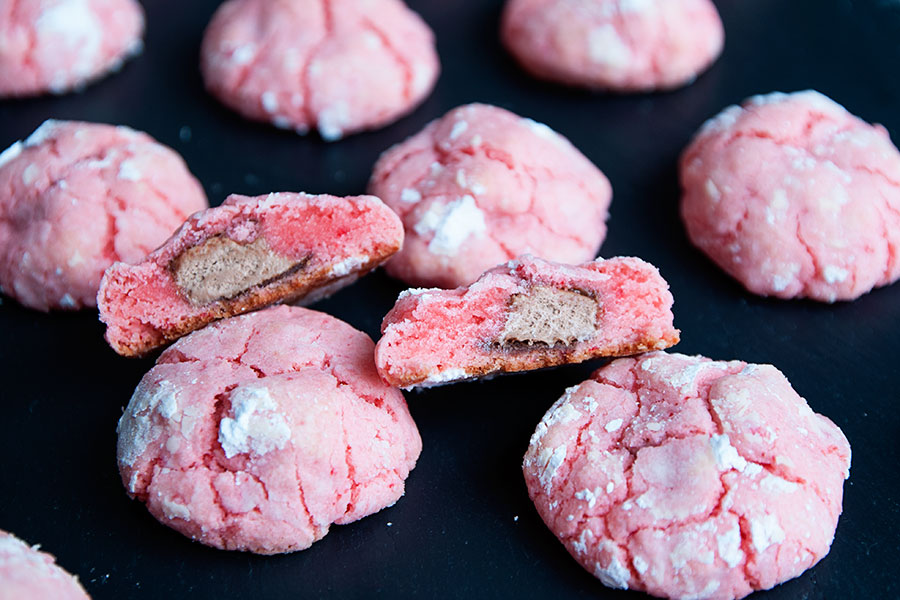
This lovely recipe comes from my dear friend Amber’s blog, Bluebonnets & Brownies. I love Amber, her cute family, her love of Disney, and her consistently great recipes. But I will be honest: I’m not a huge fan of strawberry-flavored…
Lemon Cookies
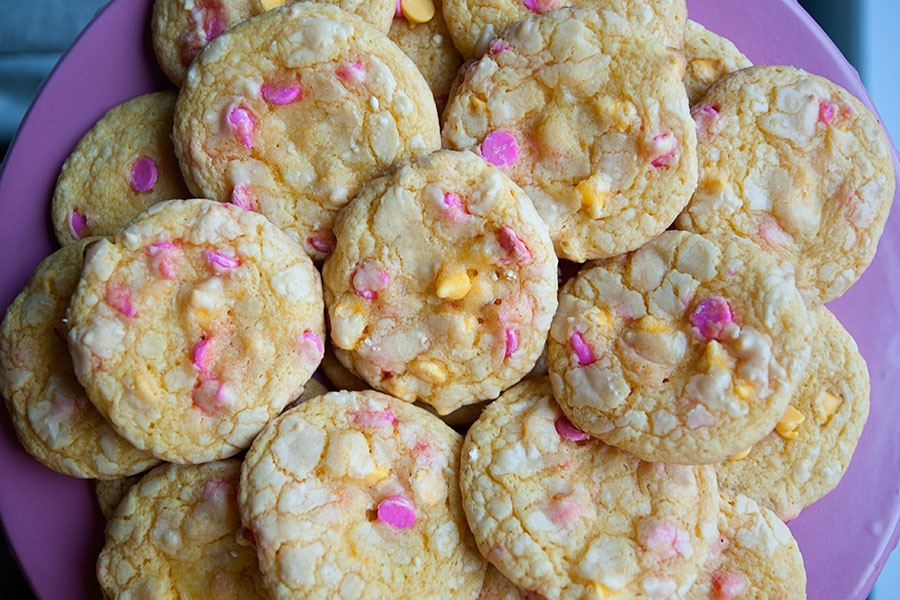
My friend Britteny’s birthday was a month ago today. We were in the midst of law school finals, so she didn’t really get a proper celebration. As I’ve always said, law school is the killer of all things joyous. But…
Princess & the Frog Cupcakes
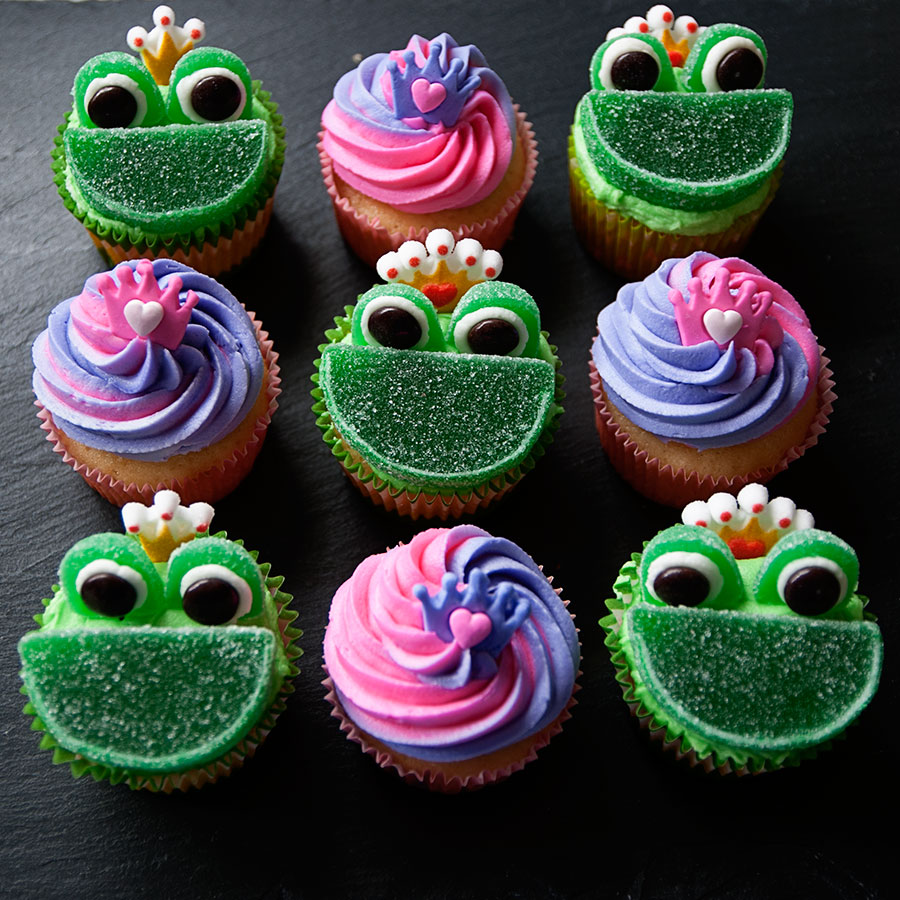
I recently watched The Princess & the Frog for the first time, upon my friend Andrea’s insistence. I was skeptical because quite frankly it looked ehhhhhhhhh. I became too old (and oh, waaaay too cool) for Disney movies around the…


