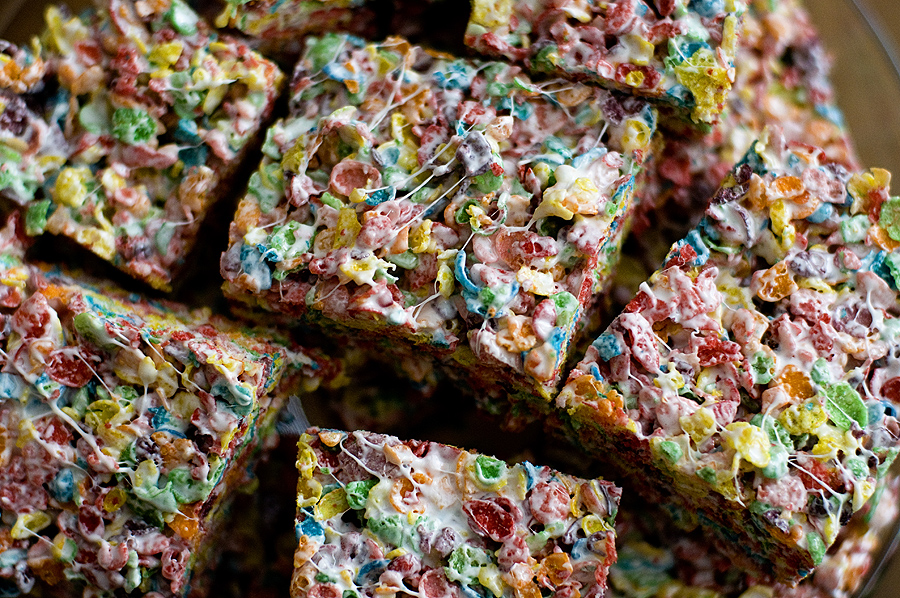
Okay, how many of you have kids? Raise your hands. Well, I certainly don’t — but who doesn’t love something deliciously sweet and artificial every now and then?! Fruity Pebbles are, by nature, weird. Brightly colored and full of a…
Heart-Glazed Cornmeal Cookies

Heart-Glazed Cornmeal Cookies Recipe source: Everyday Food 2 cups all-purpose flour 1/2 cup yellow cornmeal 1/2 teaspoon coarse salt 1 cup (2 sticks) unsalted butter, room temperature 3/4 cup granulated sugar 1 large egg 1-1/4 teaspoons vanilla extract 1/2 cup…
Super Bowl XLV
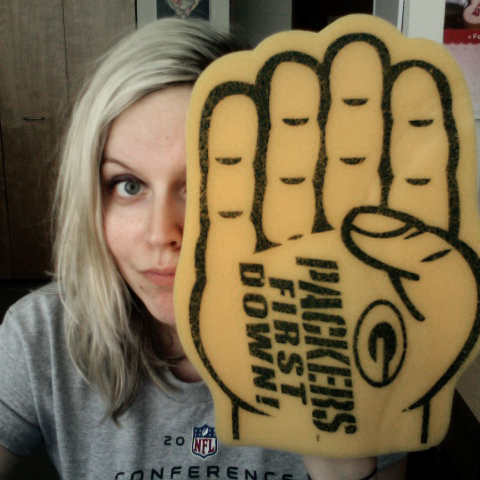
To those that may not know, I’m a huge huge huge NFL football fan — and specifically, a huge Green Bay Packers fan. Imagine my joy and surprise when Green Bay won the Super Bowl on Sunday night. Holy freaking…
Blueberry Potato Cake
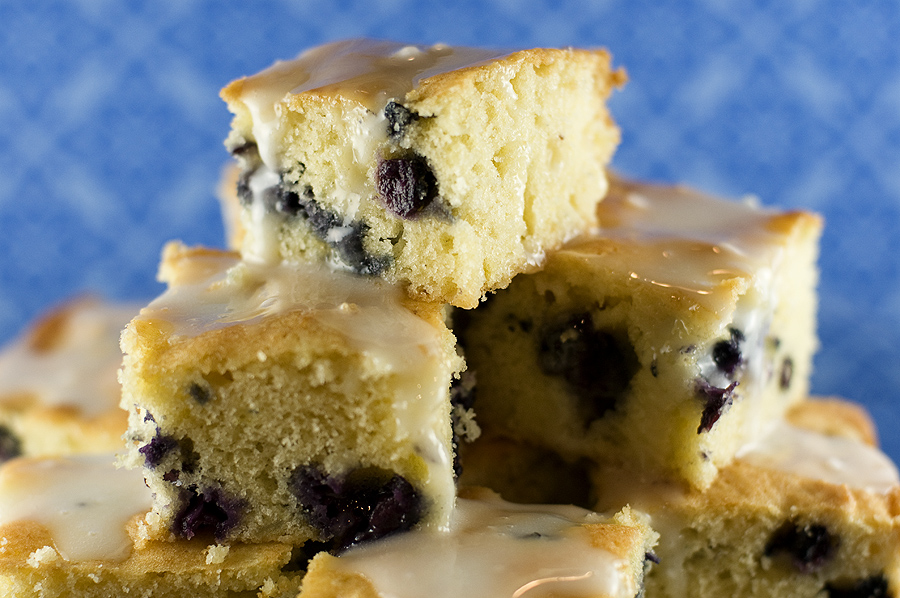
When I was home over winter break, my Dad gave me his copy of Valley Potato Grower magazine (yes, there is such a thing — and yes, you receive such a publication if you work in the food biz!). He…
Sweet Talk Cupcakes

February is here! Happy early Valentine’s Day! I love the idea behind conversation hearts, but I hate the candy itself (so chalky!). I thought a cupcake version of this classic candy would be a much better fit for me. Sweet…
Polar Bear Cupcakes
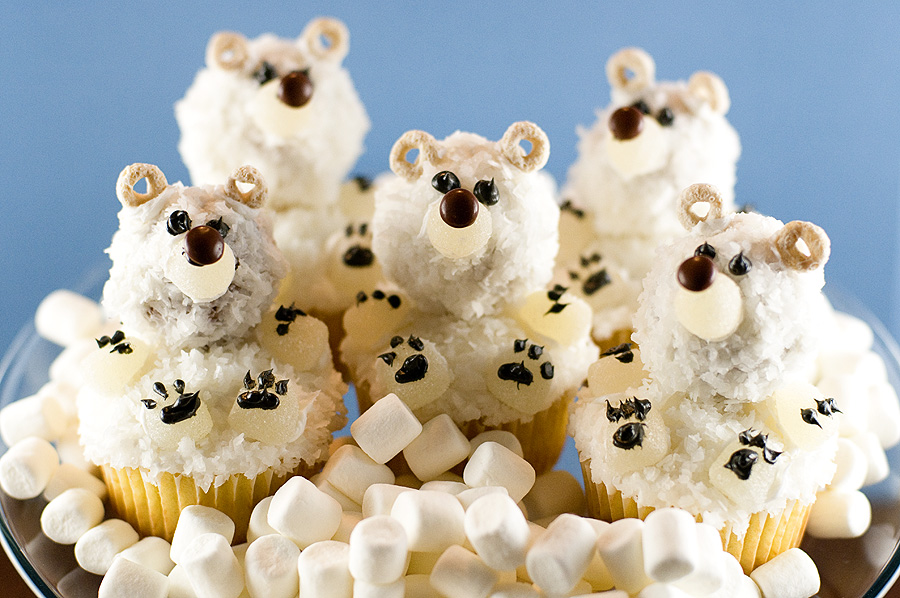
Happy winter! I live in Wisconsin and find the months of January through March to be the most depressing time of year. The holidays are over. Summer is still months and months away. There’s really not much to look forward…


