Key lime pie is my favorite dessert ever. Ever. Ever. I would choose key lime pie over any other treat (which is shocking, considering it doesn’t involve cheese and/or chocolate!). This recipe is simple, delicious, and the crust is to-die-for….
Archives for July 2010
Black-Bottom Cupcakes
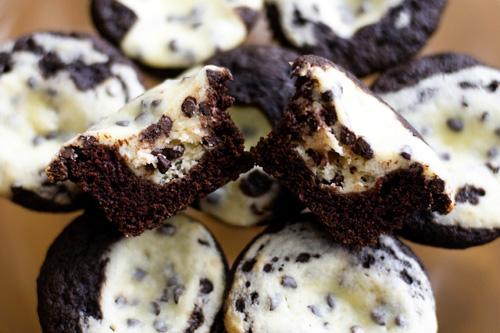
Oh oh oh so good. Cream cheese, in any form, is a good thing. Paired with chocolate? Even better. Black-Bottom Cupcakes Recipe sources: The Great Book of Chocolate & Smitten Kitchen For the filling: 8 ounces cream cheese, at room…
New York Subway Cupcakes
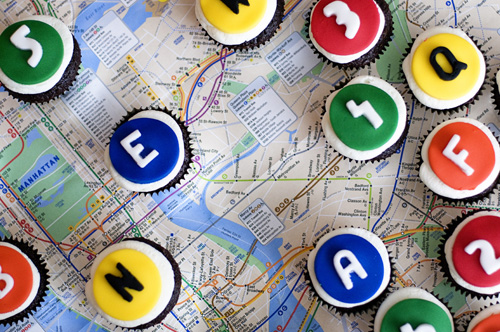
I’m leaving today for New York! I’ll be there for almost 2 weeks :) In celebration of my trip, I made New York Subway cupcakes. No fancy instructions here – the cupcakes are chocolate box mix with store-bought frosting. I…
Margarita Cupcakes
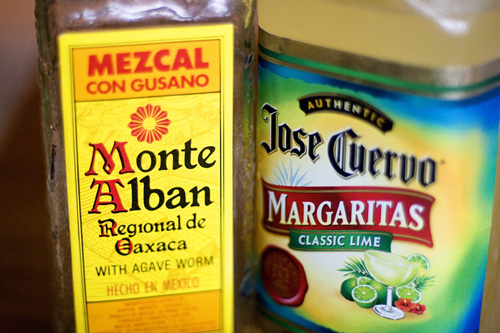
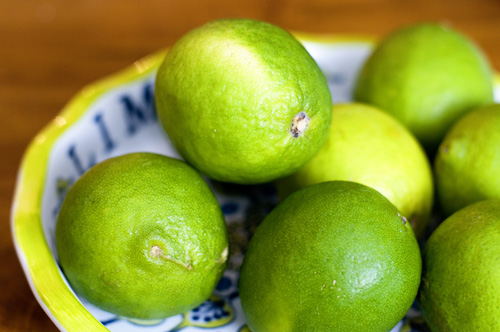
Let’s be honest. Everything is more fun if alcohol is involved. Baking is no different. Margaritas are my favorite summer drink (…and fall, winter, and spring drink) and these cupcakes are fantastic. And easy! Margarita Cupcakes Recipe source: recipegirl.com Cake:…
Blackberry Cobbler
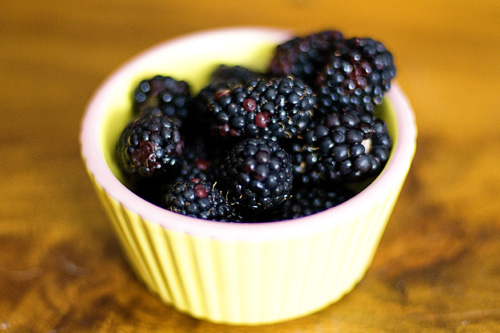
One of the two million reasons I love summer is the abundance of fresh fruit. Everything is in season. Blackberries are one of my favorite fruits. Here’s a relatively simple recipe for a blackberry cobbler. If you can tolerate lactose…
Blueberry Crumb Bars

I had A LOT of extra blueberries left over from my farmer’s market haul. I couldn’t eat them all – so what’s a girl to do? Turn them into a treat!
4th of July Flag Cake
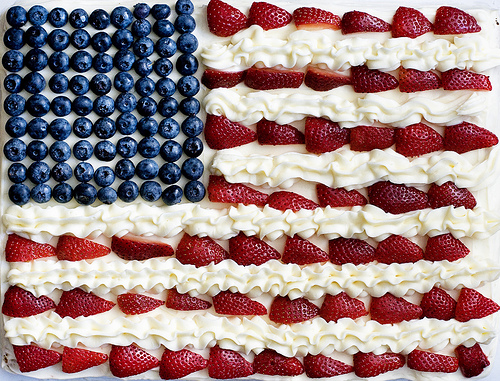
It wouldn’t be summer without a 4th of July flag cake! There are countless variations of this cake – some made with strawberries, some with raspberries. Some with vanilla frosting, some with cream cheese. Any way you choose, it’s bound…


