One of my new year’s resolutions for 2012 was to make cinnamon rolls from scratch. I completed this task yesterday – on December 30th. Nothing like waiting until the last minute, right?! Truth be known, breads and rolls intimidate me….
Archives for 2012
Merry Christmas!
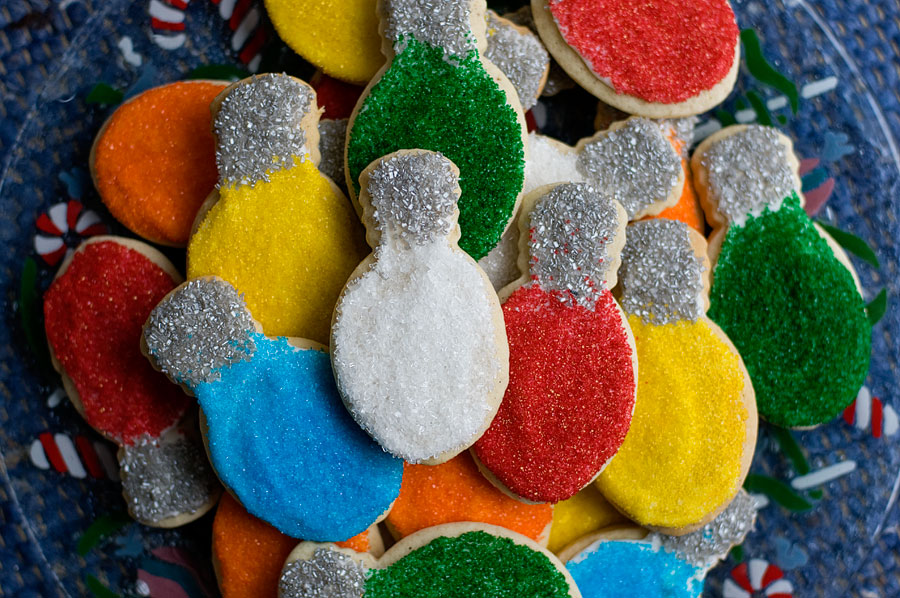
Merry Christmas to all of my wonderful blog readers! I hope you have a safe and happy holiday — and an amazing 2013!
Gingerbread Men
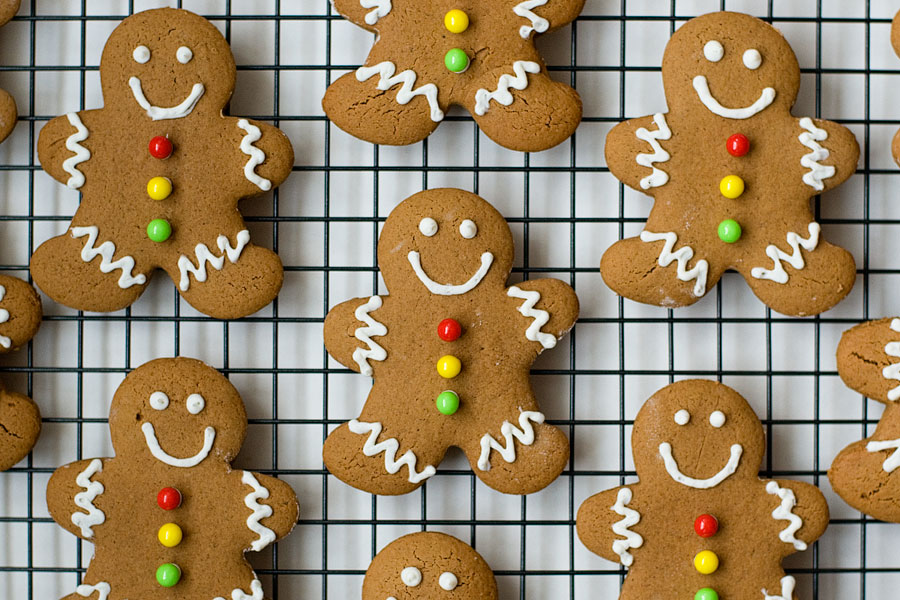
I’m back from my hiatus! Finals are over and I finally have time to start baking again! I don’t have enough time to bake very many Christmas goodies, but I had to do something. I’ve wanted to make gingerbread men for…
From Tortes to Torts
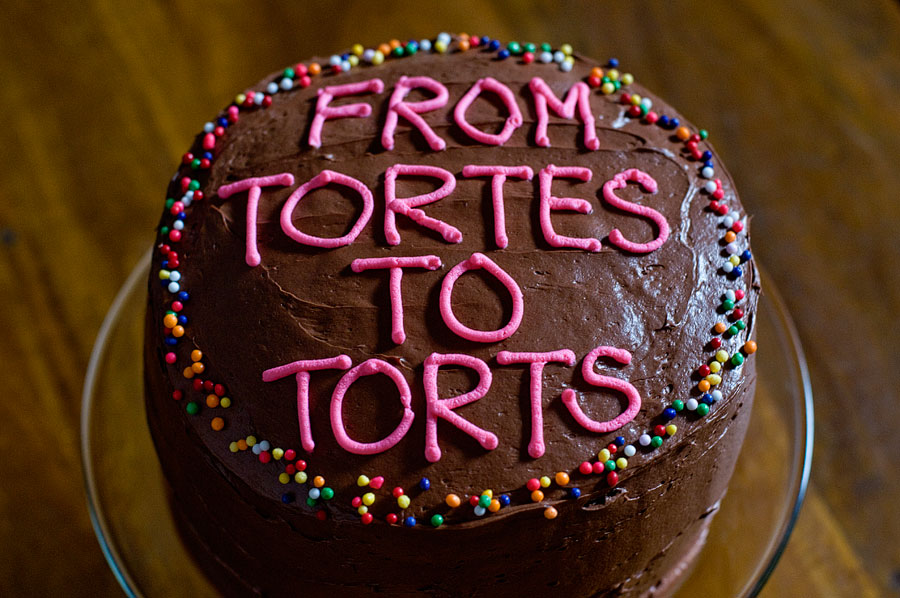
You know you’re a bit of a geek when you pair baking and law together to make something tasty. As I may have mentioned before, I started law school back in August. Law school is INTENSE and finals are rapidly…
RIP, Hostess.
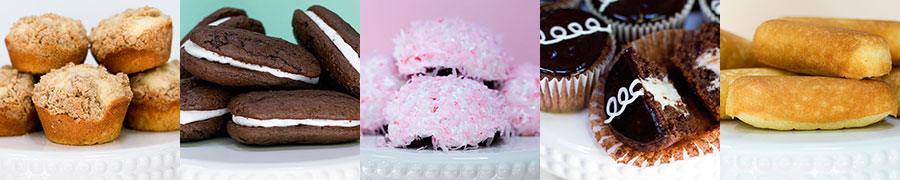
In case you haven’t already heard, Hostess is closing up shop and shutting down. I know that Hostess treats are not sophisticated, healthy, or anything close to homemade. In fact, the treats are full of preservatives (but oh, so delicious!)…
Turkey Cupcakes
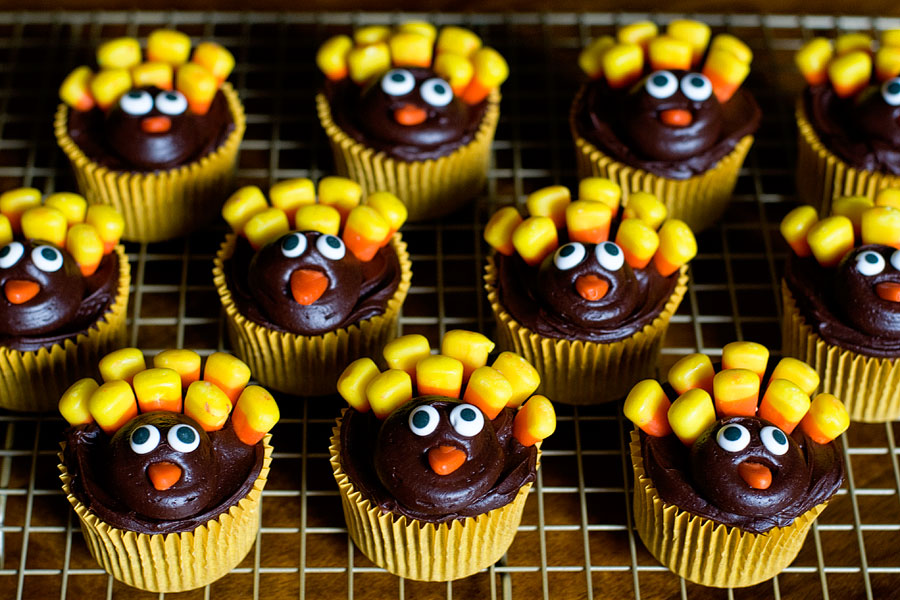
Thanksgiving is exactly one week away! Can you believe it? It’s one of my favorite holidays – a delicious meal, a day filled with football, and the wonderful season of Christmas is rapidly approaching. These cupcakes are perfect if you…
Peanut Butter Chocolate Rice Krispie Treats
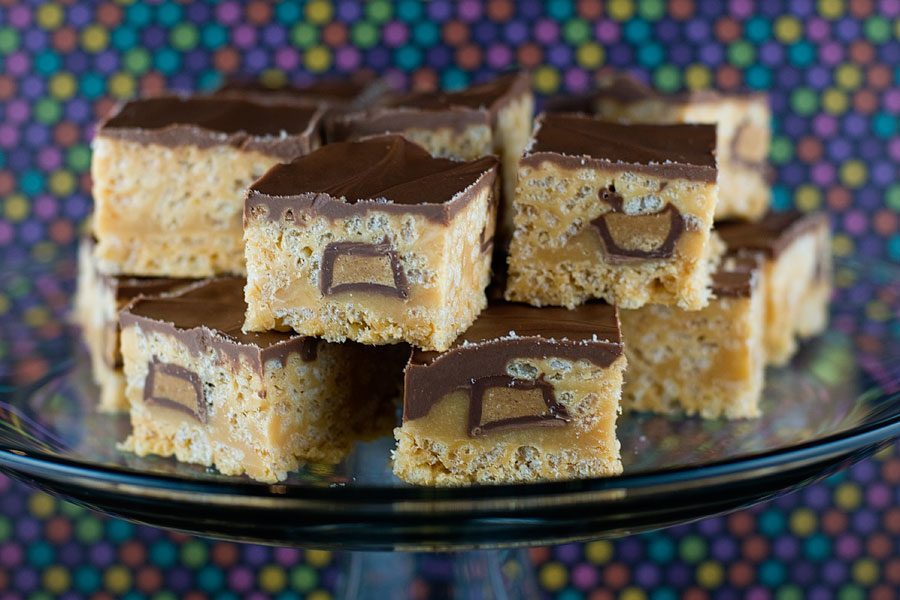
Happy November! We’re about a week into one of my favorite months and less than two weeks away from Thanksgiving. I don’t have much to say along with today’s post – because I would be redundant if I, yet again,…
Neapolitan Cupcakes

My dad gave me two packages of Neapolitan Oreos and I was inspired to make some sort of cupcake out of them. Neapolitan is a near-perfect flavor combination – and it’s also such a pretty color palette! These cupcakes were…
Happy Birthday Double Cupcakes
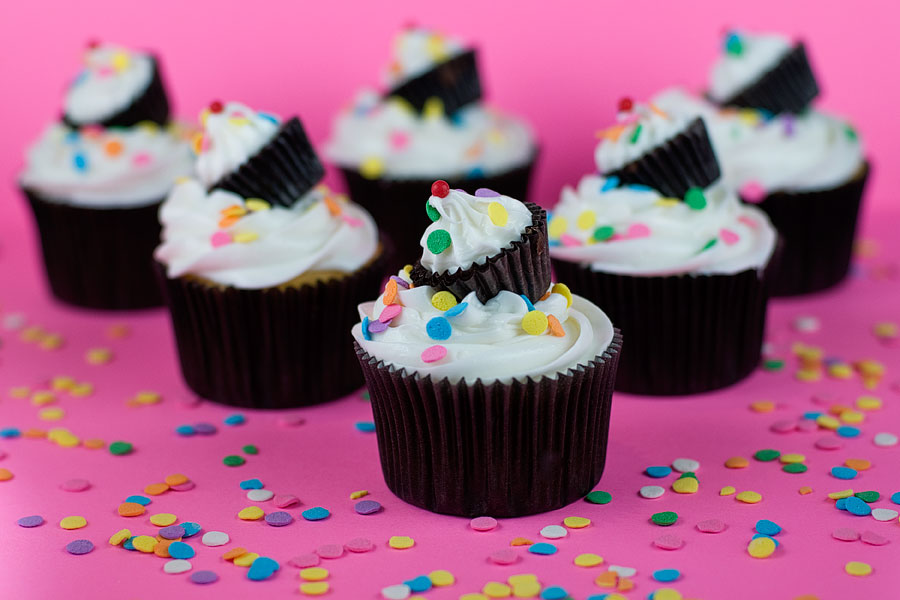
My BFF’s birthday is today! Happy Birthday, Bethany! Unfortunately, Bethany lives in Boston and I live in Milwaukee. I wish I could celebrate with her [with cupcakes and beer and all things photography] but this post will have to suffice….
Halloween & Fall Ideas II
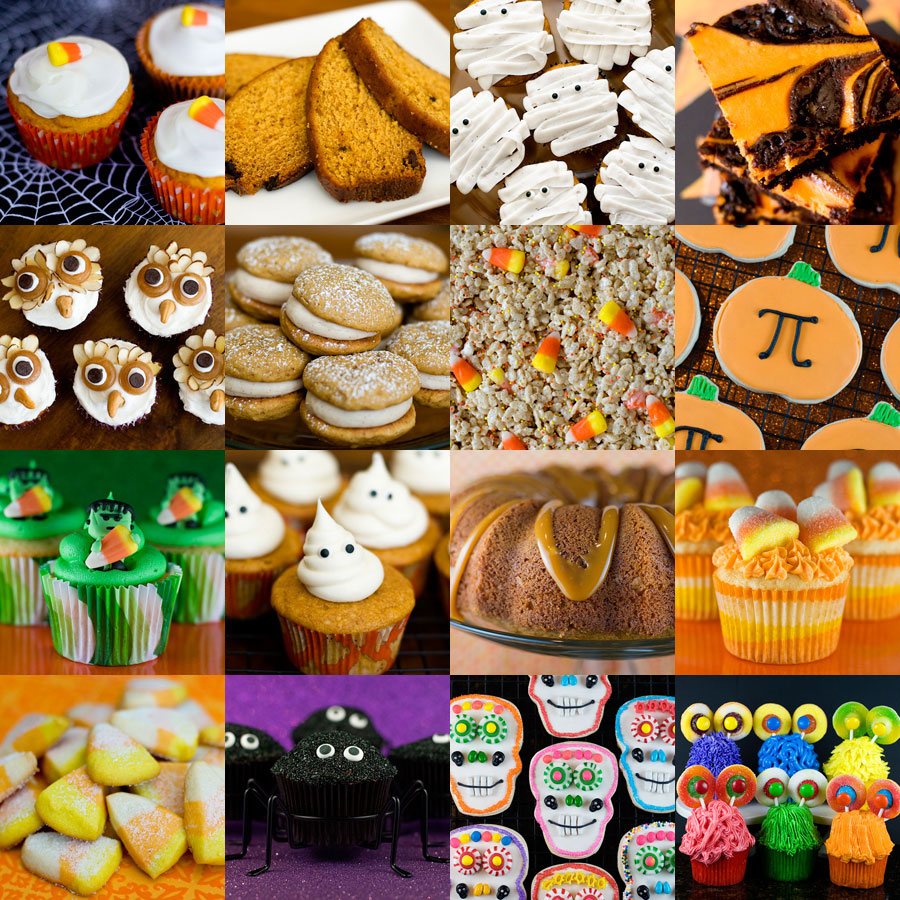
Here’s my Halloween/Fall recipe roundup for this year! Hope you are all enjoying the season. 1. Pumpkin Cupcakes 2. Pumpkin Raisin Bread 3. Mummy Cupcakes 4. Halloween Brownies 5. Hoot Owl Cupcakes 6. Pumpkin Sandwich Cookies 7. Trick-or-Treat Rice Krispie…
Day of the Dead Cookies
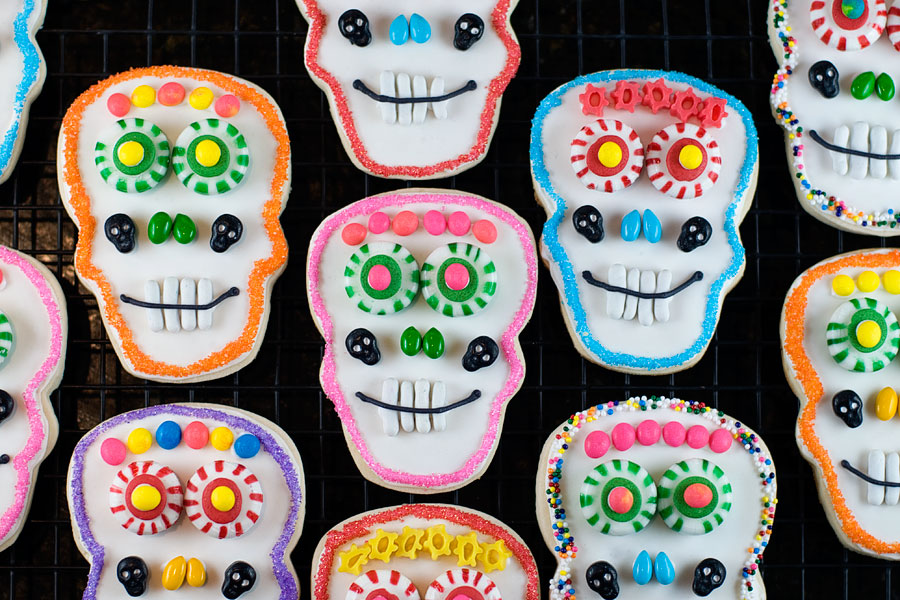
Most Americans celebrate Halloween but are unaware of another interesting holiday: the Day of the Dead (Dia de Los Muertos, if you know Spanish). The Day of the Dead is celebrated primarily in Mexico, but extends throughout the world. Family…
Pumpkin Pi Cookies
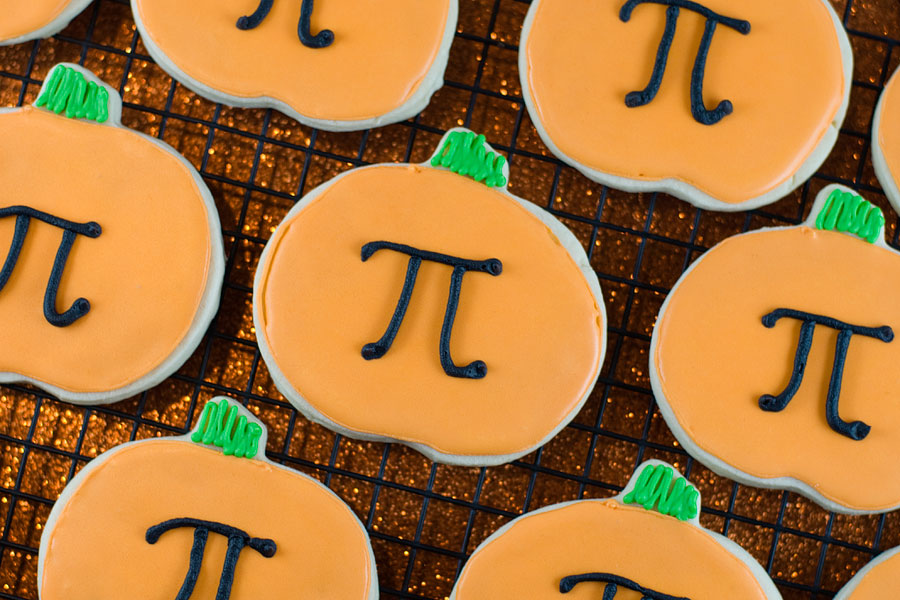
Halloween is 1 week away! Also, I want to say hi to Linzy! Thanks for reading my blog as much as you do – and I love that you and your Dad enjoy baking together. I got my love of…


