August is TOMORROW, you guys! I’m not ready! August pretty much means that summer is winding down and that school will be starting again soon (boo; but also yay! Because I’ve only got one more year to go!). August is…
Archives for July 2014
Cookies ‘n’ Cream Puppy Chow
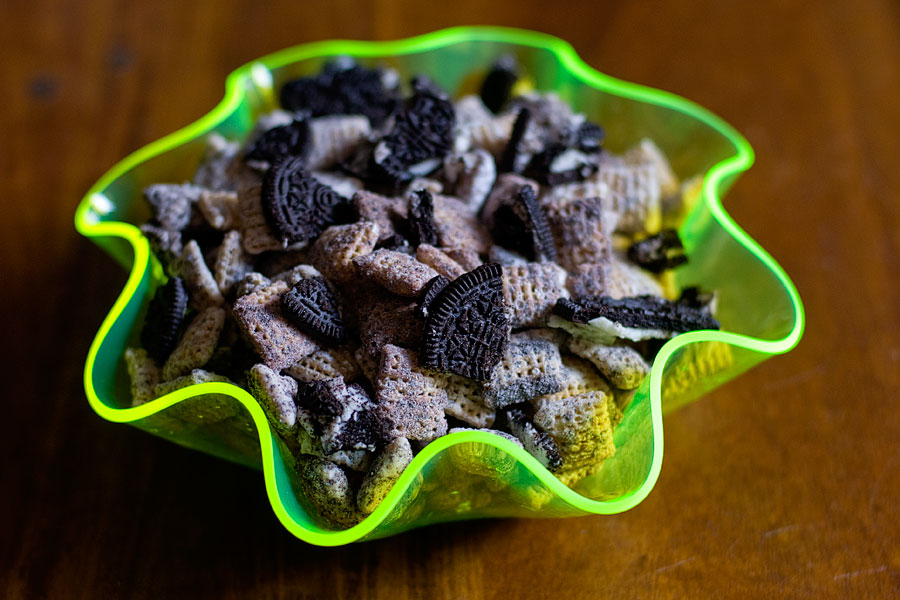
Planning a summer bonfire? Taking a road trip with the kids? Need a quick and easy snack? I have expressed my deep and profound love for puppy chow on my blog before, I’m sure. And I’ve also expressed my even…
Ruffles Krispie Treats
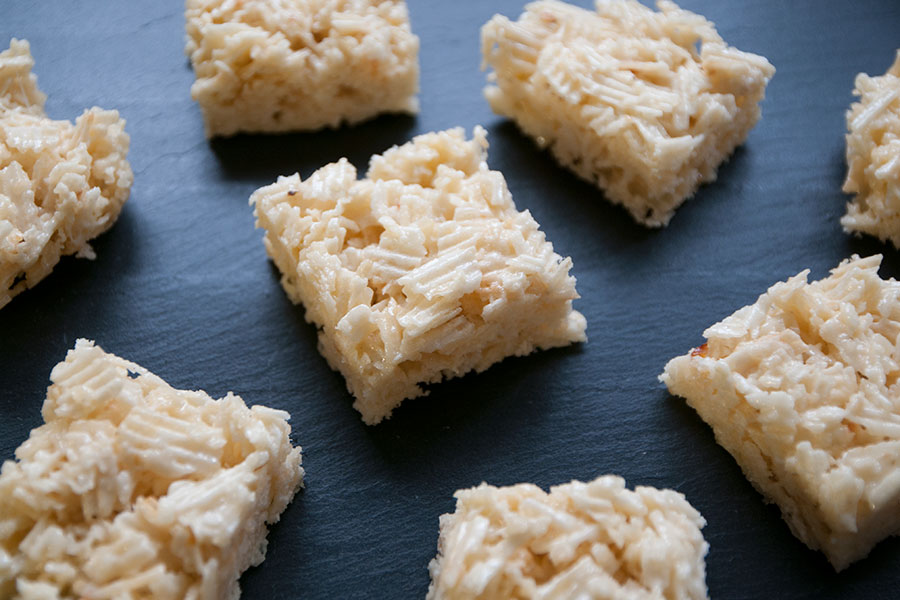
YOU GUYS. These are weird, but amaaaaaaaaaaazing! One of my all-time favorite foods is potato chips. Probably because I’ve been eating them since birth. My family used to own a potato chip factory in my hometown of Oshkosh, Wisconsin. Potato…
Nutter Butter Bars
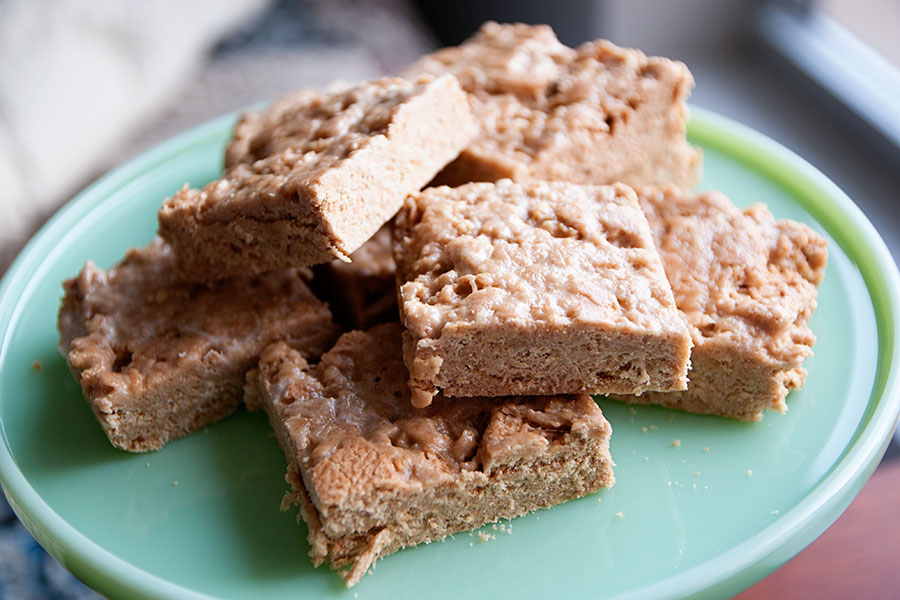
I made these beauties a few months ago… but forgot to blog about them until now! Whoops. I think I’ve mentioned this before in a different post, but Nutter Butters are a delicious cookie that I always forget about. These…
Chocolate Chunk Cookies
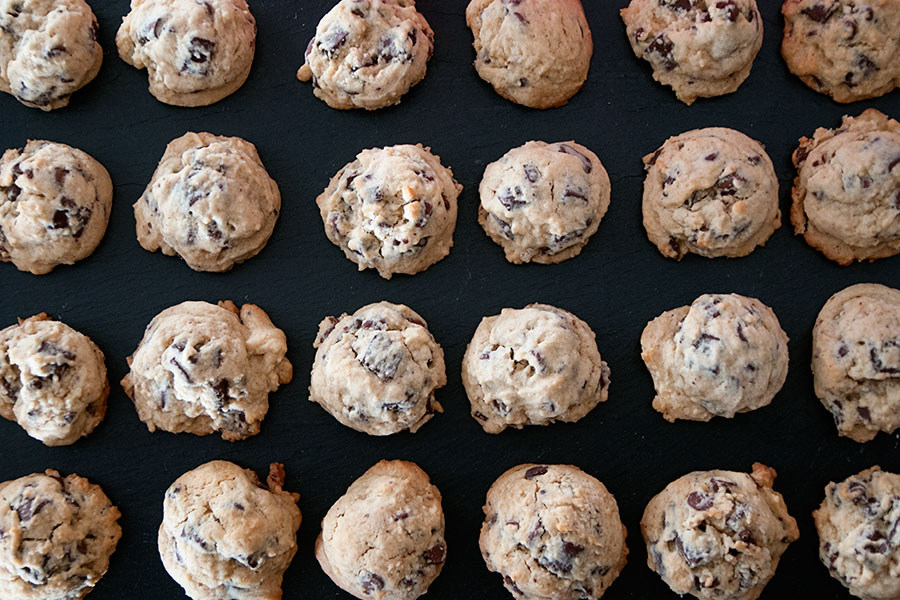
I think we can all agree that chocolate chunk cookies are approximately 3,287x better than chocolate chip cookies, right? Especially when warm and right out of the oven. :) I don’t have much to say about these – no big…
Peanut Butter Oatmeal White Chocolate Cookies
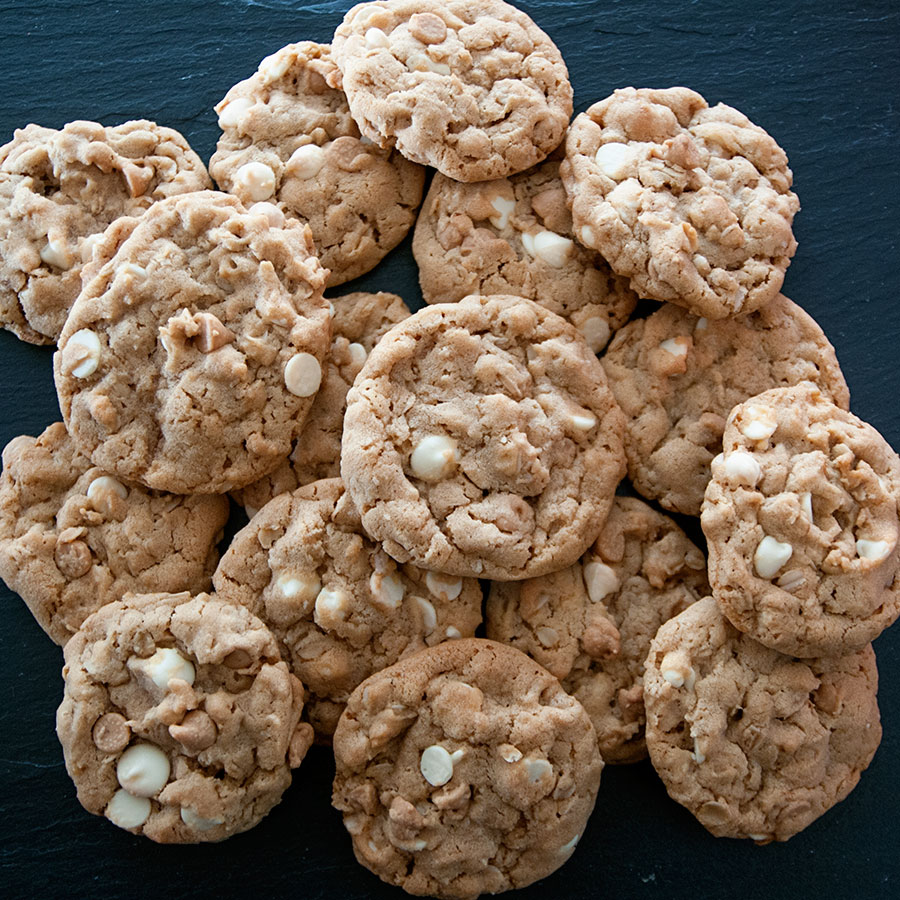
I bring treats to work every Tuesday. Almost always cookies — because cookies are easy to eat and grab on the go. One of the women I work with hates chocolate, so I made these — incorporating all good things…
Summer Ideas 2014
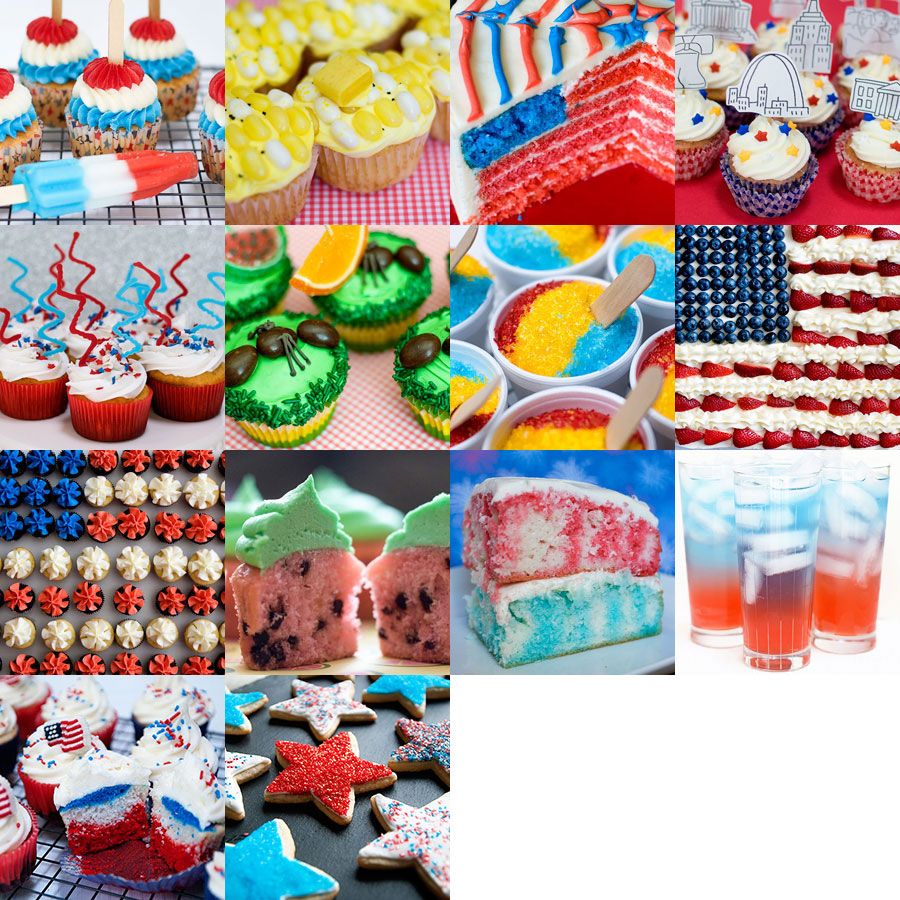
If you need a last-minute idea for your BBQ or 4th of July party, here are some ideas! Hope you’re all having a great summer! 1. Bomb Pop Cupcakes 2. Corn on the Cob Cupcakes 3. American Flag Cake 4….
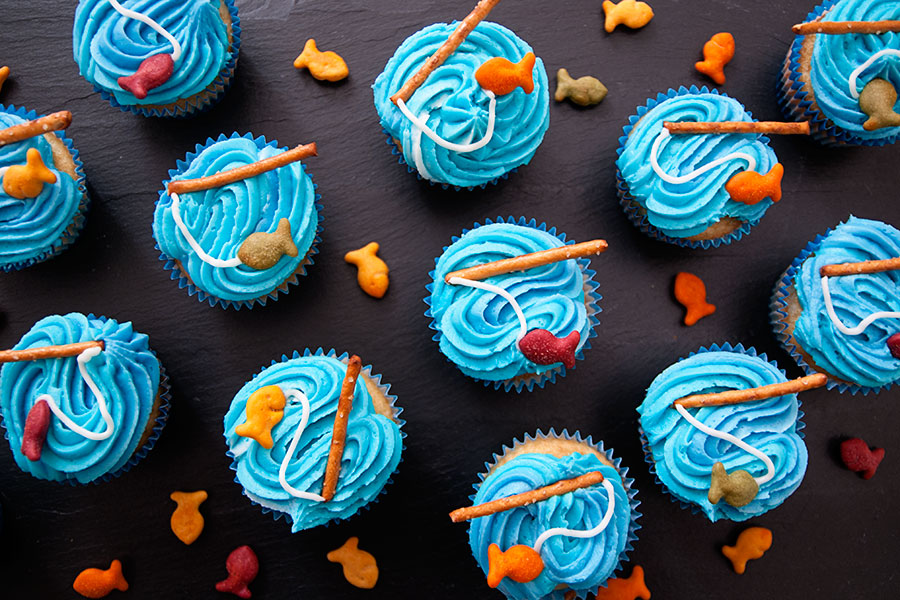
Red White & Blue Cupcakes
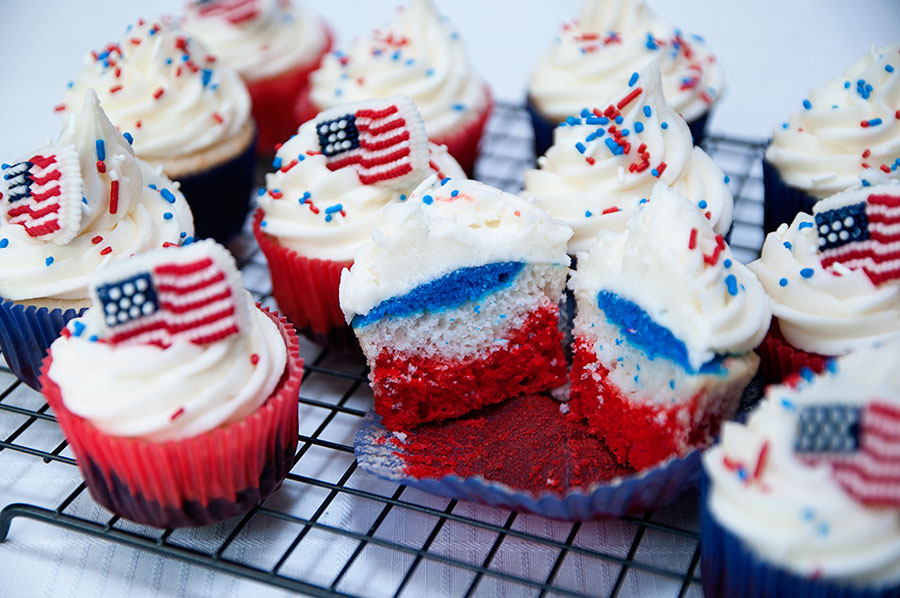
Okay 4th of July party people, you want something easy easy easy easy easy to make? These are for you! You can impress all of your friends and family with these pretty cupcakes and secretly be saying to yourself, “pfft,…


