
Today’s post features the classic bunny cake. As you can see from the photo above, I’ve been a fan of this design since the ’80s (side note: check out those mom jeans and that sweater vest! It was truly a…
Archives for March 2015
Carrot Cake Candy Corn Cupcakes
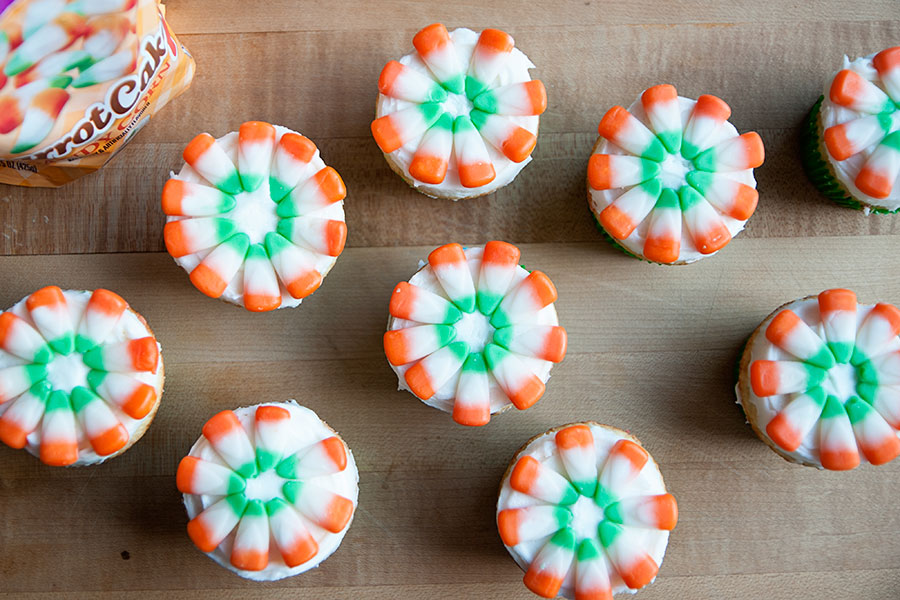
Guess what? Carrot cake candy corn exists. CARROT. CAKE. CANDY. CORN. If you are a frequent reader of my blog you know that I hate carrot cake (it ranks high with coconut on my list of disliked treats), so the…
Robins’ Nest Coconut Cupcakes
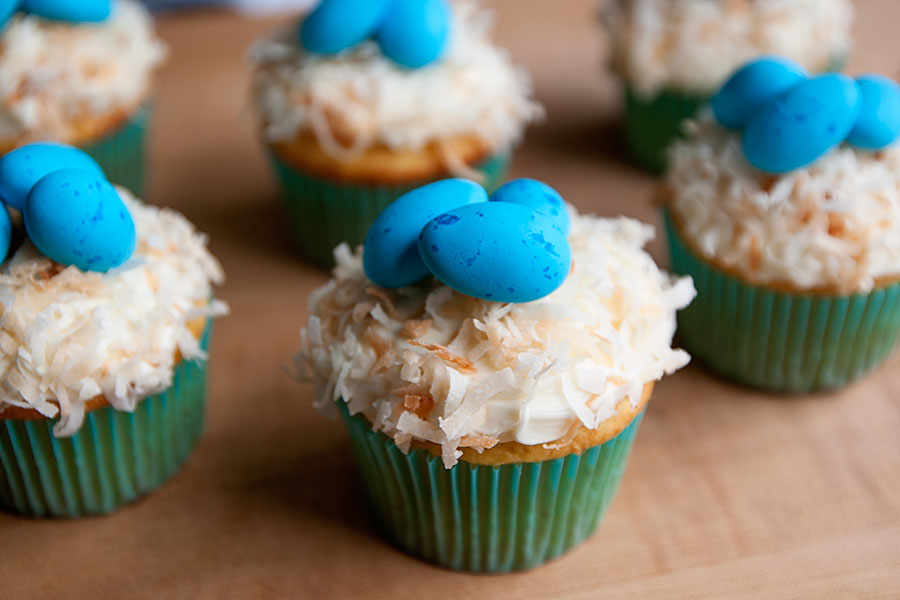
Coconut is one of my most hated foods. But look at the cuteness of these cupcakes!! I may dislike coconut, but I love robin egg candy…and that beautiful color blue. These cupcakes are ideal for those of you who aren’t…
Mini Peeps Cupcakes
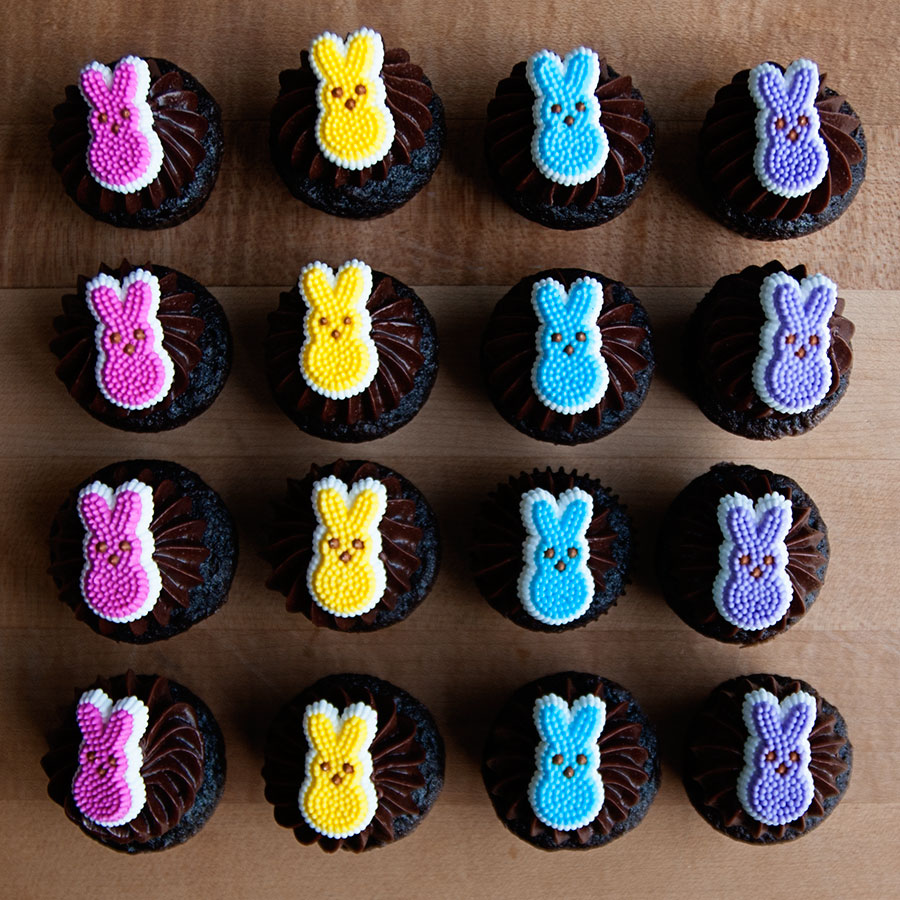
Confession: when I saw these mini Peeps decorations I actually said “wheee!” My mom was with me at the time and thought nothing of it, because she’s used to me wheee-ing and squeeeee-ing over adorable baking decorations. But really, I…
Mini Bunny Cupcakes
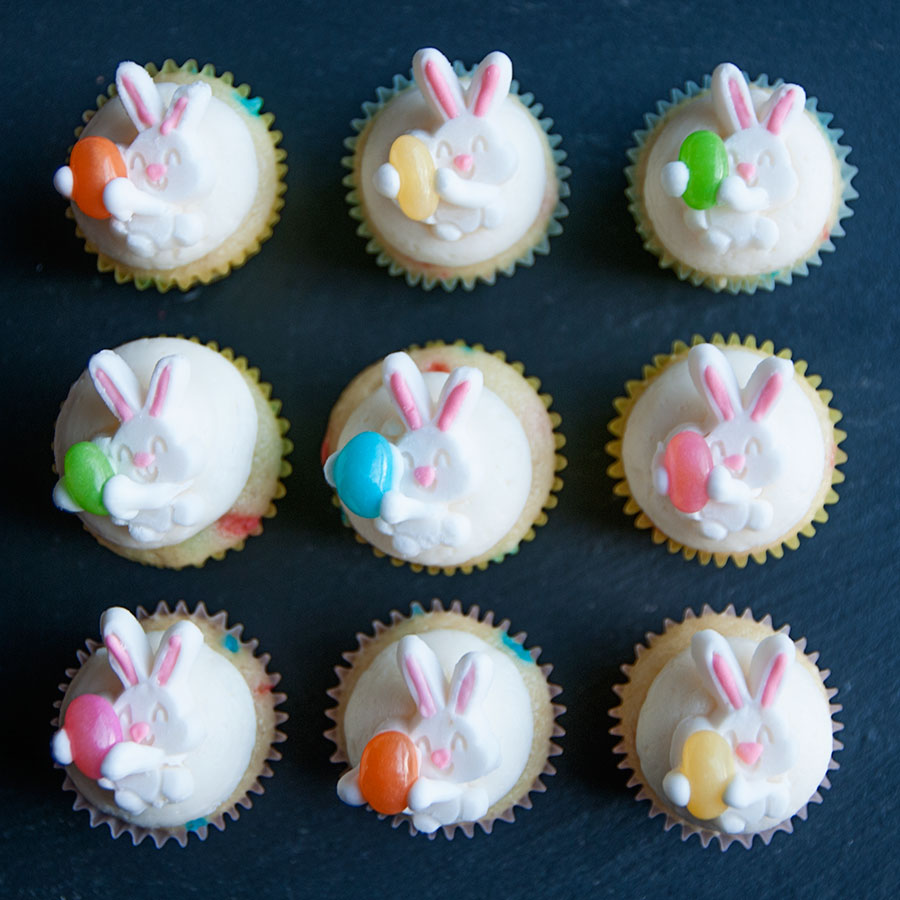
Aren’t these little bunny decorations adorable?! I found them at Target (I think they’re a Wilton product, so you may be able to find them elsewhere) and thought they’d be perfect for mini cupcakes. Mini cupcakes are great. You can…
Peeps Cupcakes
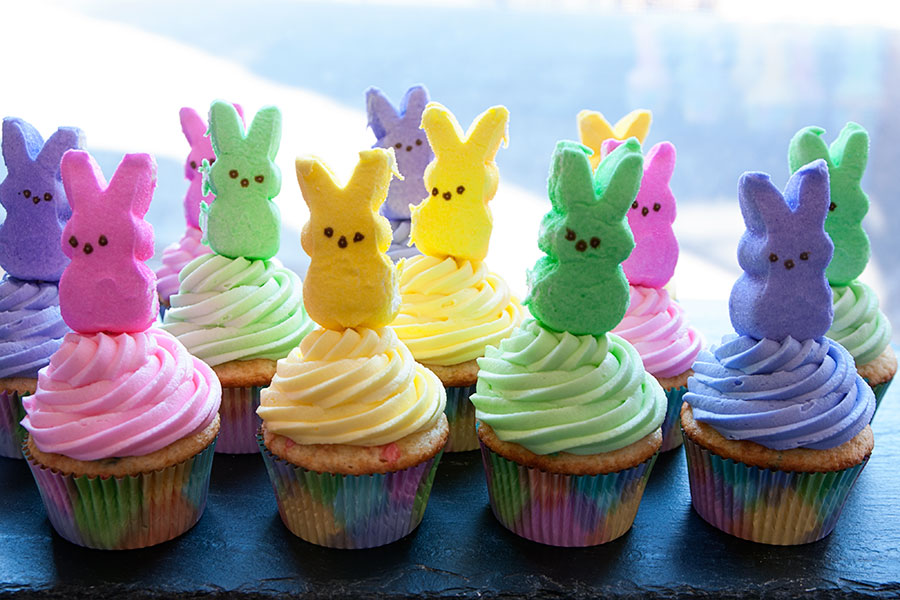
It’s officially the season of EASTER! Spring is here, the weather is getting warmer (and by “warmer” I mean that it’s in the 40s instead of the 20s), and the big bunny holiday is about two weeks away. I don’t…
Spring Oreo Stuffed Chocolate Chip Cookies

These cookies are nothing new to my blog. I’ve made a handful of variations involving Christmas Oreos, Halloween Oreos, more Halloween Oreos, and of course, the classic Oreo. But these cookies are also AMAZING, so why not include an idea…
Cookie Dough Cupcakes
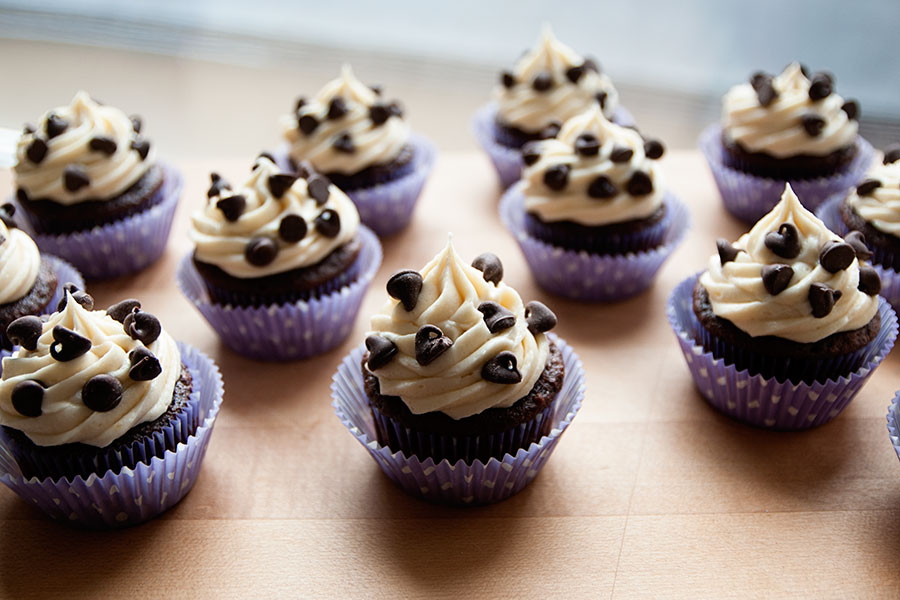
Cookie dough is the greatest. Right?! It’s comforting, it’s nostalgic, and it’s slightly dangerous because OH MY GOD WE COULD ALL DIE FROM THE RAW EGG. #sarcasm These cupcakes are semi-homemade chocolate with homemade cookie dough frosting – that does…
St. Patrick’s Day Ideas 2015

Here’s this year’s list of St. Patrick’s Day-inspired recipes. Enjoy! 1. Pot O’ Gold Cupcakes 2. Three Layer Mint Brownies 3. Rainbow Cupcakes 4. Mint Chocolate Kiss Cookies 5. Green Ombre Cake 6. Lucky Charm Cupcakes 7. Beer Bread 8….
Irish Flag Cookies
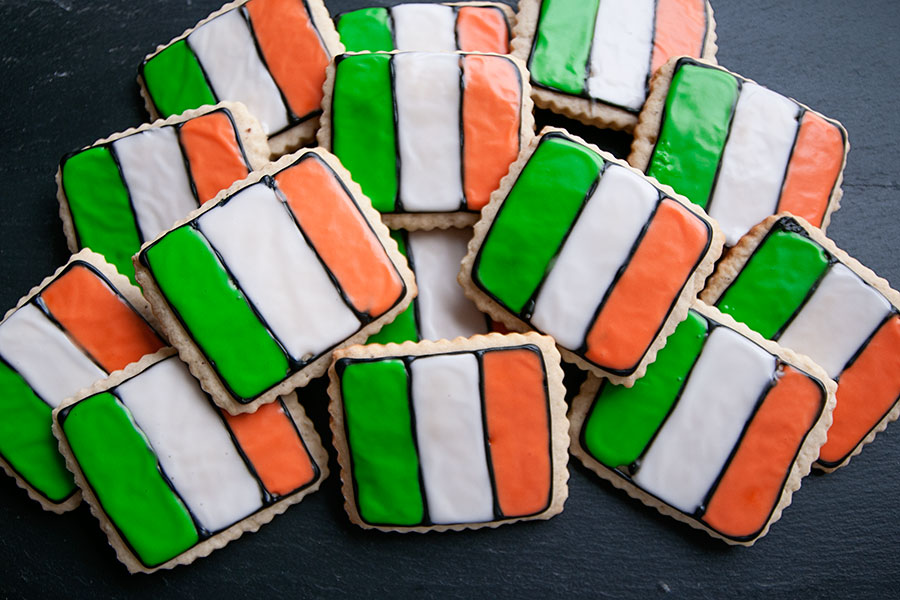
Sigh. I pretty much hate how these cookies turned out. For some reason the icing is lumpy and bumpy, the lines aren’t as straight as they should be, the black icing bled a little bit, etc. BUT WHATEVER. They’re just…
Spiked Rainbow Jello
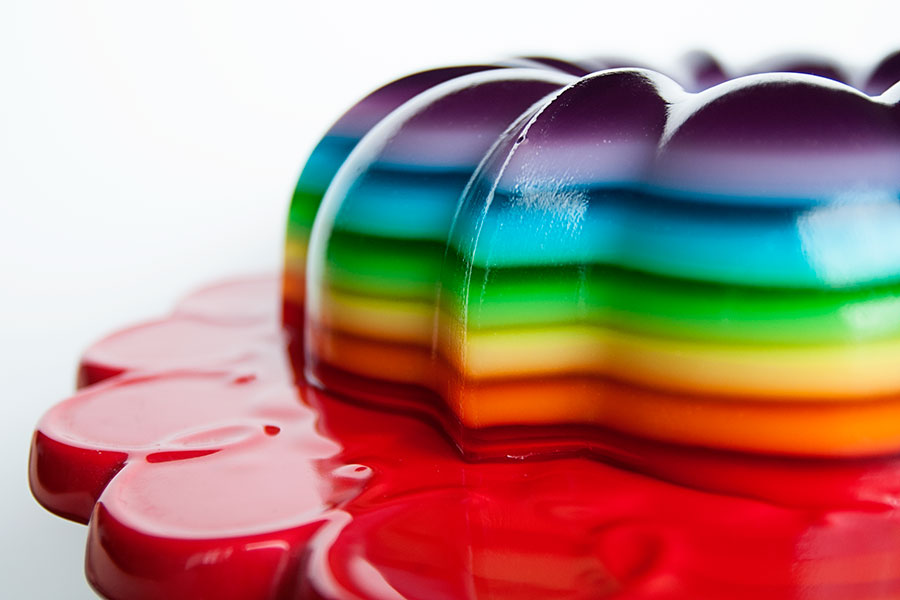
St. Patrick’s Day is next Tuesday! Let’s be real: it’s a drinking holiday for 90% of the population who choose to celebrate it. I decided to make delicious, booze-filled rainbow jello. Making this really isn’t difficult at all, but it…
Sunshine Cookies

Last tropical post! Tomorrow I’ll be posting a very colorful and alcoholic treat for St. Patrick’s Day. But until then, SUNSHINES! Early March is usually the breaking point for people who live in cold, northern climates. Spring is so, so…


