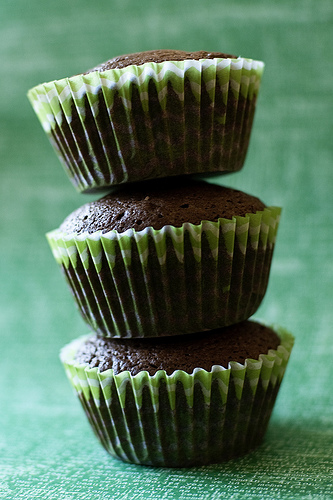
I bought Martha Stewart’s Cupcakes book the day it was released. Yes, I was THAT excited. An entire book of Martha Stewart cupcake recipes. Say what you will about the woman, she and her team always produce consistently GREAT recipes….
Cookbook Shop
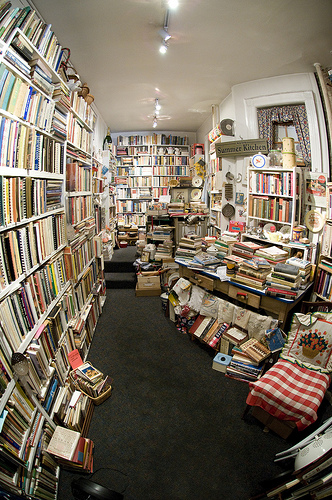
I spent this past weekend in New York City. One of the places I insisted we visit was Bonnie Slotnick Cookbooks. It’s a tiny little shop in Greenwich Village that sells nothing but cookbooks. It was HEAVEN. I could have…
Homemade Oreos
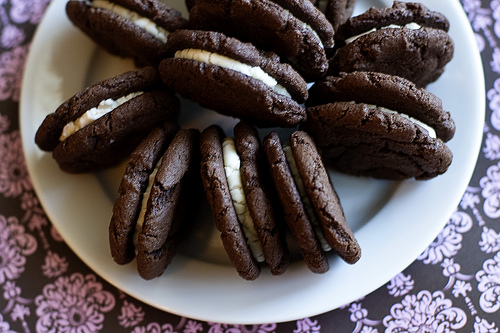
Oreos are one of my favorite store-bought cookies. But I know that they are really unhealthy, filled with preservatives and additives, and heavily processed. I still eat them from time to time, but I wanted to try to make a…
Snickerdoodles
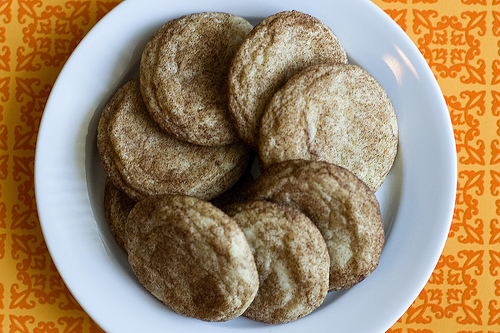
I love everything having to do with cinnamon. Cinnamon candies, cinnamon rolls, and of course, snickerdoodles. I decided to make these as I dip my feet back into my baking hobby, figuratively speaking of course. ;) The recipe was taken…
Our Unplanned Hiatus
The blog has been DEAD for a while, hasn’t it? Well, not to make excuses… eh… whatever, I’m going to make excuses. I’ve been consumed with moving from Illinois to Wisconsin (but hurrrrrrah for being back in my home state!)…
Lemon Rosemary Shortbread
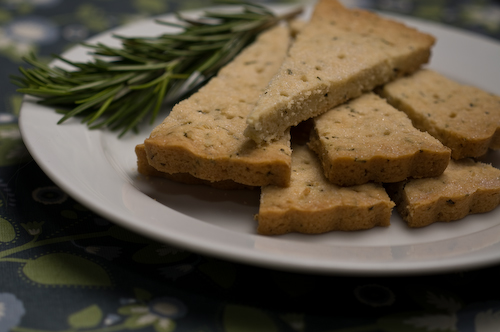
I LOVE anything with butter and shortbread is one of my secret shames. I would probably cut off my left hand to get the recipe for that Scottish Walker’s shortbread, which in my mind, is the quintessentially perfect cookie. In…


