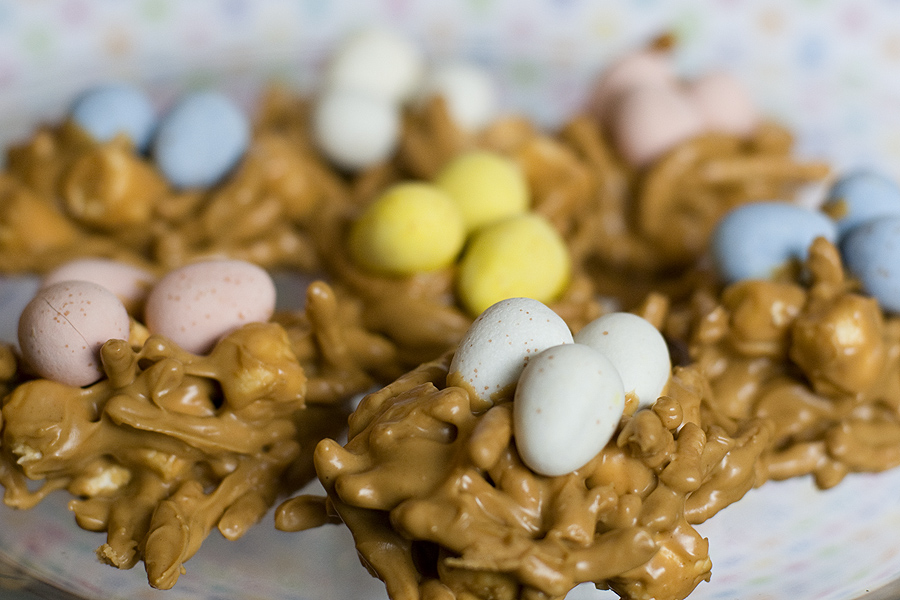
My favorite thing about the Easter season? CADBURY MINI EGGS. They have a strong hold over me, I am powerless against them and their creamy, smooth chocolate covered in a delicious crispy shell. Really. I love them and look forward…
Archives for March 2011
Gluten-Free Red Velvet Cake
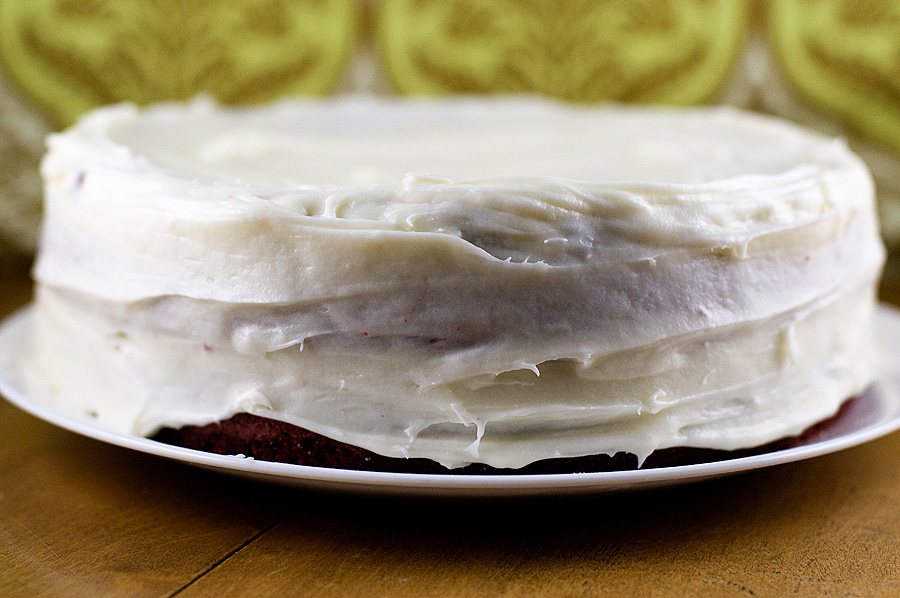
My friend Beth loves red velvet cake. My friend Meghan has never had red velvet cake. What WHAT?! The catch to this is that Meghan has celiac disease, which means that she and gluten do not agree with one another….
Oreo Stuffed Chocolate Chip Cookies
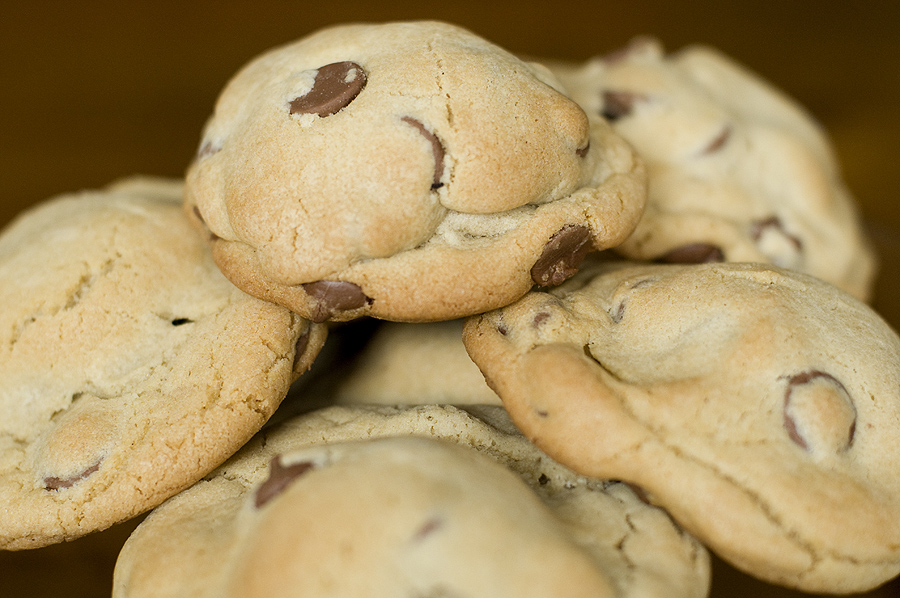
The running joke on this blog has become my love for Oreos. I’ll bake anything and everything having to do with them. These cookies were fabulous – a pairing of two classics: chocolate chip cookies and Oreos. They’re easy to…
Spumoni Cookies
Spumoni! Spumoni is an Italian ice cream made with layers of different colors and flavors. Cherry and pistachio are common flavors — but chocolate can also be used. I love anything spumoni-related, because I love cherries and I love pistachios….
Irish Potato Candies
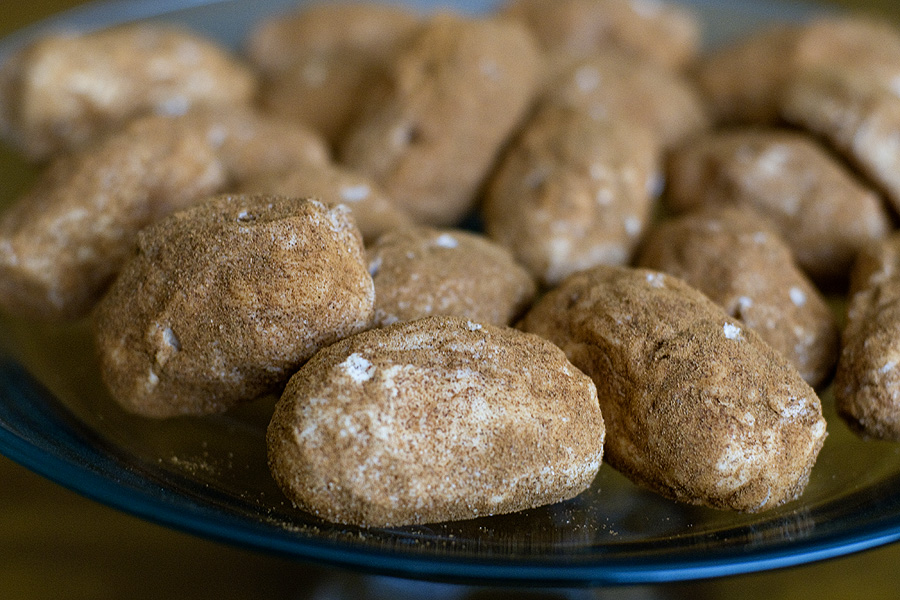
During our 13+ hour time working on the superhero cake and cupcakes, Meghan mentioned that she bought all of the ingredients for Irish Potatoes. My immediate thought was, “what? Potatoes are potatoes.” Little did I know that she was referring…
Chocolate Cupcakes & Cooked Frosting
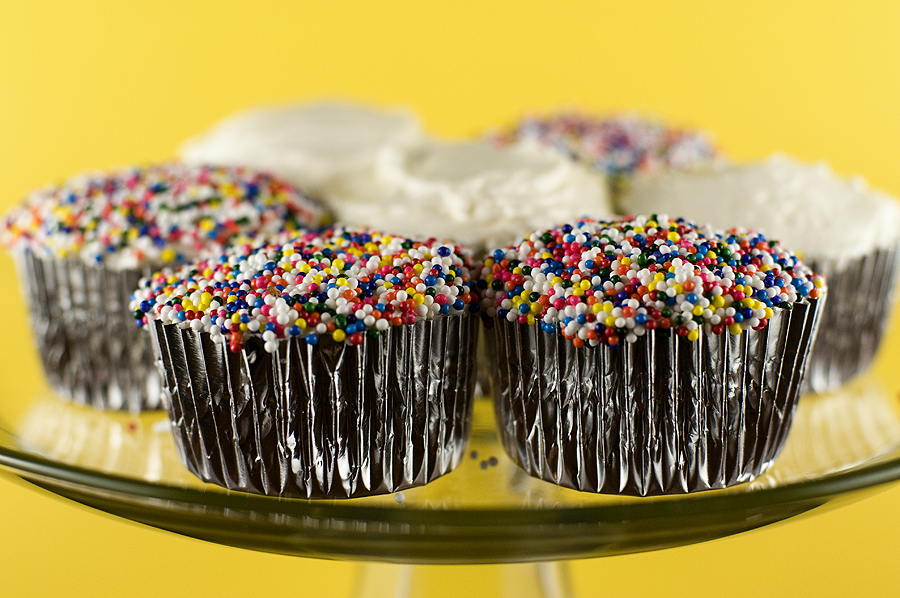
I’ve had cooked frosting on my to-make list for a while now. I was always so intrigued by it — a frosting that is made with milk and FLOUR and HEAT? What..the…f? I will admit that I was hesitant to…
Superhero Birthday Cake
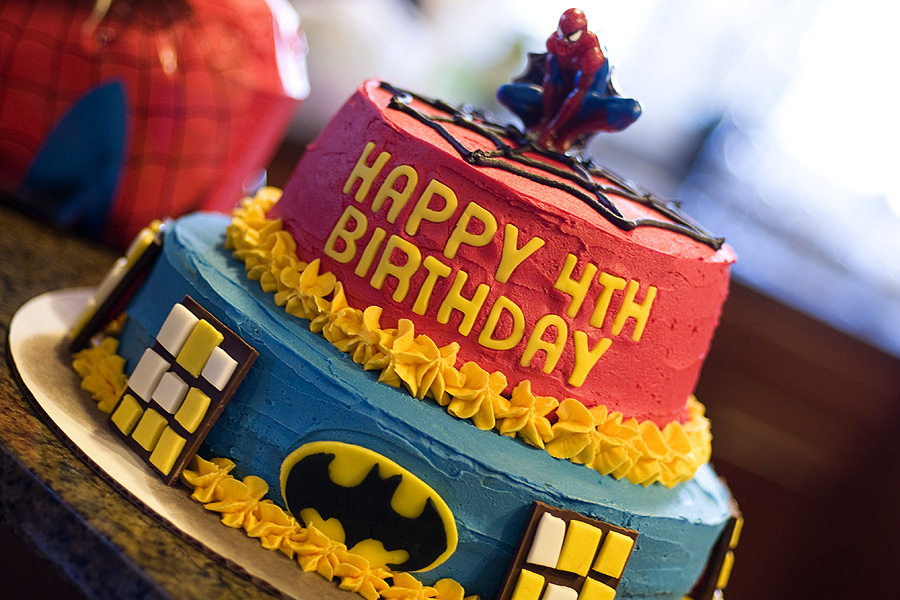
I was asked to make a superhero birthday cake for a little boy who just turned 4. I jumped at the chance, as I usually don’t have the opportunity to make super cute birthday cakes. My inspiration for this cake…
Springtime Flower Cupcakes
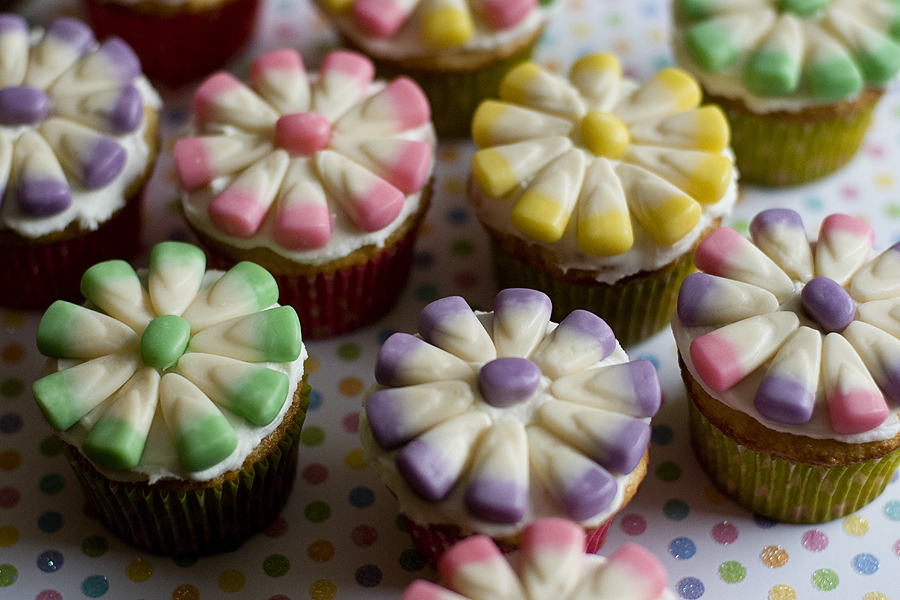
March 20th is the first day of spring! Thank god. I live in the Midwest and couldn’t be more sick of winter, so I’m thrilled that spring is now “official”. To celebrate, here are some cute flower cupcakes. 1. Make…
Gooey Butter Cake
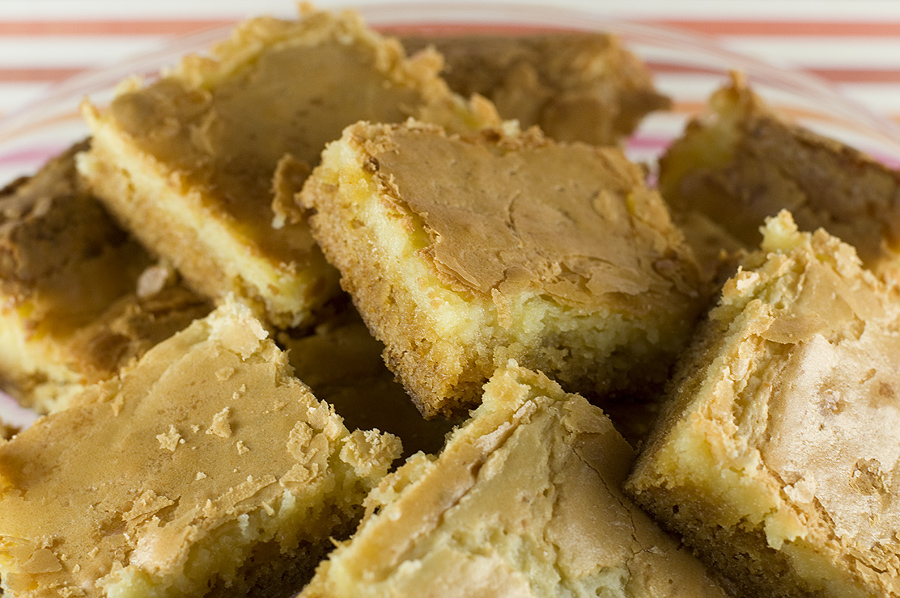
I have been hearing about Paula Deen’s infamous Gooey Butter Cake for a long, long time. It’s a mystery as to why it’s taken me this long to make it, because it’s basically heaven in it’s purest form. Cake +…
Happy St. Patrick’s Day
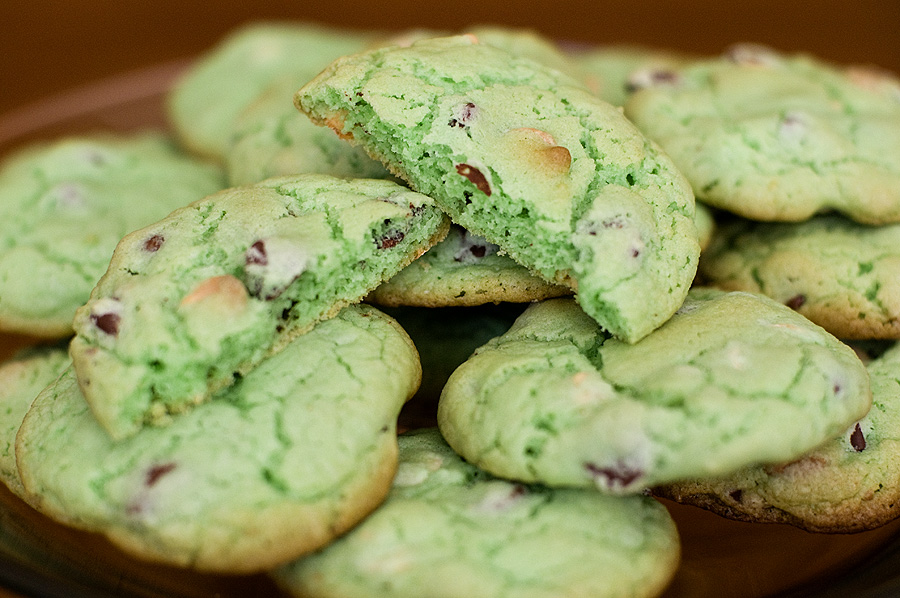
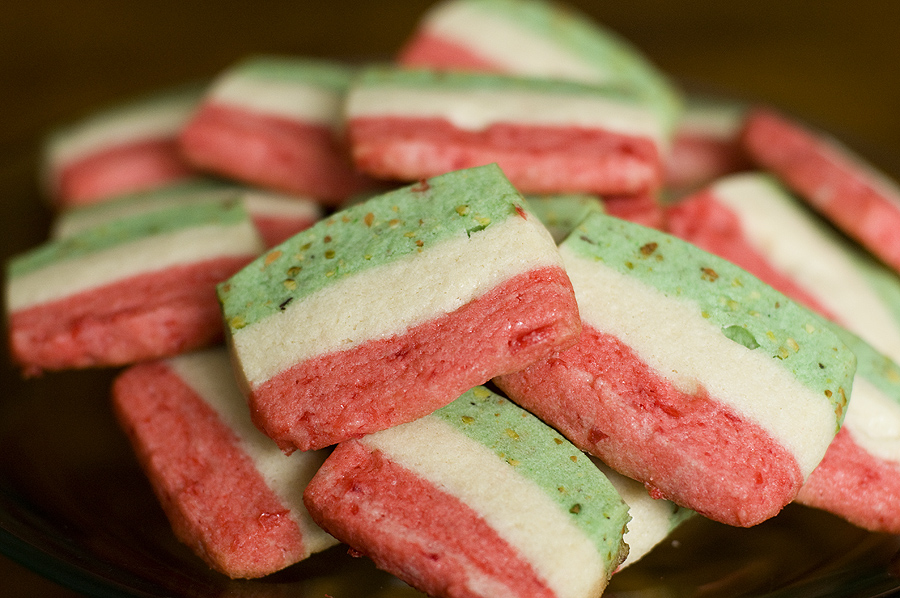
Ooops. I burned these cookies. But they still tasted good. Mistakes happen in baking – don’t let them deter you from trying. :) Happy St. Patrick’s Day, everyone. Mint Chocolate Chip Cookies Recipe source: The Family Kitchen 3/4 cup butter,…
Cherry Chocolate Chip Muffins
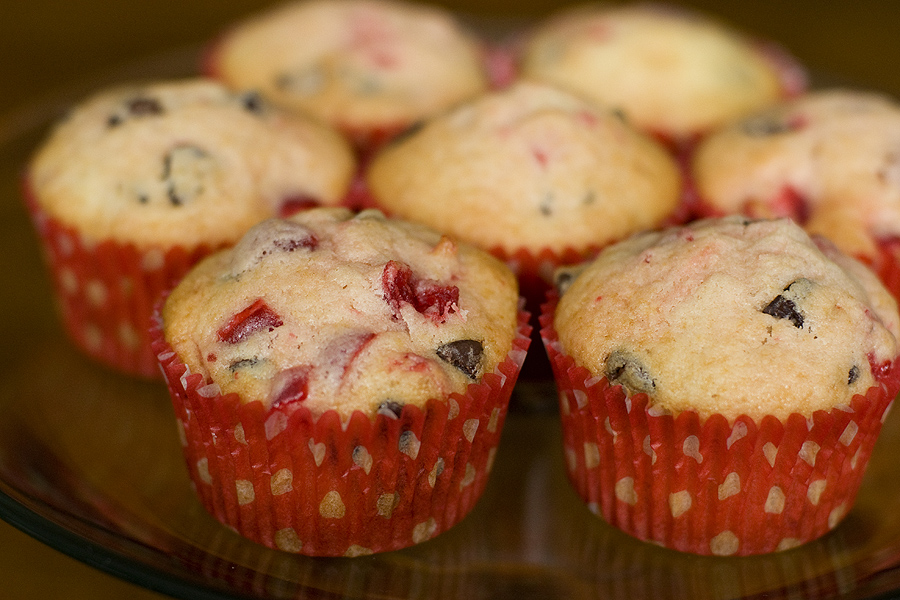
I forgot which comedian said this, but it’s always made me laugh: A muffin is just a cupcake that we’ve for some reason decided is OK to eat in the morning. So true, right?! I love cherries – maraschino cherries,…
St. Patrick’s Day Ideas 2011
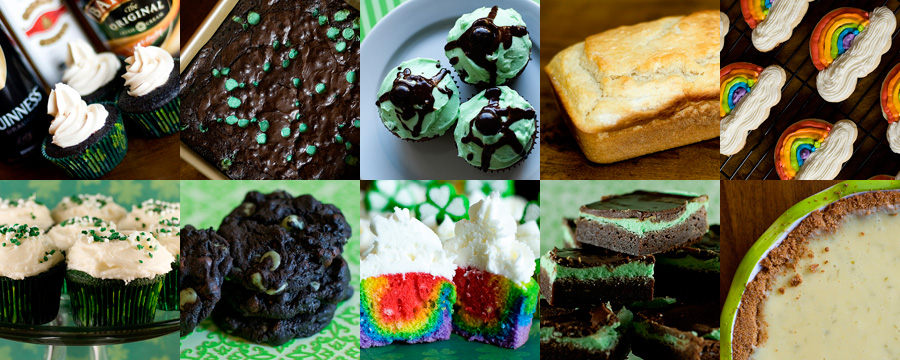
Here’s a round up of recipes for St. Patrick’s Day! Some are directly inspired by the holiday (Irish Car Bomb cupcakes and beer bread), others involve mint (cause mint equates to green, and green equates to St. Patty’s!), and one…


