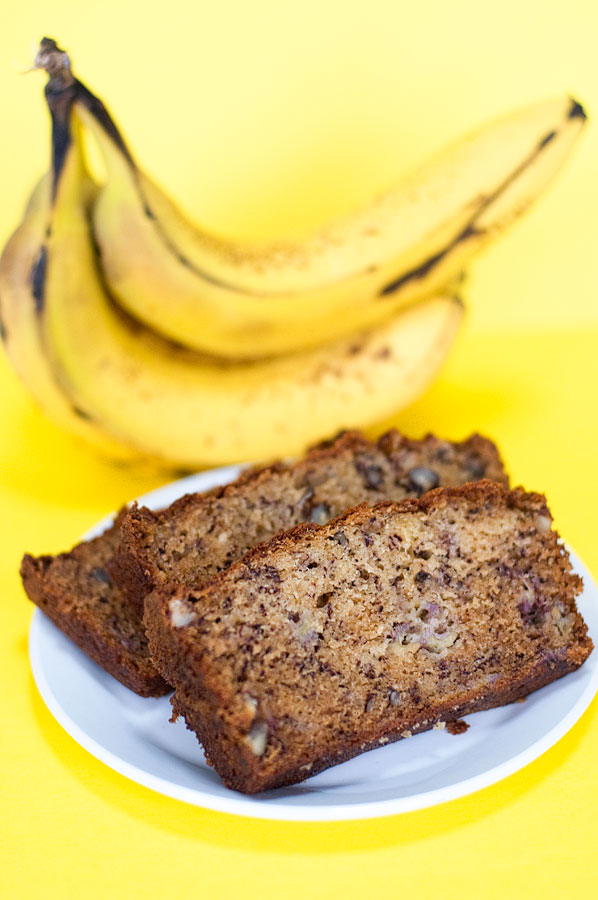
I will waste no time with this: I hate banana bread. Then why did I make it?! I do LOVE bananas. I, too, think it’s weird that I love bananas but hate the fruit in bread form. But I always…
Archives for April 2012
Peanut Butter Nutella Cookies
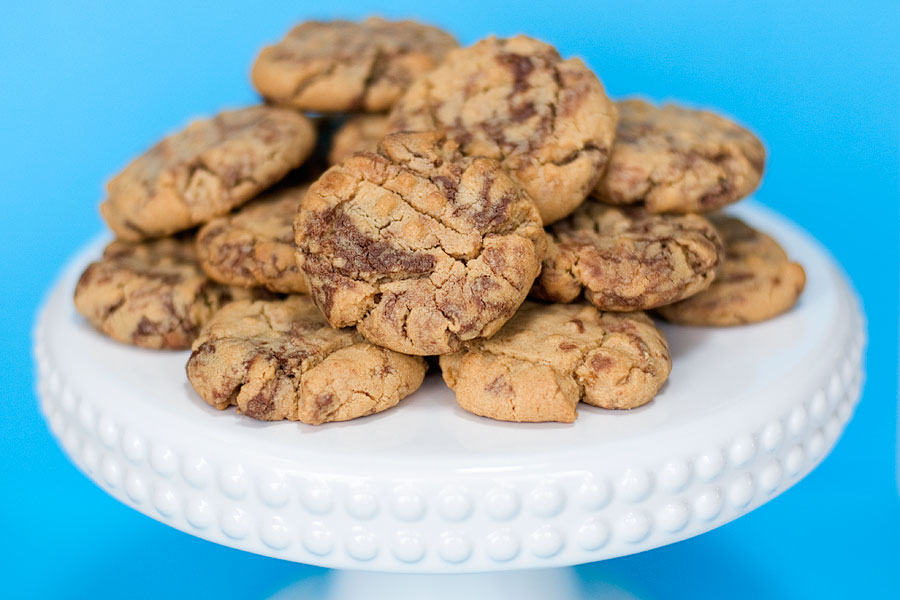
Oh, peanut butter and Nutella. I would eat both of these things out of the jar without abandon if I had the metabolism of a teenager. But I don’t. [never did, really!] I exercise extreme RESTRAINT when faced with jars…
Jumbo Animal Cookies
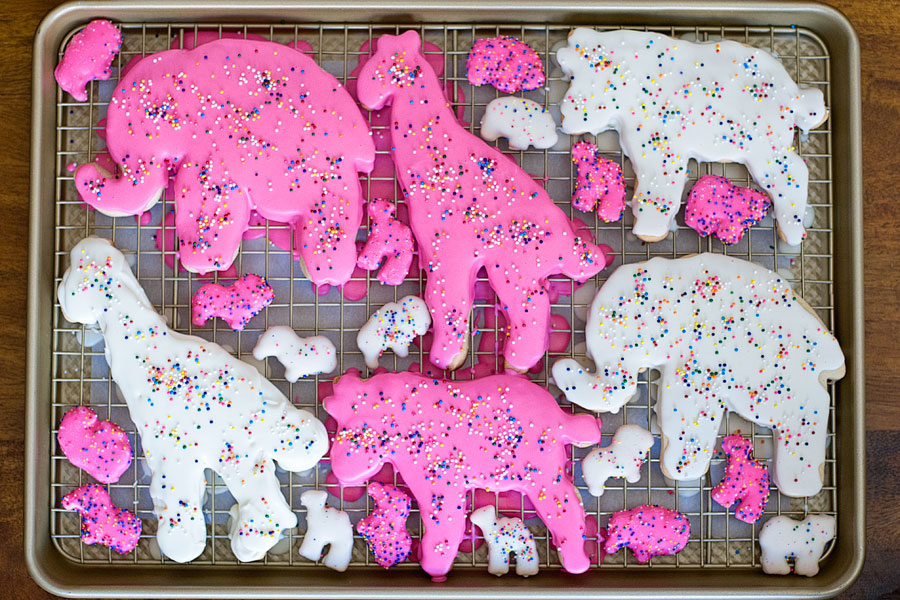
I think that there are some foods that are universally nostalgic for everyone. Pink and white animal cookies have to be included on that list. I always used to think that the pink cookies tasted different (and better) than the…
Cosmic Brownies
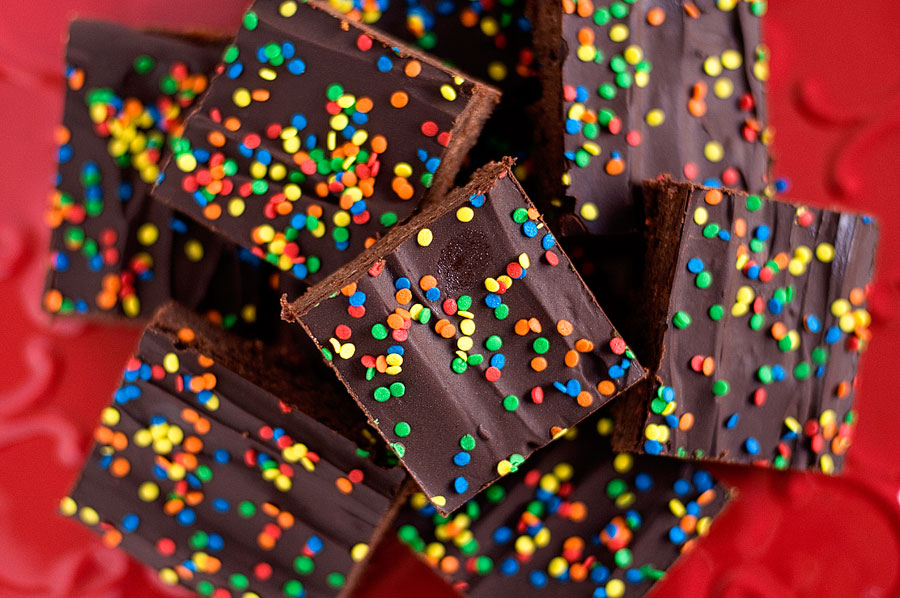
Who remembers Cosmic Brownies from the lunchboxes of their youth? I do! Little Debbie always makes such delicious treats (everything in moderation is okay, even prepackaged junk food). I found a homemade version of my favorite Cosmic Brownies and jumped…
Nutella Fudge
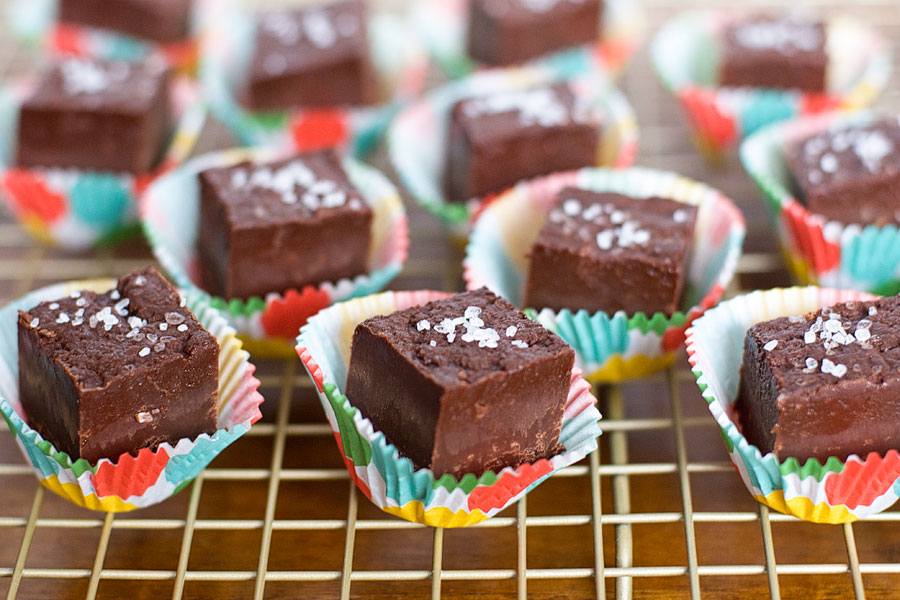
Nutella, you are perfect. If I had a faster metabolism, I would eat Nutella straight out of the jar. Nutella in fudge form? Taste bud explosion. Nutella fudge paired with sea salt? Taste bud explosion to the max. I love…
Easter Ideas 2012
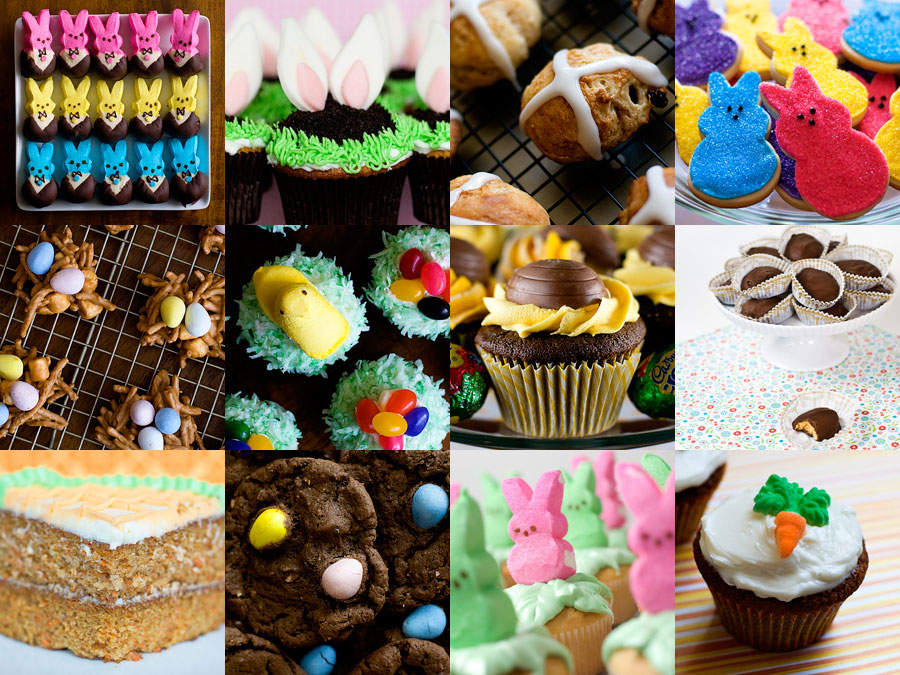
Here’s the Easter idea roundup for 2012! Happy almost-Bunny Day! 1. Tuxedo Peeps 2. Bunny Ear Cupcakes 3. Hot Cross Buns 4. Peep Cookies 5. Butterscotch Birds’ Nests 6. Coconut Easter Cupcakes 7. Cadbury Creme Egg Cupcakes 8. Homemade Peanut…
Peep Cookies
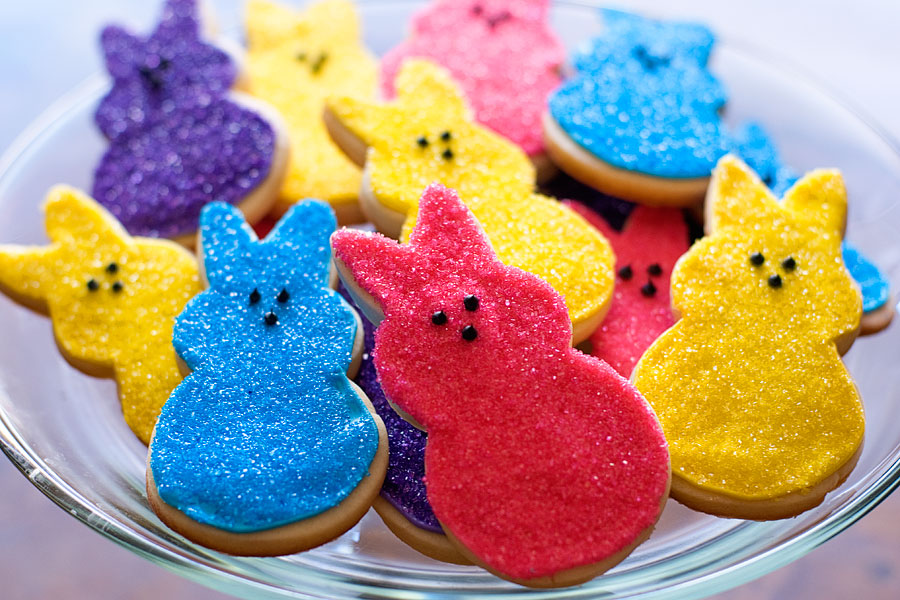
Cuuuuuuute overload! I think these are some of the cutest cookies I’ve made. Much like Valentine conversation hearts, I have a love/hate relationship with Peeps. They are adorable and a staple of Easter, but they also taste like stale cane…


