
Last winter my friend Nikki made this fudge for a law school event. I took one bite and practically screamed, “GIMME THIS RECIPE IMMEDIATELY!” Seriously. It’s that good. As with any kind of fudge, a little goes a long way,…
Archives for August 2014
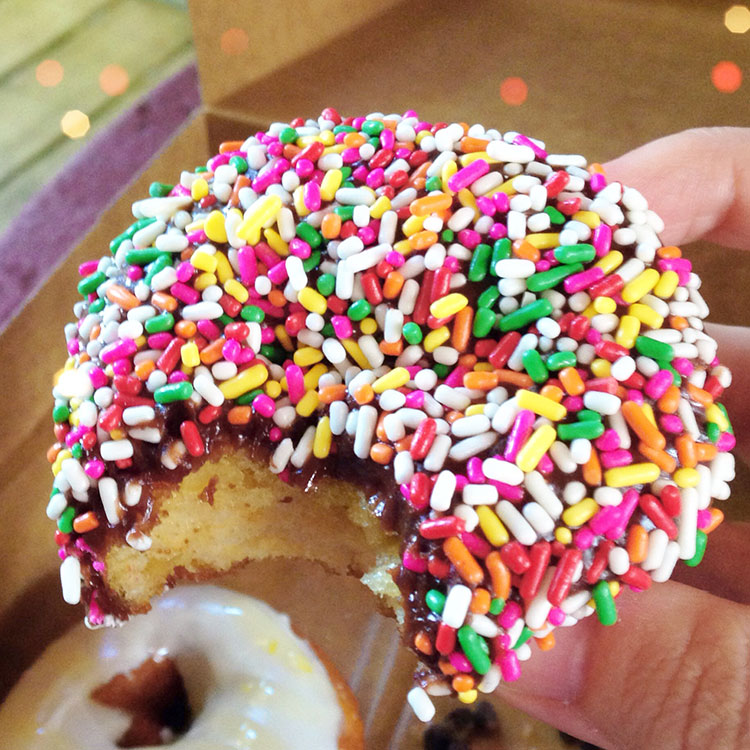
Donut Cookies
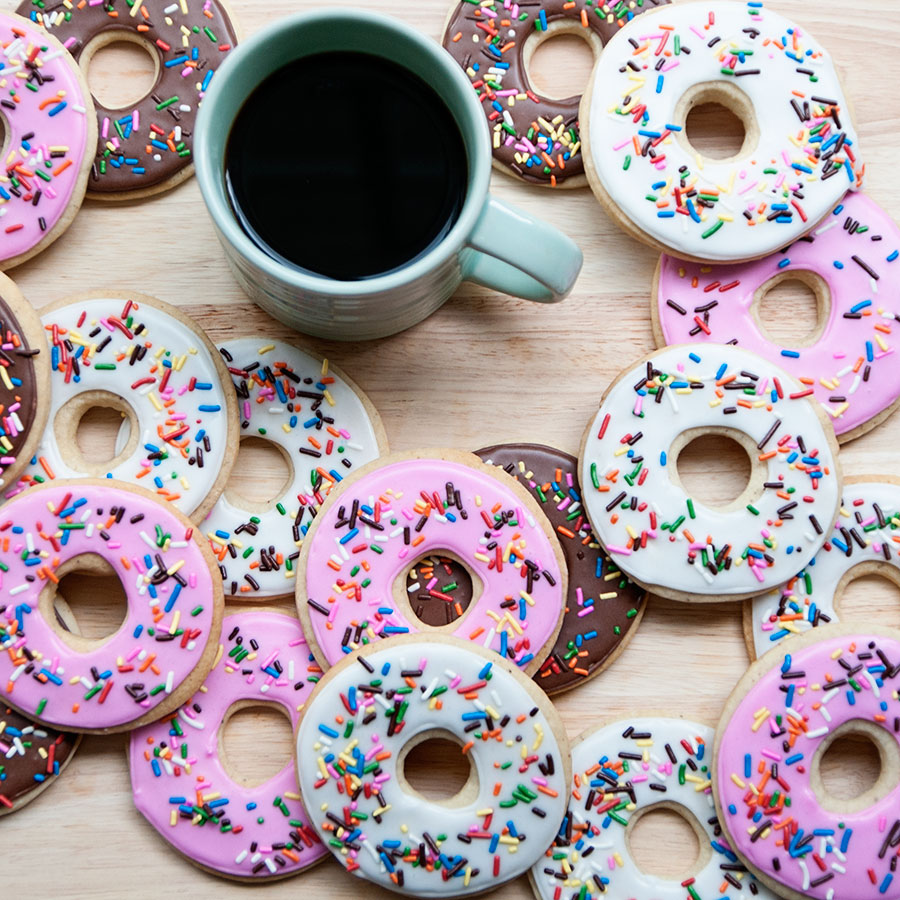
Deep sigh. School starts up again today. I am beginning my third (and last!!) year of law school this afternoon. As a result, my coffee consumption is going to exponentially increase — and I think we will all be eating…
Gumball Machine Cookies
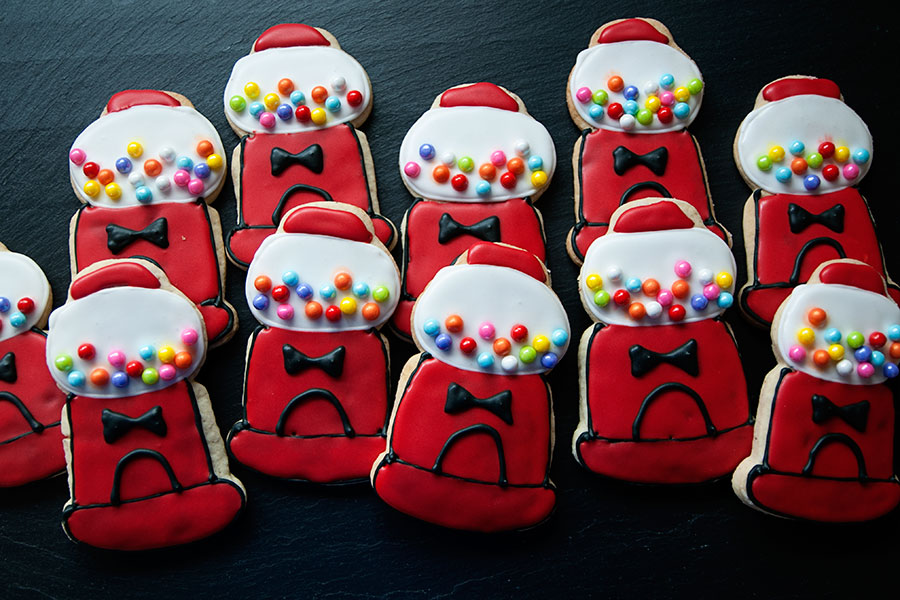
I almost didn’t post these cookies because I pretty much hate how they turned out. This was one of those decorating attempts where everything that could go wrong did go wrong. The cookies were lumpier than usual. The flooded icing…
30 Things at 30
Today is my 30th birthday. That’s a sentence that is weird to write. Thirty isn’t old, but it is a new decade and a departure from the idealized twenties. I normally don’t write personal posts for this blog, but hey,…
Chocolate Cherry Chip Cookies
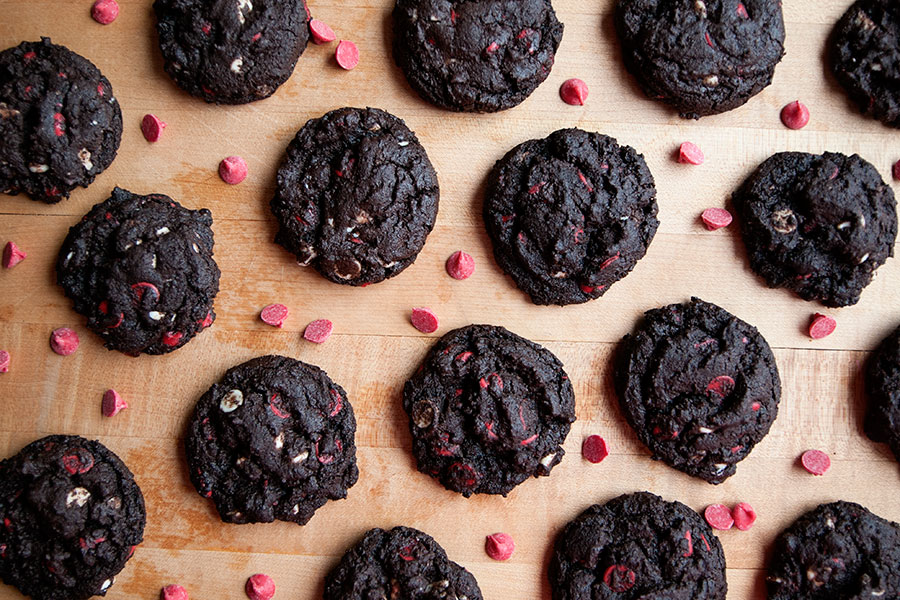
I feel a little sorry for chocolate cookies. They are hard to photograph and just aren’t as beautiful as their non-cocoa powdered counterparts. But oh man, they are so delicious (see also my chocolate mint chip cookies from a few…
Cherry Chip Bars
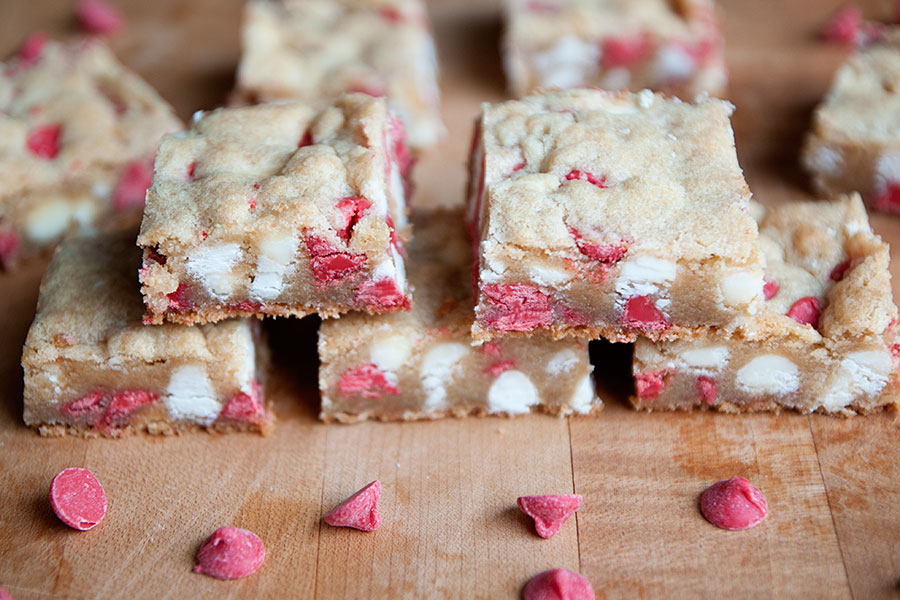
Remember how I mentioned in Monday’s post that I have a lot of leftover cherry chips? Well here’s a recipe that used some of them up! Cherry is my favorite flavor of just about everything, so I was a big…
Dilly Bar Cupcakes
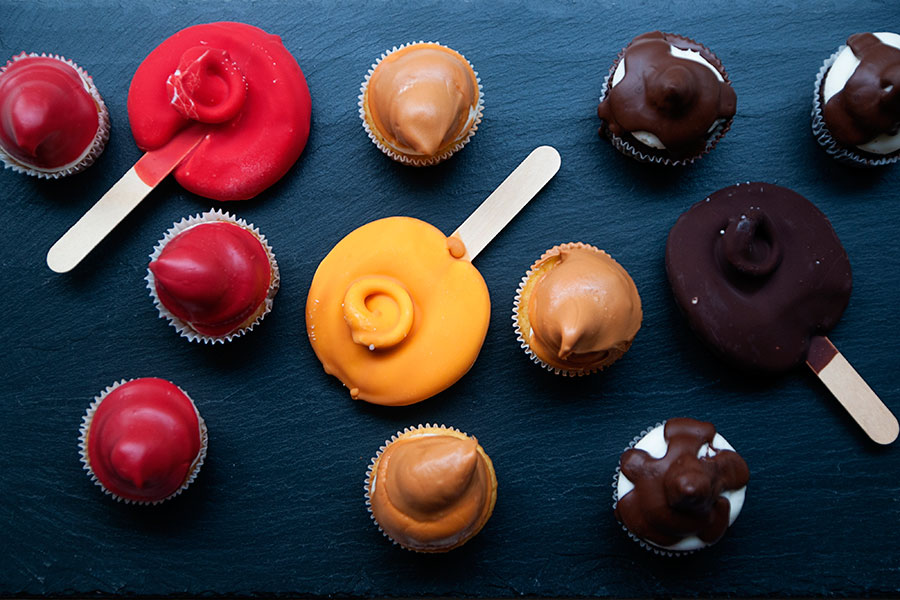
My hometown has a little (and I mean LITTLE) Dairy Queen that is only open seasonally. It’s a small shop that has been around as long as I can remember. It closes every fall and re-opens every spring. Everything about…
Banana Split Cupcakes
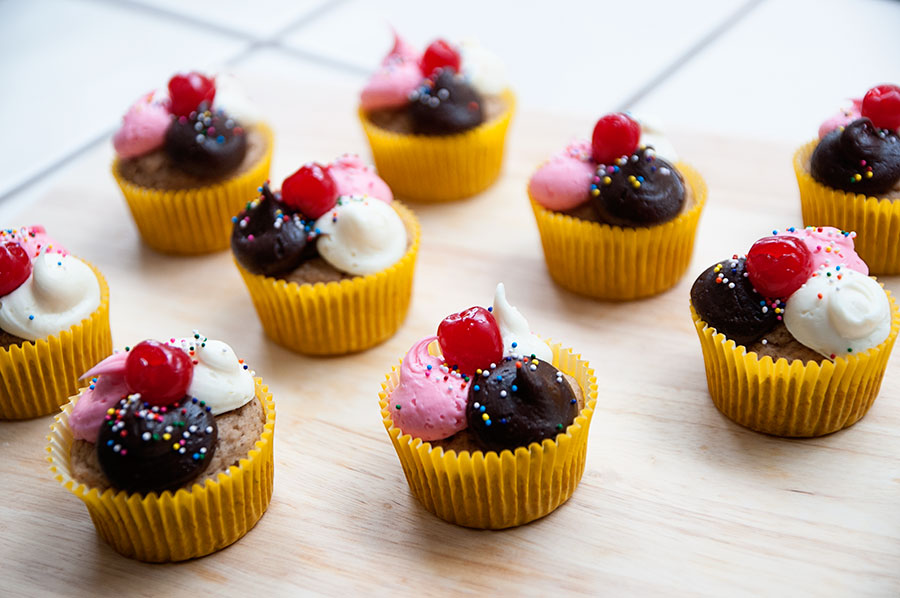
Useless and random fact: I’ve never had a banana split. I know, I know, what kind of American am I?! Cause if there’s anything America loves, it’s treats in large portions — and the banana split is just that. But…
Olaf (from Frozen) Birthday Cake
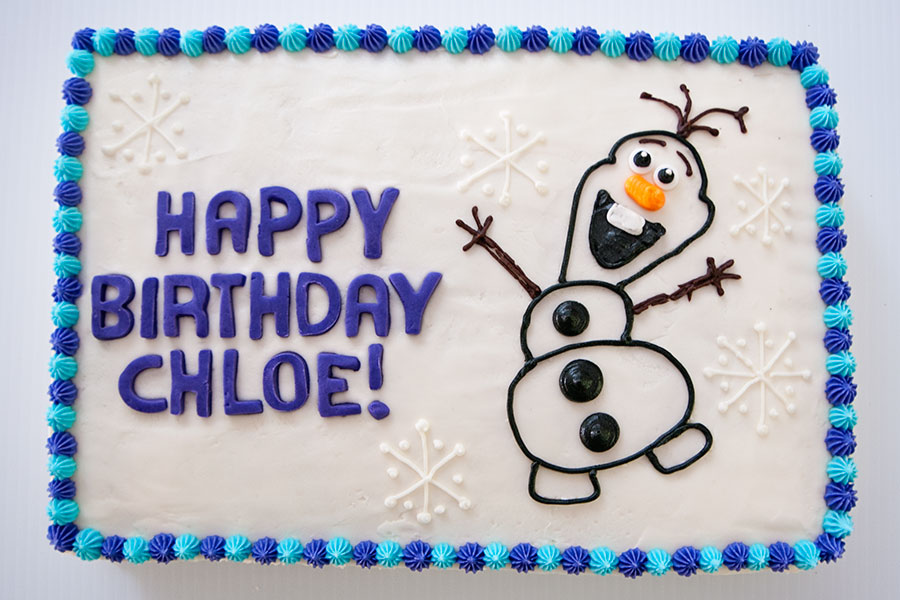
Happy birthday to Chloe! Her grandmother asked me to make Frozen-themed goodies for Chloe’s birthday party. I made a batch of these cupcakes — as well as this Olaf cake. I don’t have step-by-step instructions for this cake, but below…
Airplane Cookies
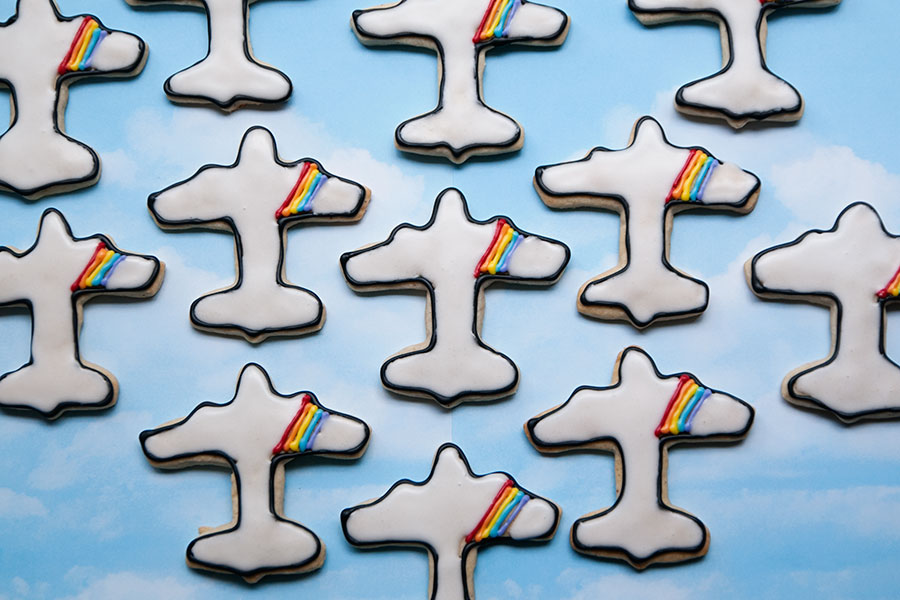
It’s EAA week in my hometown of Oshkosh, Wisconsin! EAA’s annual air show, AirVenture, is the largest air show in the United States. It’s kiiiiiiind of a big deal for anyone in aviation. For a week each summer, our little…


