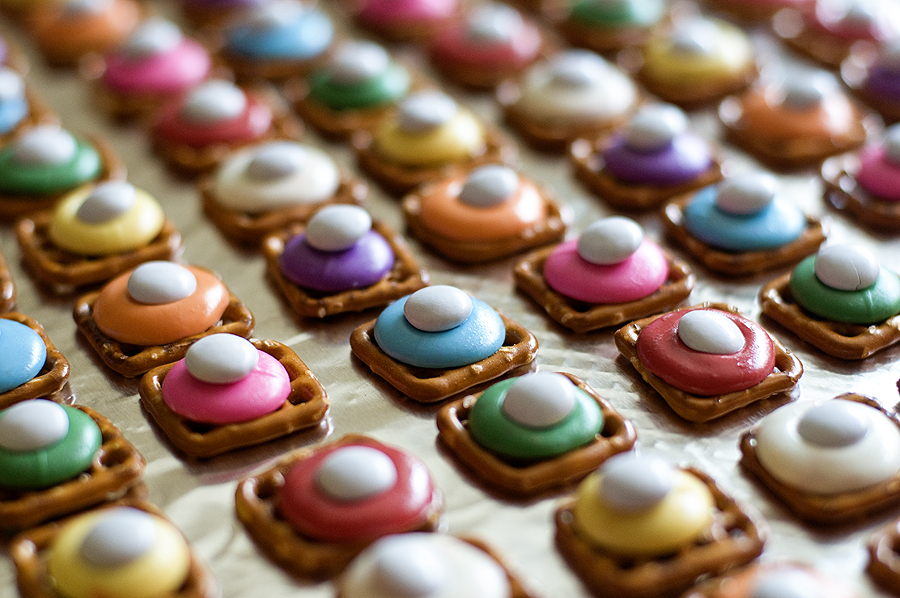
I think this was the fastest recipe I’ve ever made. From start to finish, it took me about 10 minutes to make all of these. Super easy and quick treat — and kids will love them because of the colors!…
Archives for July 2011
Candy Land Cake
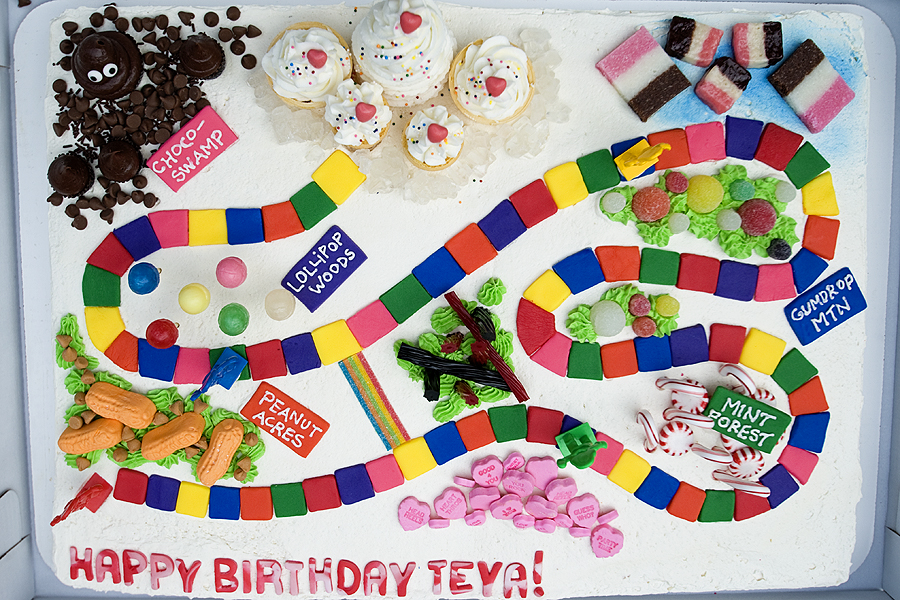
Candy Land has always been my favorite board game. Even as a twenty-something, I still ADORE it. It reminds me of being a kid and all of the memories of playing the game with my grandparents. It’s a classic game that…
Cookies Inspired by “Up”
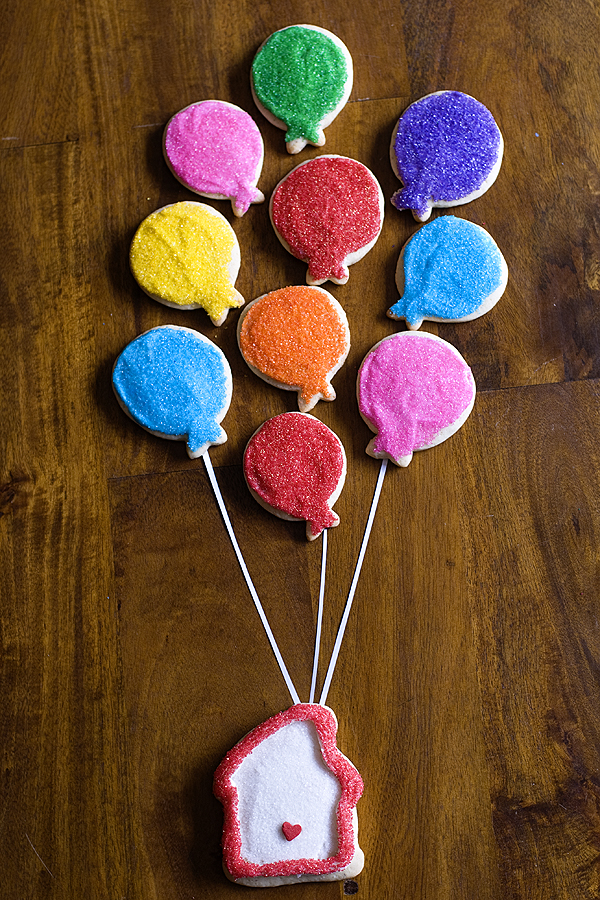
Please visit my wonderful friend Amber’s blog, Bluebonnets & Brownies, as I am guest-posting for her today. xoxo
Baby Shower Cake
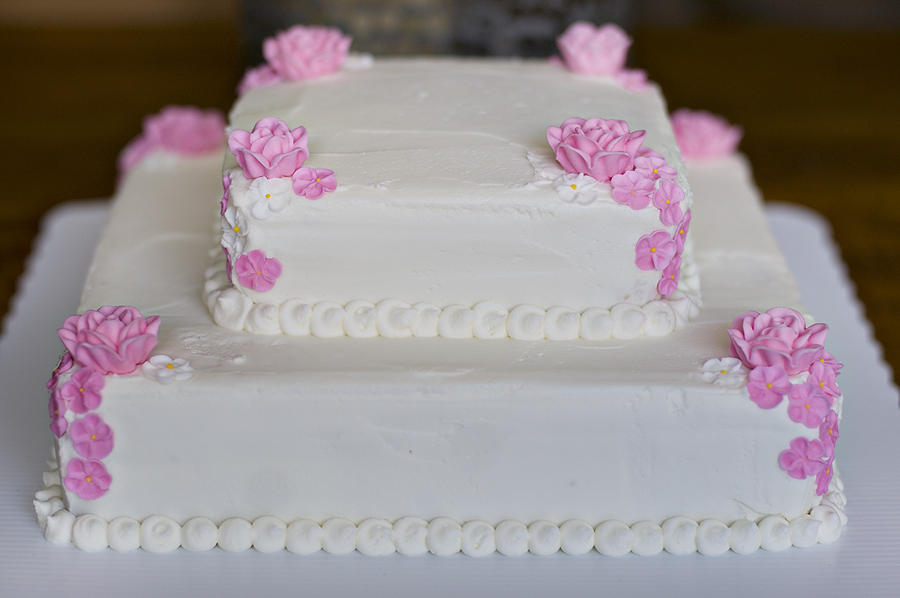
As you remember from Monday, I made Care Bear cupcakes for a baby shower. Well, this was the other cake I made for the same shower! Needed to balance the 80s cartoon fun with a little elegance. I don’t really…
Care Bear Cupcakes
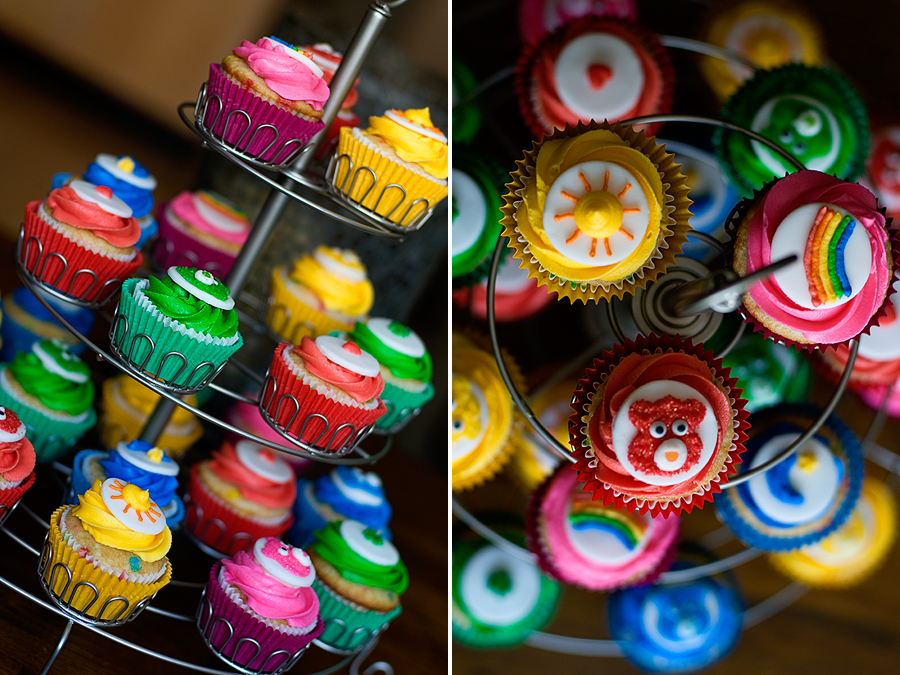
Raise your hand if you were a child of the 1980s! If so, these cupcakes will send pangs of nostalgia running through your heart. Who didn’t love the Care Bears? Cheer Bear was my favorite, because of the rainbow. I…
Chocolate Kiss Cookies
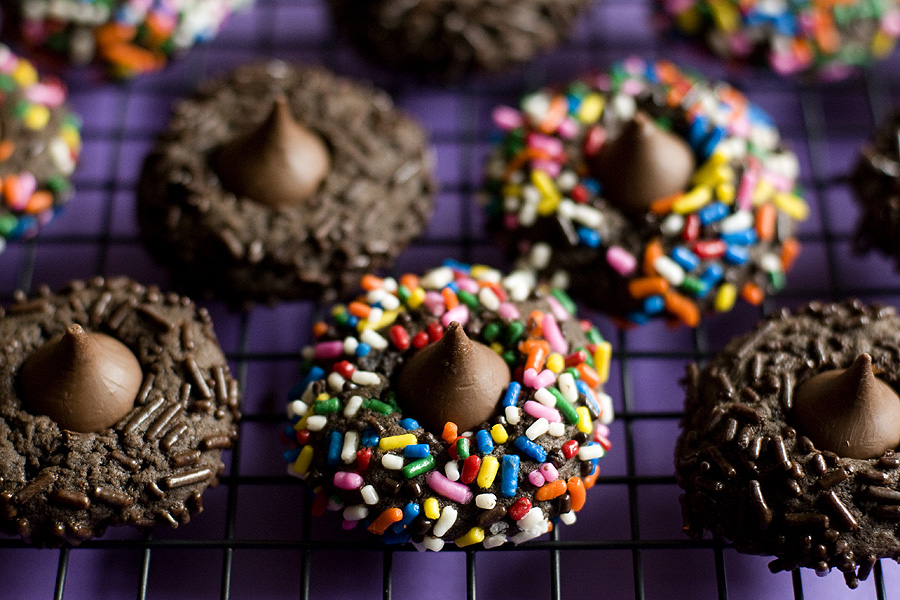
Are you sick of the kiss cookie recipes yet? If so, never fear – today is the last day! I’m ending the week with a classic: simple chocolate kiss cookies. Covered in sprinkles, of course. Have a wonderful weekend, everyone!…
Cookies ‘n’ Cream Kiss Cookies
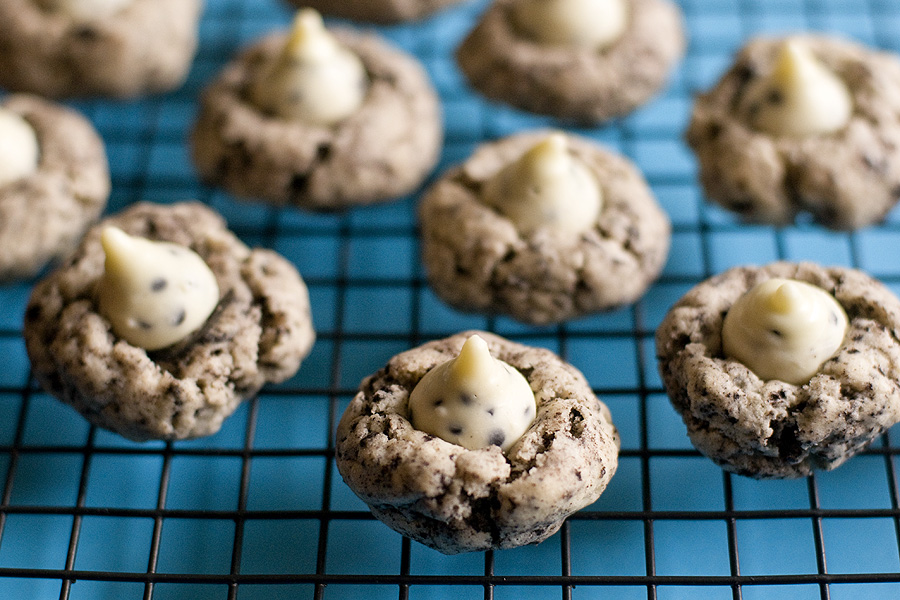
In yesterday’s post I professed my love for all things mint. Today I am professing my love for all things cookies ‘n’ cream. I love a lot having to do with food. I love cookies ‘n’ cream because it involves…
Mint Chocolate Kiss Cookies
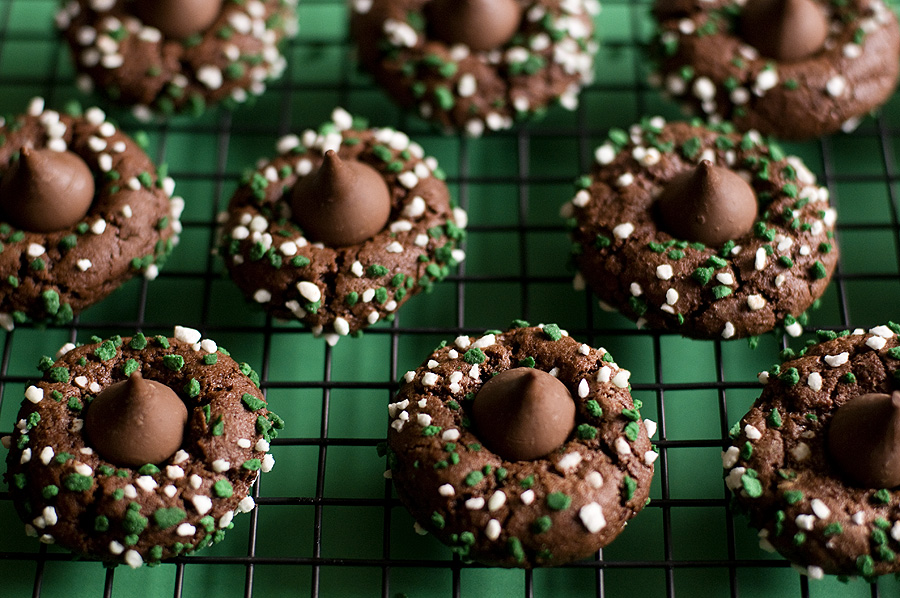
Oh baby, oh baby. Mint + chocolate is one of my all-time favorite combinations. These cookies would be great at Christmastime, as you could roll them in red and green sugars. By the way, fellow mint lovers of the Interwebz:…
Oatmeal Kiss Cookies
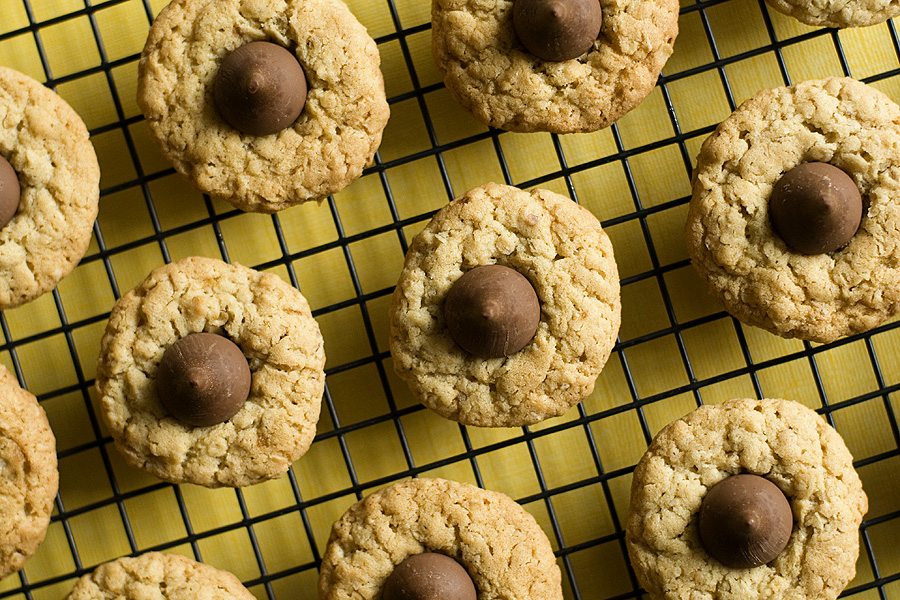
Day 2! All of you oatmeal lovers will enjoy these. Oatmeal Kiss Cookies Recipe source: Taste of Home 1/2 cup butter, softened 1/2 cup shortening 1 cup sugar 1 cup packed brown sugar 2 eggs 2 cups all-purpose flour 1 teaspoon baking soda 1 teaspoon salt 2-1/4…
Cherry Chocolate Kisses
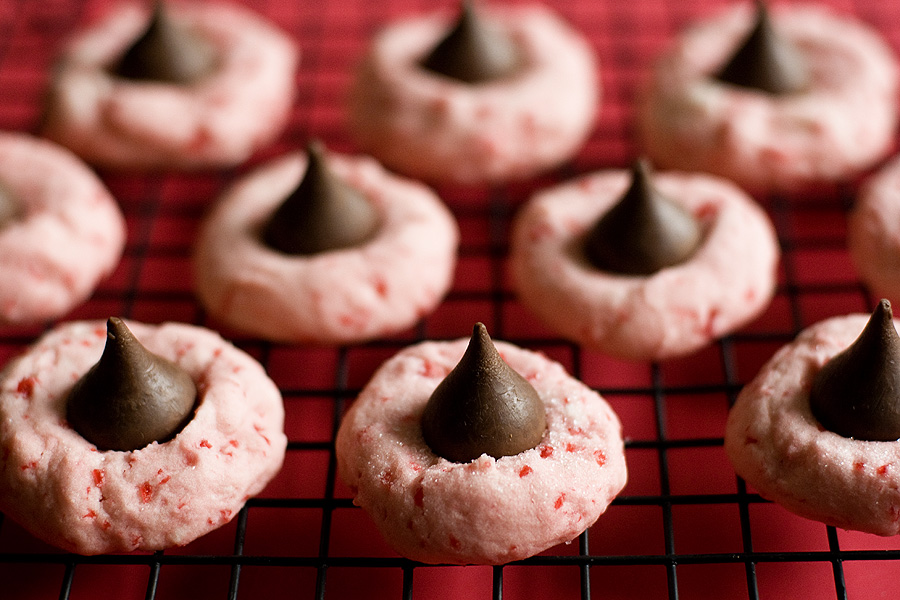
Welcome to Kiss Cookie week! I noticed that I had 5 recipes for different variety of kiss cookies, so I thought I’d make them all! Today’s post is the first of many this week. I love cherries, especially those of…
Summer Ideas 2011
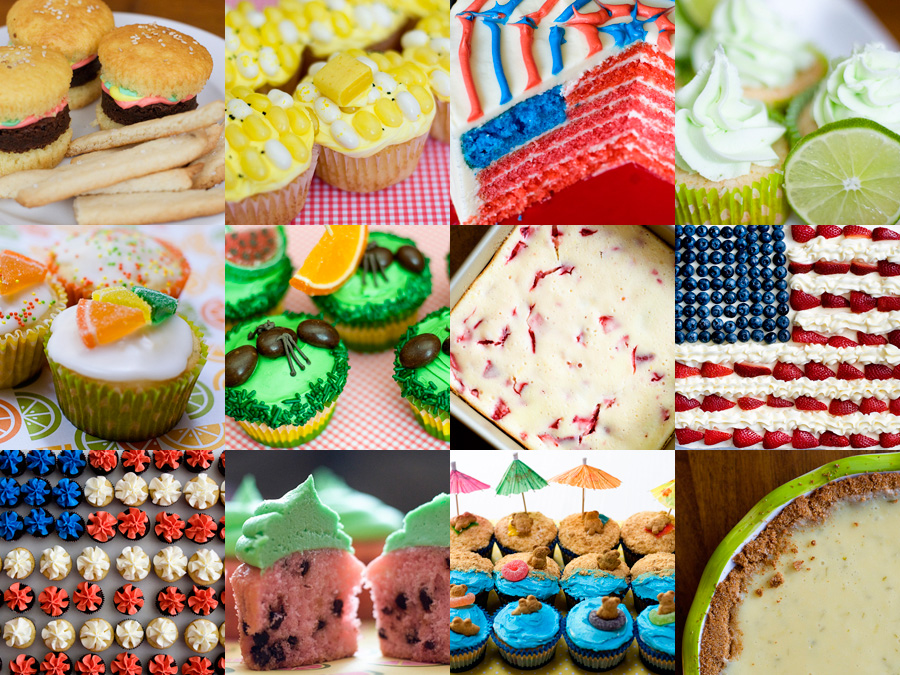
Here’s a roundup of some of the summer-inspired recipes on my site! Hopefully they will give you ideas for your summer cookouts. 1. Burgers & Fries 2. Corn on the Cob Cupcakes 3. American Flag Cake 4. Margarita Cupcakes 5….
American Flag Cake
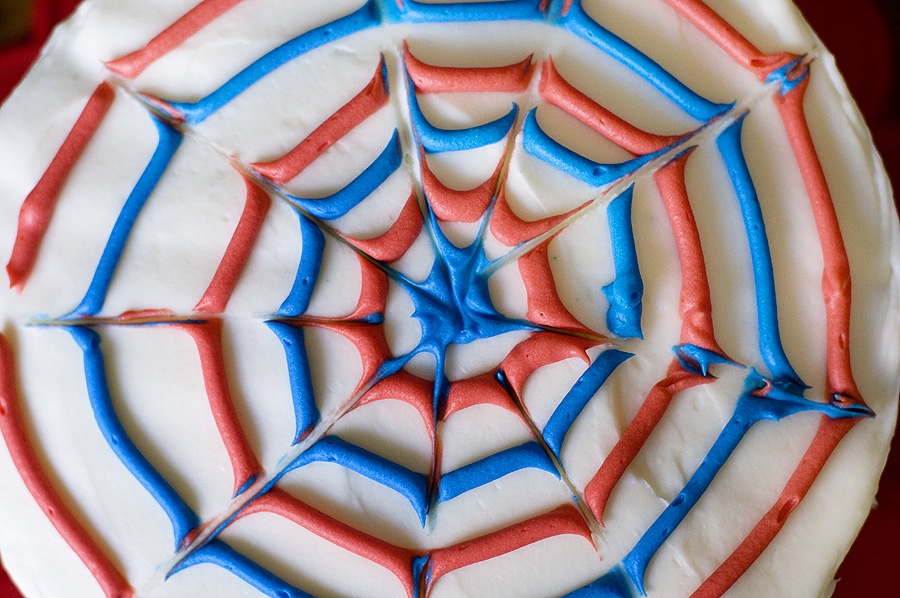
In the interest of full disclosure, let me just say right off the bat….. this cake was a pain in the ass to make! But it was so worth it! Everyone makes the traditional 4th of July cake – a…


