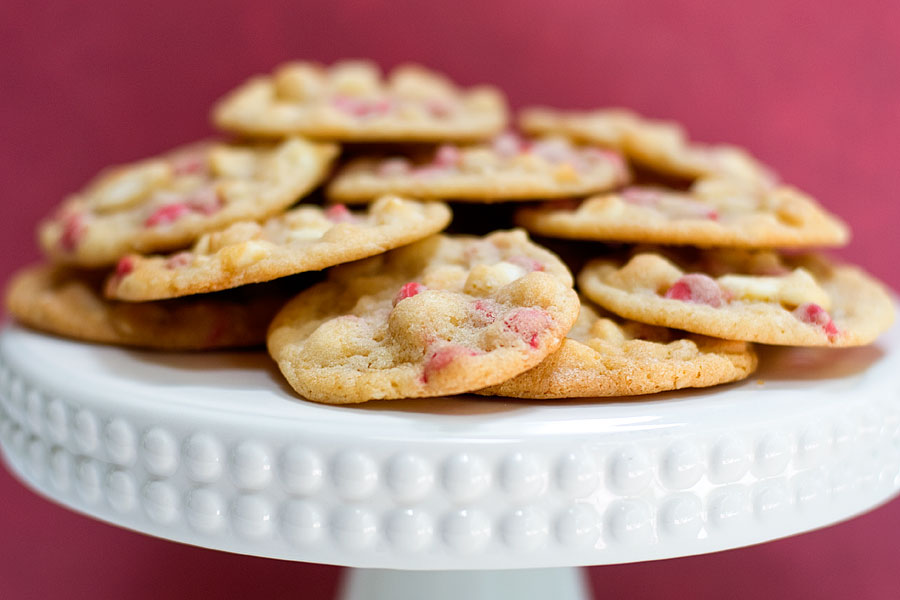
Have any of you ever been to Door County Wisconsin? Anyone? Well if you think of the state of Wisconsin as looking like a hand, Door County is the “thumb.” It’s a wonderful vacation spot – relaxing, slow-paced, full of…
Archives for September 2012
I Want Candy: Butterfinger Cupcakes
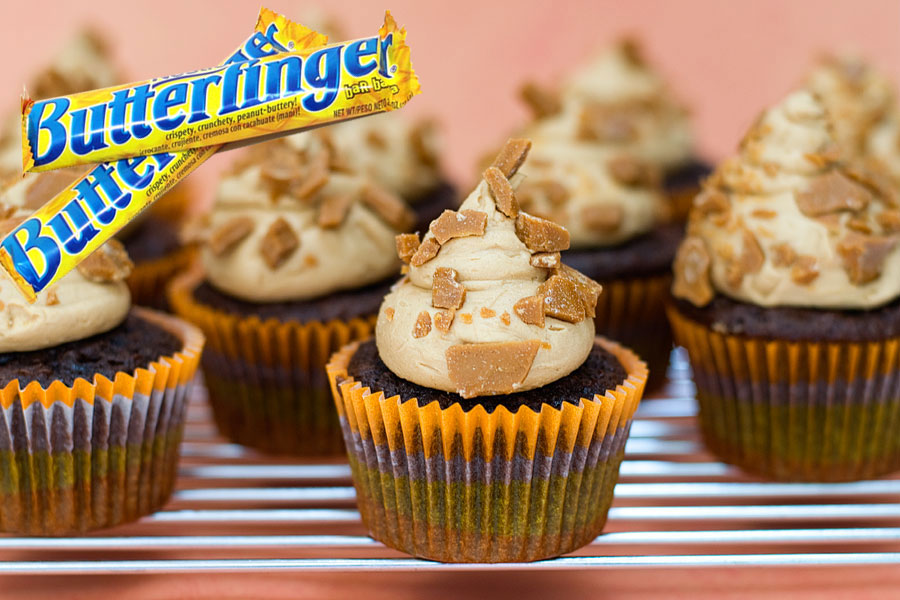
Can anyone look at a Butterfinger bar and NOT think of Bart Simpson?! More on that in a minute. I LOVE Butterfingers – even though the crunchy filling gets stuck in my teeth. The crunchy filling is a little mysterious….
Chocolate Chip Cookie Cake
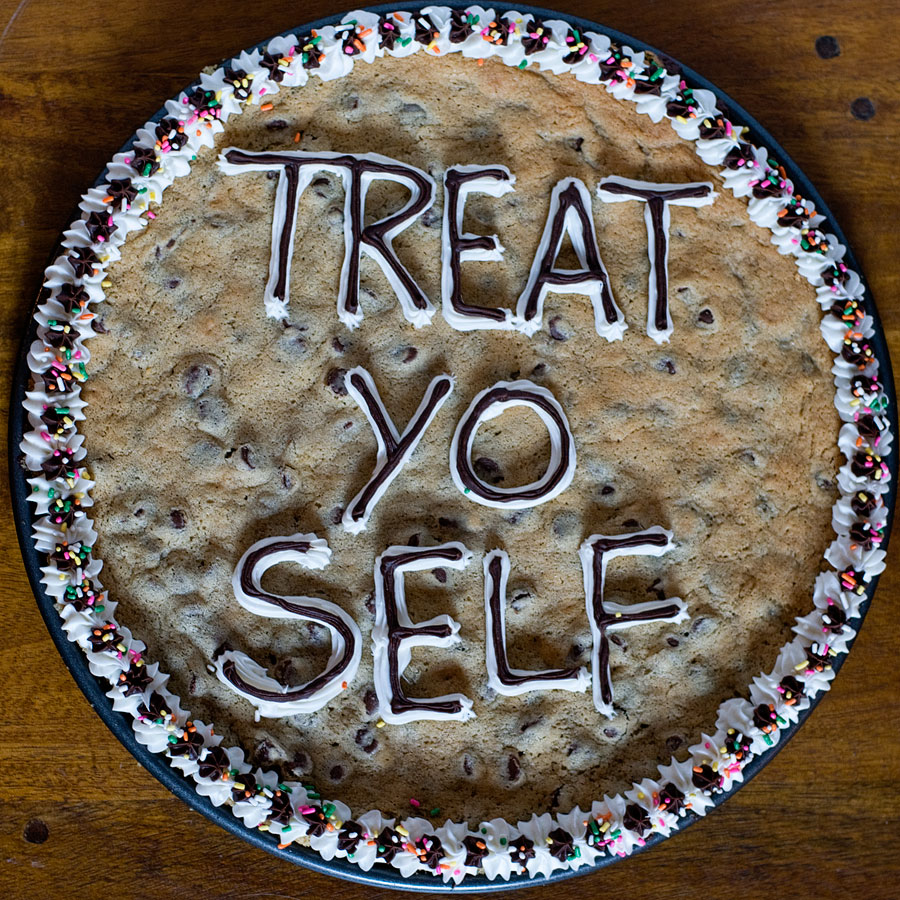
You guys. This cookie cake was to…die….for. It was reminiscent of a cookie cake from the Great American Cookie Company – but without the preservative aftertaste! Whenever I see a cookie cake I always think of the episode of Sex…
I Want Candy: Almond Joy Cupcakes
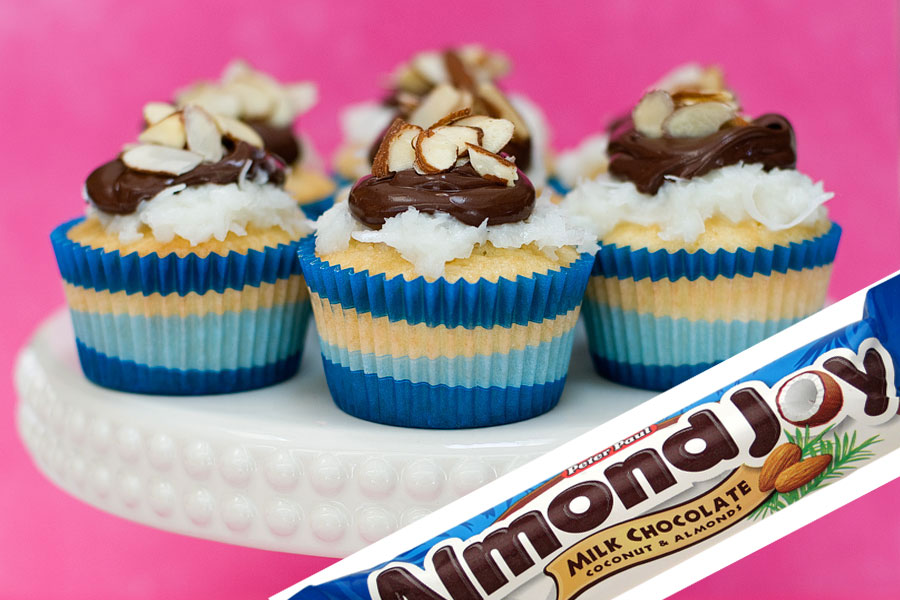
I don’t like coconut [as I have mentioned 3,409 times on this blog so far – ha!]. So let’s jump right into learning a bit about the Almond Joy! Almond Joy is produced by Hershey and its sister product is…
I Want Candy: Reese’s Peanut Butter Mini Cupcakes
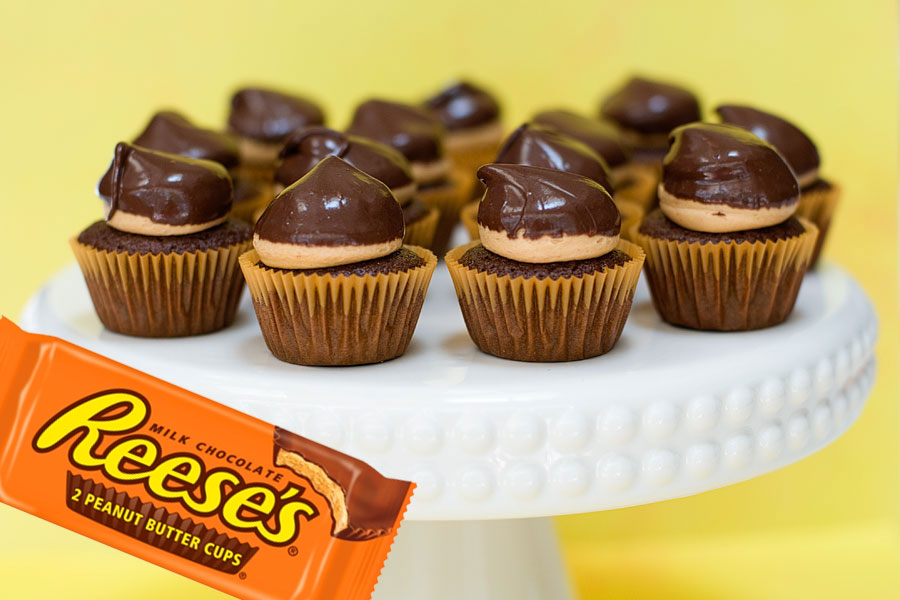
I think that the Reese’s peanut butter cup may be my favorite candy of all time. Cause let’s be real, not much is better than the combination of peanut butter and chocolate. A step up is the dark chocolate Reese’s….
I Want Candy: Snickers Cupcakes
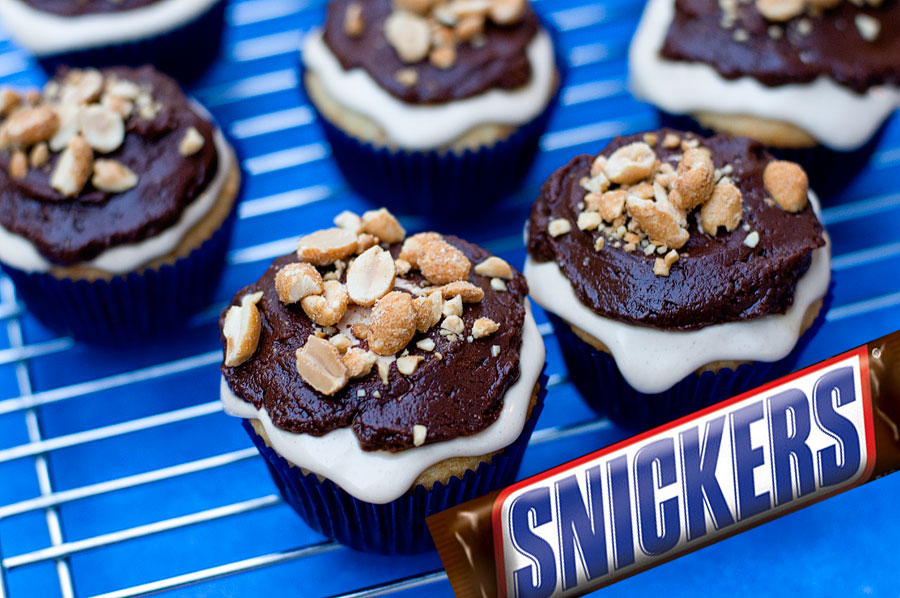
Snickers are one of my favorite candy bars. I’m usually not a huge fan of nougat, but somehow the Snickers changes my opinion! Such a perfect combination of chocolate, caramel, nougat, and peanuts. Snickers are made by the Mars Corporation…


