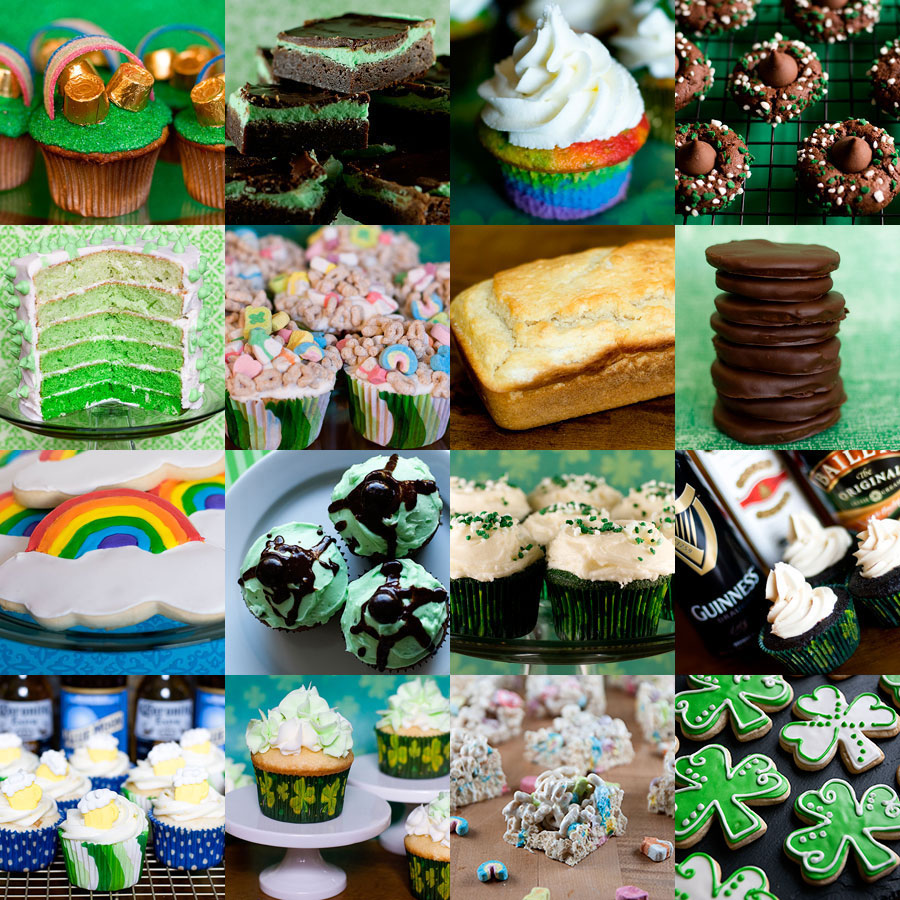
Here’s this year’s list of St. Patrick’s Day-inspired recipes. Enjoy! 1. Pot O’ Gold Cupcakes 2. Three Layer Mint Brownies 3. Rainbow Cupcakes 4. Mint Chocolate Kiss Cookies 5. Green Ombre Cake 6. Lucky Charm Cupcakes 7. Beer Bread 8….
Shamrock Cookies

I don’t think I have a drop of Irish blood in me, but I’ve always like St. Patrick’s Day. Probably because it marks the halfway point of March and is a sign that spring has arrived (or will be arriving…
Lucky Charms Bars
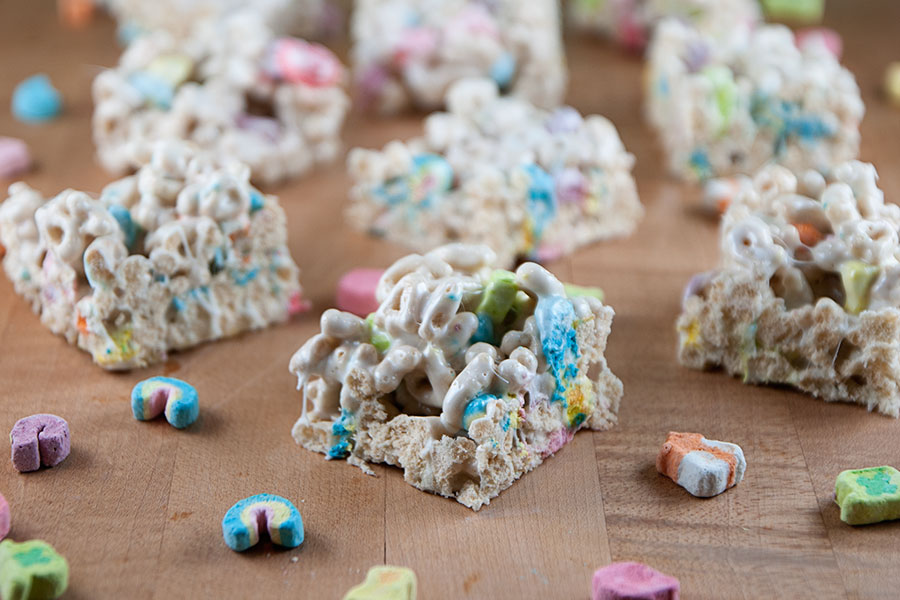
St. Patrick’s Day is a week from today! If you want an EASY treat to make for school or the office, give these a try. They’re just a different version of the classic Rice Krispie treat – but made with…
How to Make a Million Cupcakes

Okay, so I didn’t make a million cupcakes. Just 500 mini cupcakes. I was asked to donate all these cupcakes to my law school’s public interest auction. One of my law school BFFs asked, so how could I say no?! But…
Homemade Nutter Butters
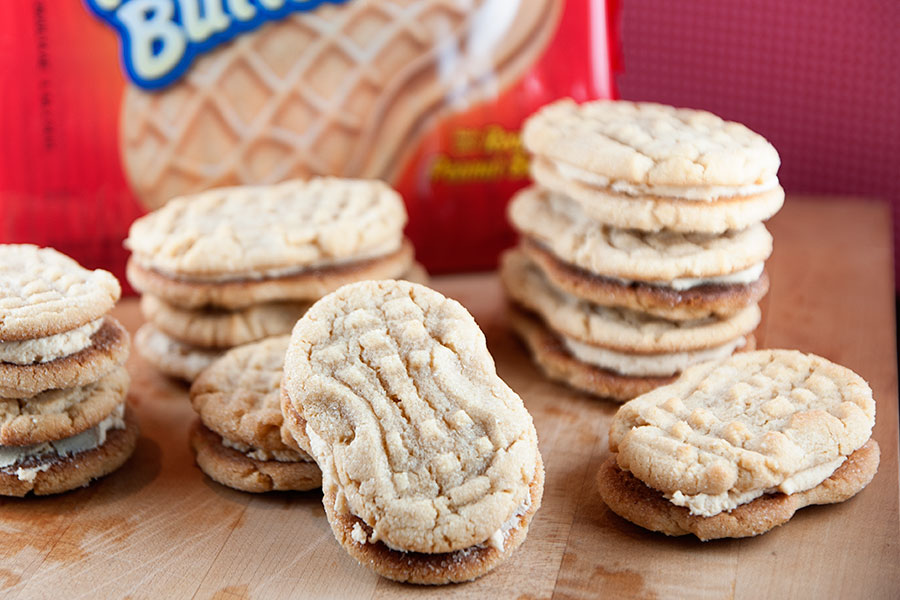
Nutter Butters are cookies that I often forget exist. Cause let’s be real, if I’m in the cookie aisle I’m heading directly to the Oreos or Keebler Elves. But oh, delicious Nutter Butters, you are lovely and I’m sorry for…
Whoppers Cookies

Oh, Whoppers, you are delicious. I love all things malty – chocolate malts, Robbins Eggs candy at Easter, Whoppers, and those to-die-for giant malted milk balls that I buy at my local grocery store. These cookies were delicious – though…


