
Happy Halloween! If I’ve learned nothing else from baking these cookies, it’s that I could never be a surgeon. Just LOOK at those shaky spiderwebs! I’m sure the real spiders of this world would shake their little arachnid heads in…
Archives for October 2010
Trick-or-Treat Rice Krispie Treats
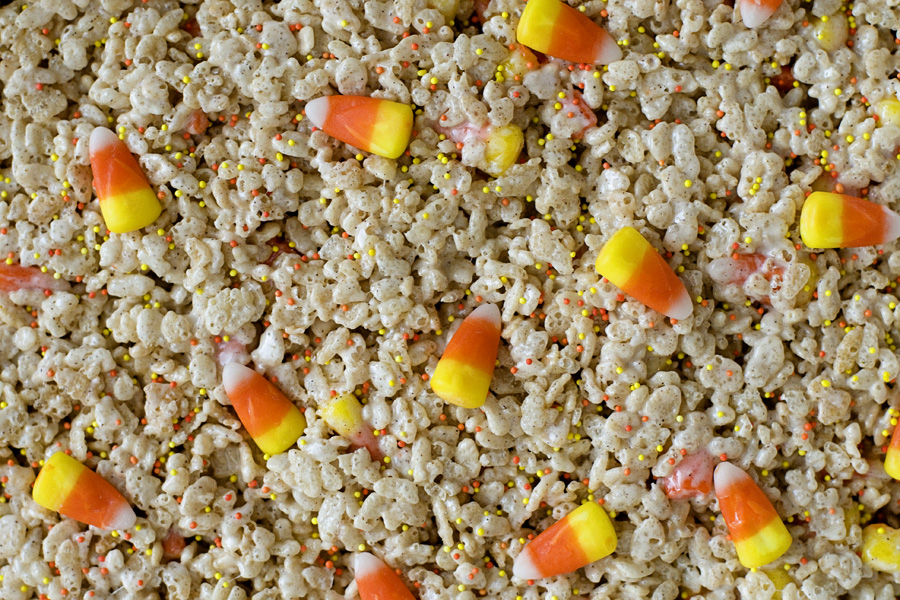
Rice Krispie treats rank high on my list of favorite baked goods (though, to be technical, no baking is actually involved!). I made these slightly modified treats for a movie night with my friends. They are super fast and easy…
Sparkling Candy Corn Cookies

Halloween is almost here! My favorite candy when I was a kid was candy corn – though I used to call it “corny candy”. Close enough, right? I would always bite off the white tip, believing wholeheartedly that it tasted…
Dark Chocolate Mint Cupcakes
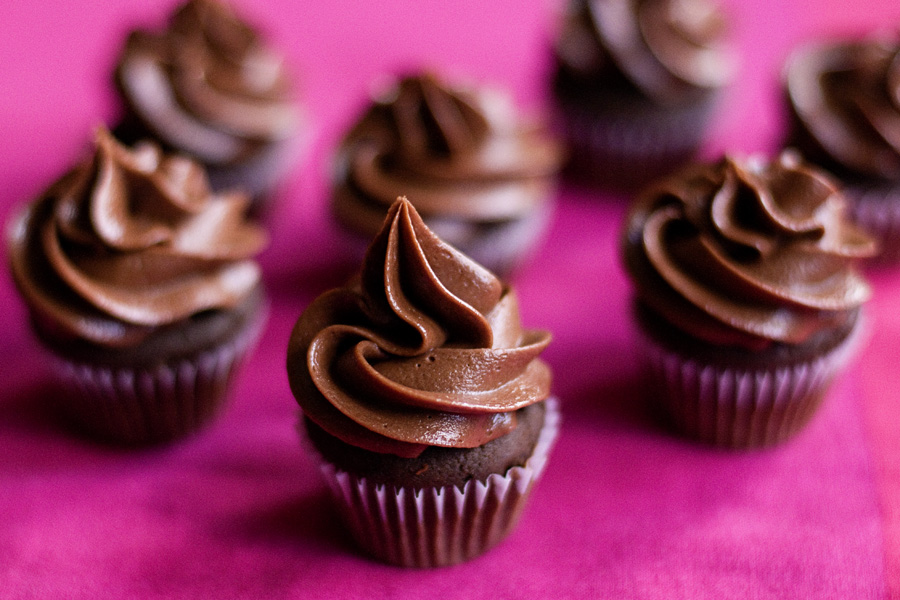
Here’s another creation by my friend Meg! We had lots of fun frosting almost 200 mini cupcakes for her birthday party! These were my favorite – I’m a sucker for anything involving dark chocolate! Dark Chocolate Mini Cupcakes Recipe adapted…
Bakery Review: Gigi’s Cupcakes
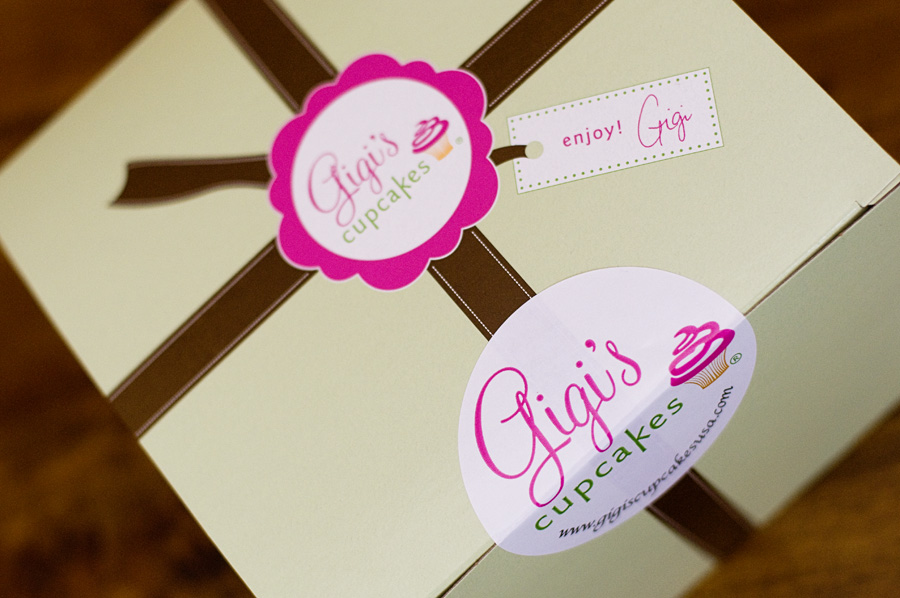
Gigi’s Cupcakes are new to Madison, but have other locations around the country. I kept seeing a sign saying “Gigi’s Cupcakes Coming Soon!” at one of the malls here in Madison. Naturally, I was intrigued. A few weeks ago I…
Pumpkin Sandwich Cookies
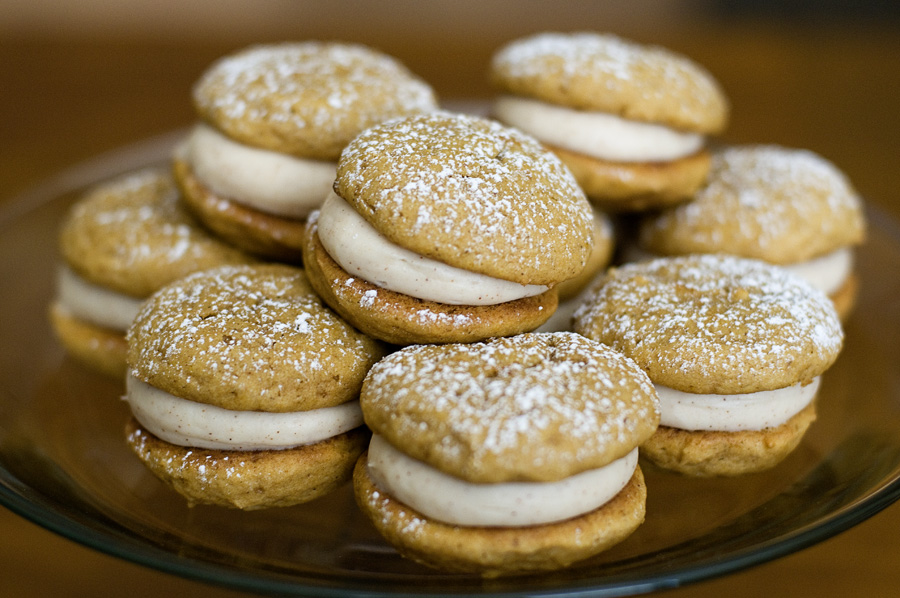
Something miraculous happened a few days ago. I ate a piece of pumpkin bread – and I kinda liked it. Has hell frozen over? Maybe I’m starting to like pumpkin! To celebrate my maybe-possibly-could-be-who-knows venture into pumpkin-based foods, here’s a…
White Chocolate Cupcakes
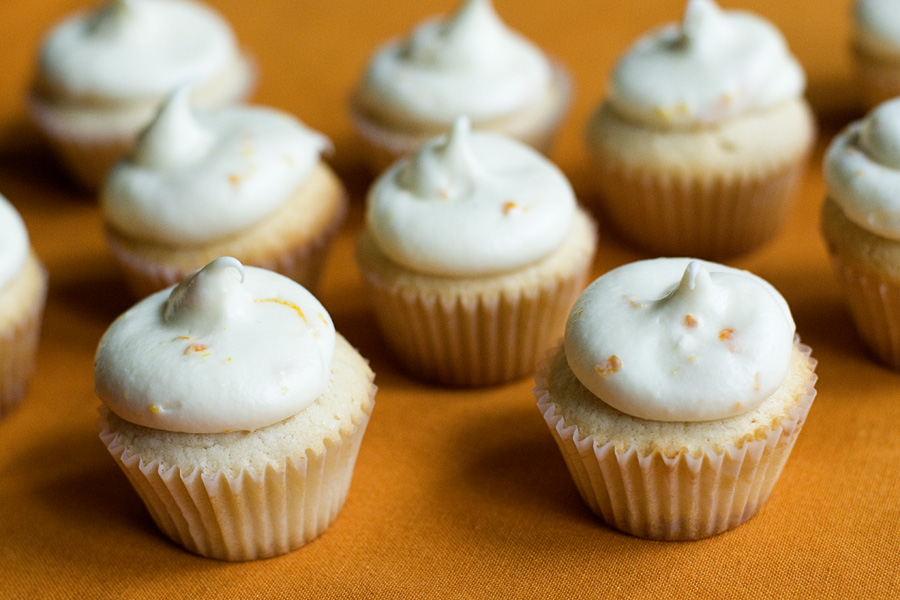
I was in Chicago a few weeks ago to visit my dear friend Meg. Meg, like me, loves to bake. Truth be known, she’s a far better baker than I am — you know, the type that doesn’t follow a…
Baking with Apples
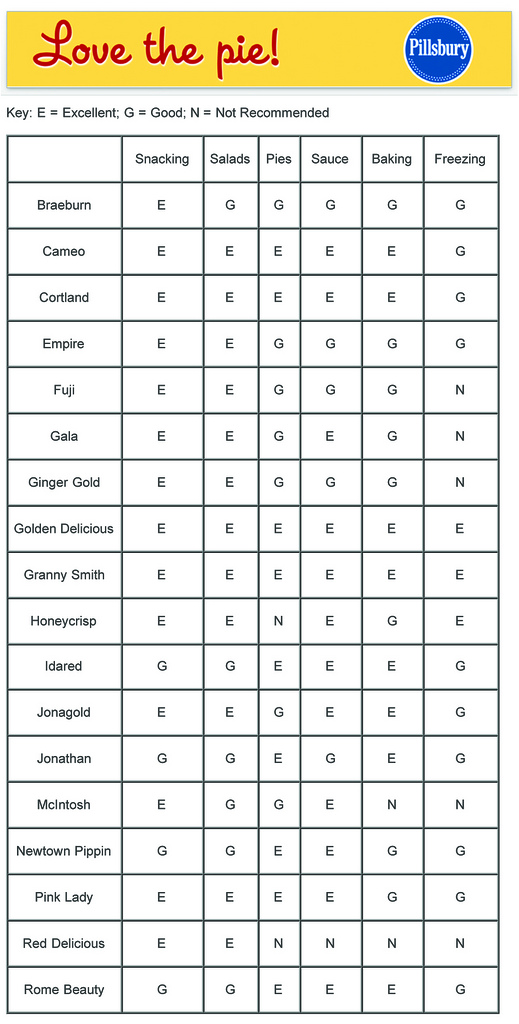
I posted this chart last fall, but wanted to bring it up again in case you missed it! What is your favorite kind of apple? I like granny smith and honeycrisp!
Boxed Cake Mixes: Yay or Nay?
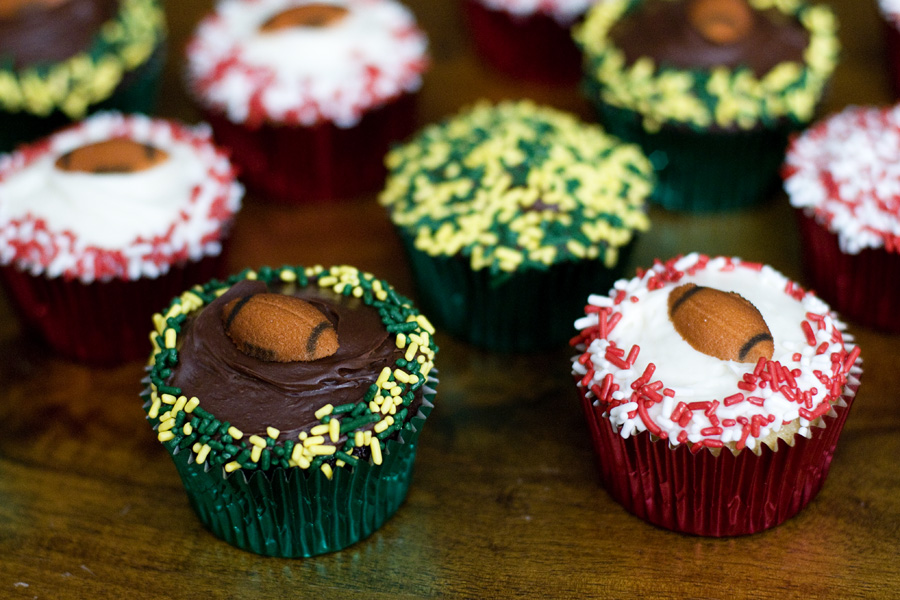
Each weekend in autumn brings football, football, football. My beloved Badgers play the Buckeyes today & the Packers play the Dolphins. Last weekend I made these cupcakes for a Badger game tailgate. I was short on time and energy the…
Mummy Cupcakes
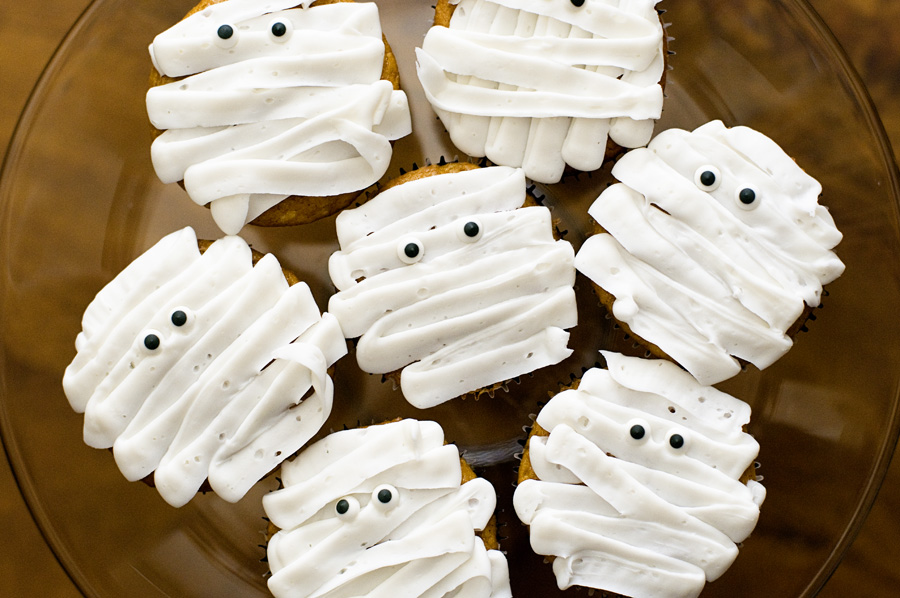
Spoooooooooooooooky! I don’t have a new recipe for this post, as these cupcakes were made using the pumpkin cupcake recipe from a few weeks ago. I bought the “eyes” at a baking store called Vanilla Bean, here in Madison. I…
Hoot Owl Cupcakes
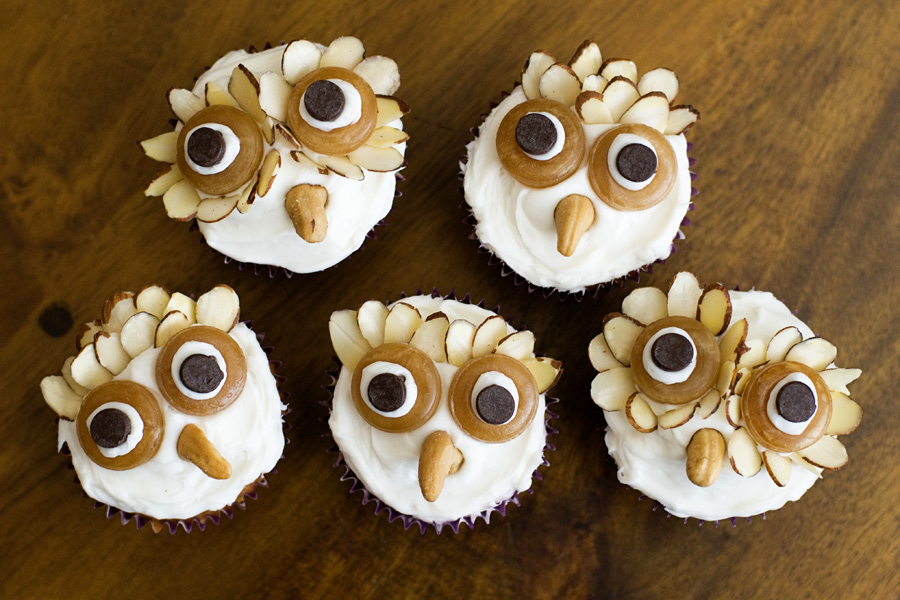
Hoot hoot! I love owls. This is not the first time owl cupcakes have made an appearance on this blog and I’m sure it won’t be the last. Halloween Hoot Owls Recipe source: Land O Lakes Cupcakes 1 package butter…
Apple Strudel
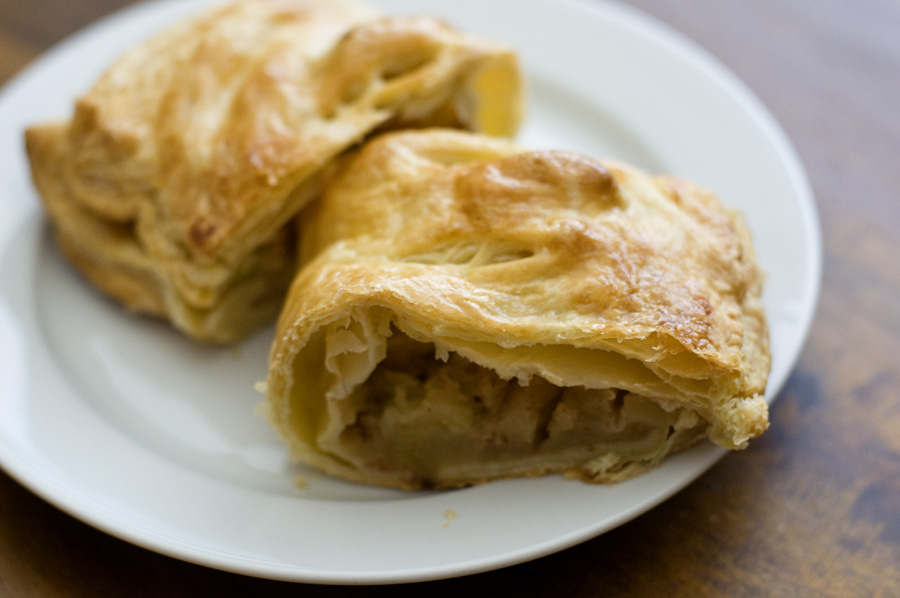
Apples + puff pastry? Yes, please. This recipe is super easy – it’s liking making a pie, but with a fraction of the work! Apple Strudel Recipe adapted from sugarcrafter.net 2 apples, peeled and chopped (I used Granny Smith –…


