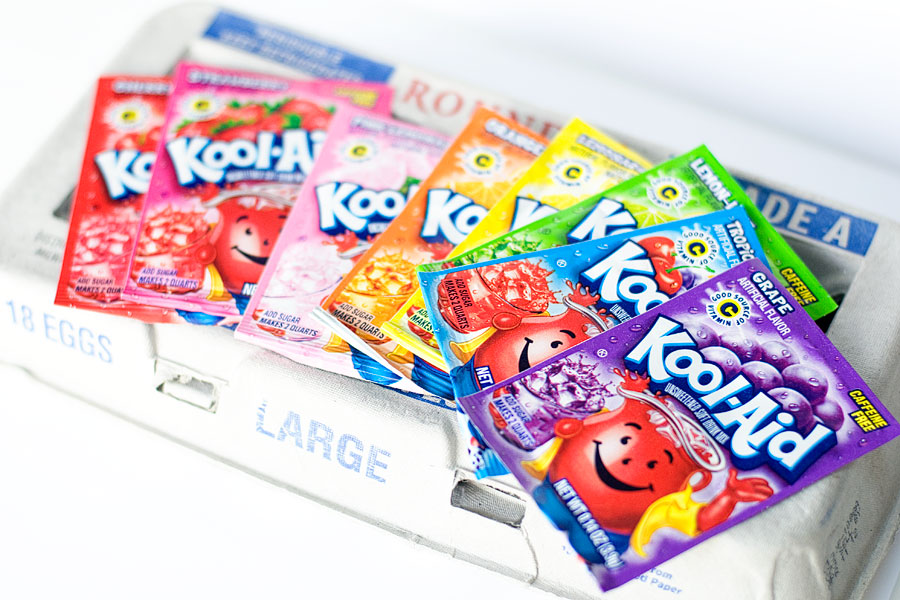
One of my more OCD characteristics is that I MUST dye Easter eggs every year. I’m not Christian and don’t really do Easter (save for the Cadbury mini eggs), but I MUST DYE EGGS! I think it’s just another expression…
Archives for March 2012
Bunny Ear Cupcakes
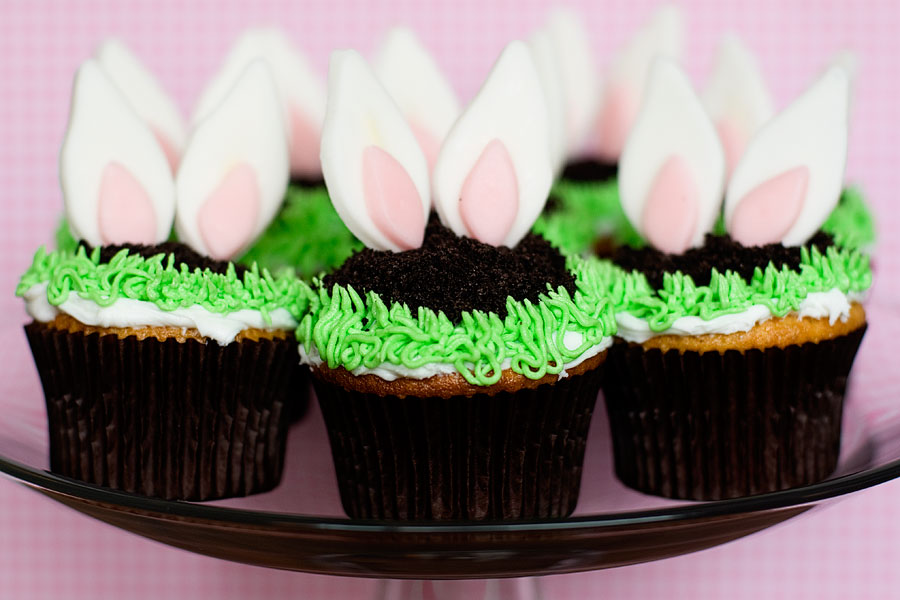
I saw a photo on Pinterest that inspired me to make these cupcakes. Aren’t they adorable? Little bunnies! Easter is one of my least favorite holidays (it doesn’t mean much to me except pastel colors and Cadbury mini eggs), but…
Harley Davidson Birthday Cake
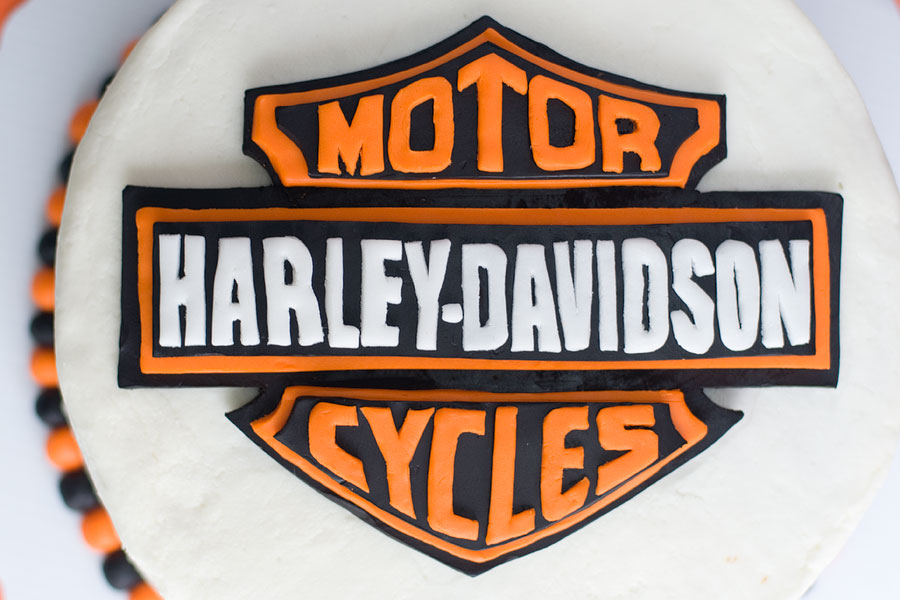
A friend of mine (hi, Alyssa!) asked me to make her mother a birthday cake. Her mom was turning fortysomething and LOVES Harley Davidson motorcycles. Awesome! I love a good challenge, but I also knew that attempting to create that logo…
The Best Carrot Cake
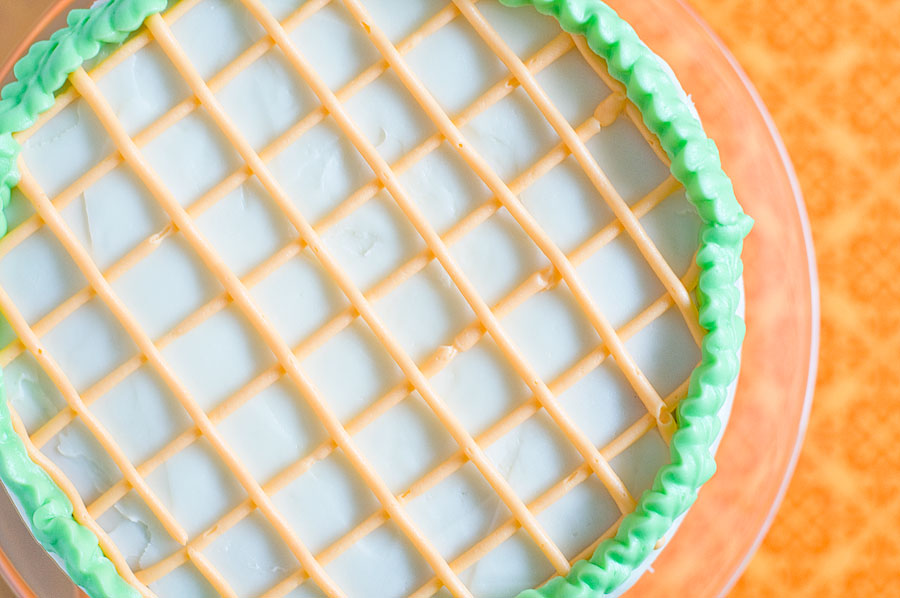
Spring is here and Easter is a few weeks away! I’ve never been shy about the fact that I am really not a fan of carrot cake. But this carrot cake kind of changed my mind. It was downright delicious….
White Chocolate Vanilla Cupcakes
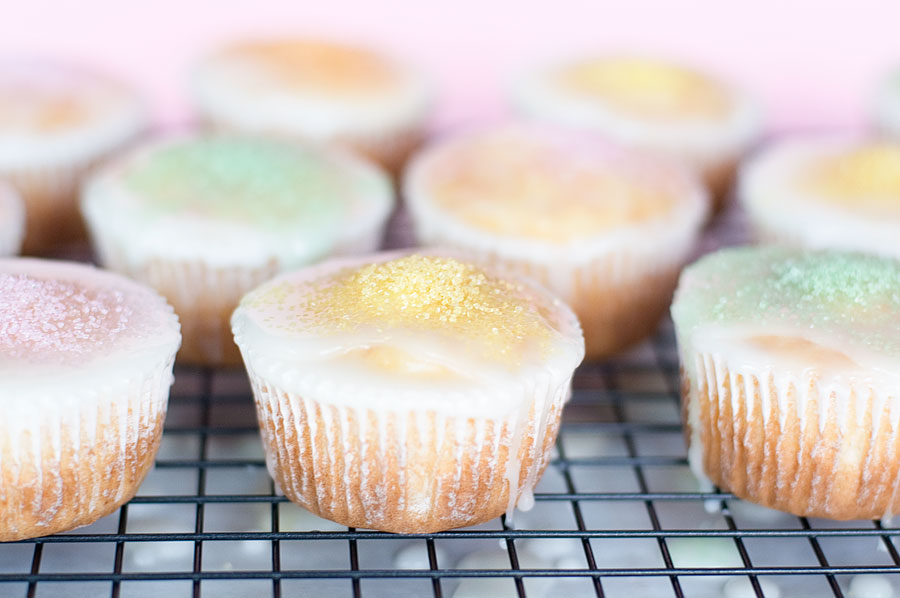
Spring is such a pretty time of the year. Pastel colors are back in fashion, Easter candy lines the store shelves, and the weather is finally becoming a-m-a-z-i-n-g. [Have I mentioned that Wisconsin has had temps in the 80s for…
Treat Yo Self!

It’s Thursday! Parks & Rec day! I’m not sure if tonight’s episode is new or if it’s a re-run. How many of you are fans of the show? One of my favorite episodes is the one involving the now-famous phrase,…
St. Patrick’s Day Ideas 2012
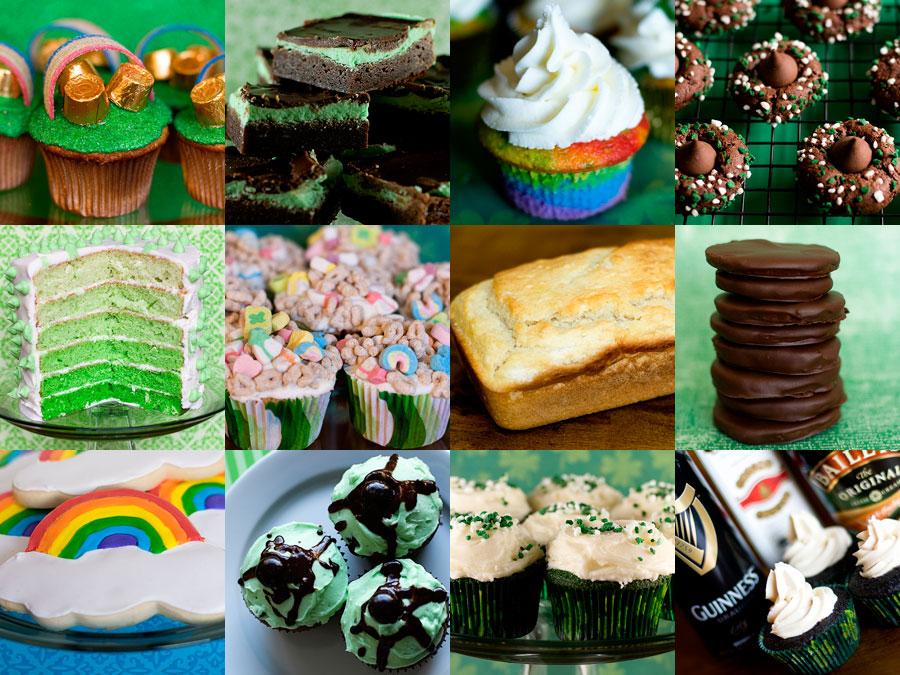
Here are my suggestions for a yummy St. Patrick’s Day! A celebration of all things green and/or Irish.. 1. Pot O’ Gold Cupcakes 2. Three Layer Mint Brownies 3. Rainbow Cupcakes 4. Mint Chocolate Kiss Cookies 5. Green Ombre Cake…
Green Ombre Cake
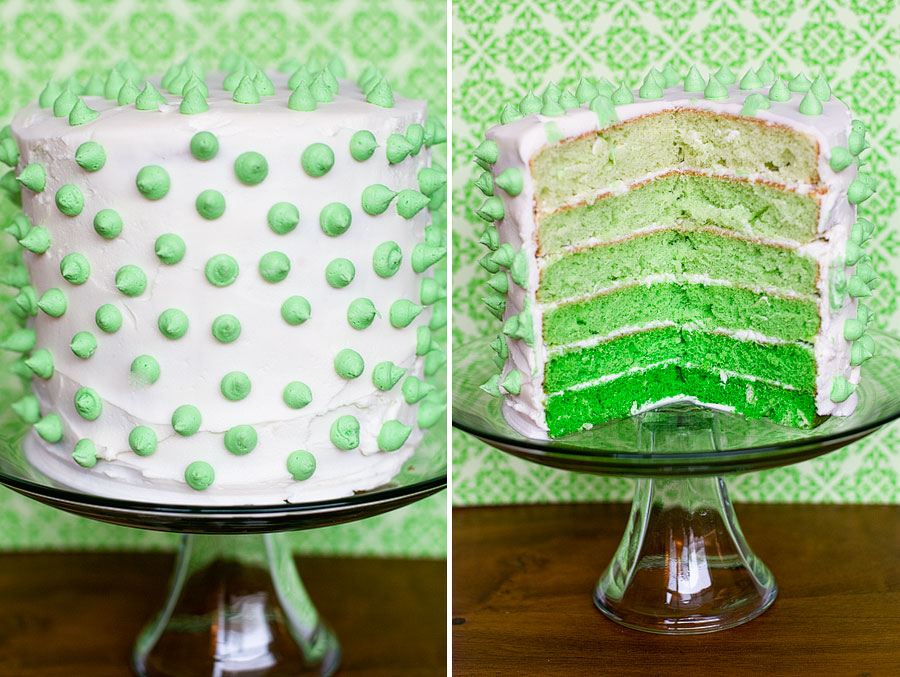
My obsession with ombre continues. You may remember that I made a pink ombre cake for Valentine’s Day. This cake is similar, but I used a box mix this time! You can do ombre with any color – don’t feel…
Rainbow & Cloud Cookies II
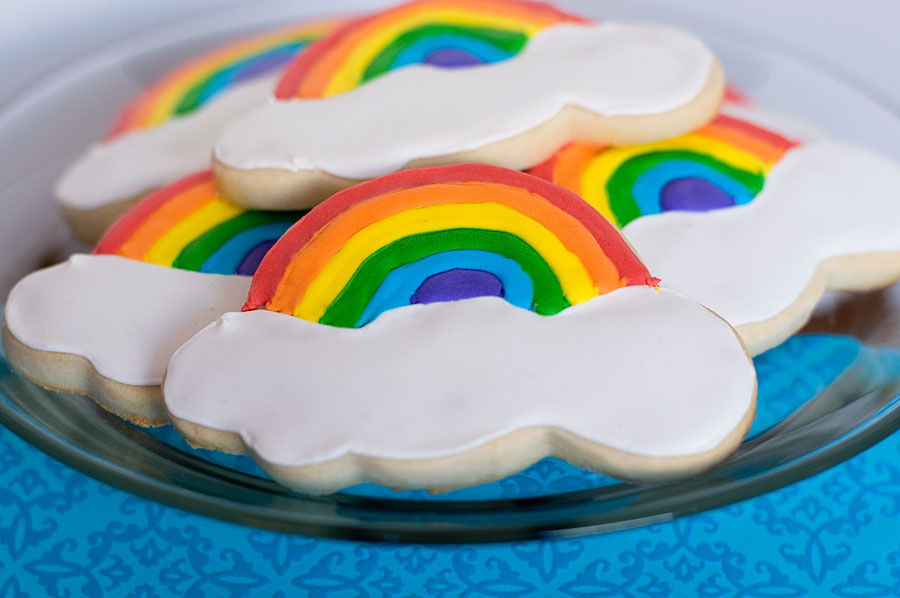
I made cookies very similar to these last year. But since I’ve become more familiar with royal icing, I decided to make these again — this time decorating them with royal icing. I bought my rainbow and cloud cookie cutter…
Happy Birthday to the Oreo Cookie!
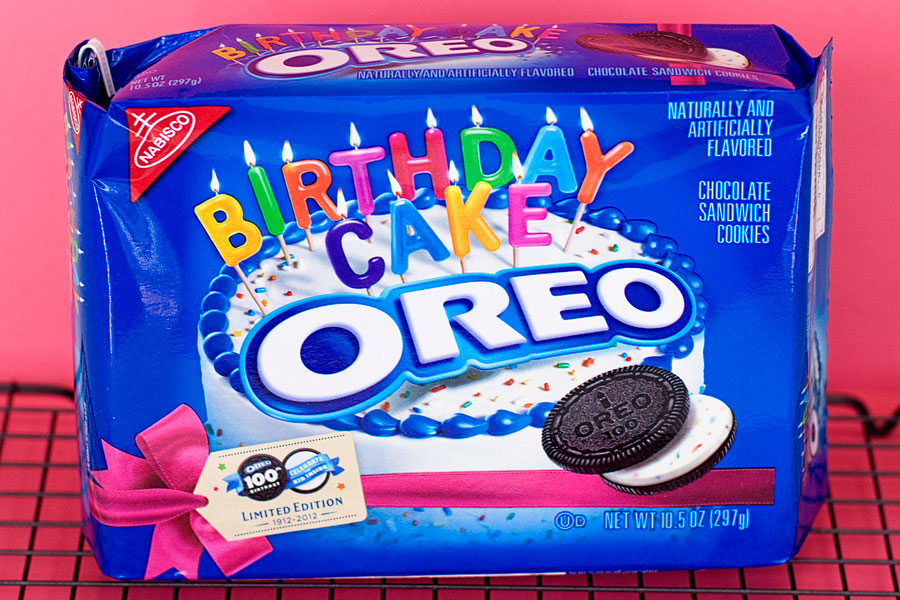
The Oreo turns 100 today! The company was founded on March 6, 1912 in New York City. A little Oreo trivia, courtesy of Wikipedia: The cookie was developed and produced by Nabisco at its Chelsea factory in New York City….
Lucky Charm Cupcakes
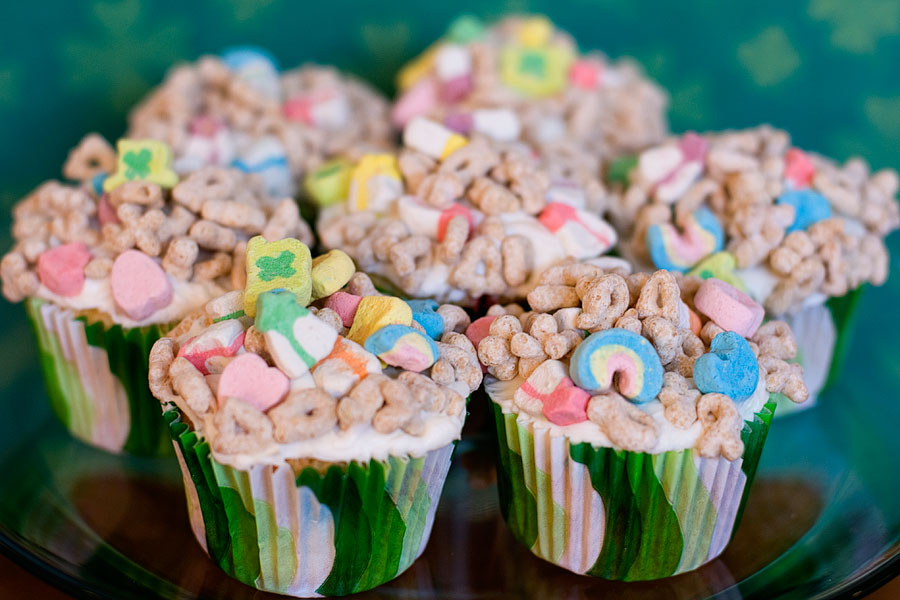
Another super simple cupcake idea for you all! Be sure that you enjoy eating Lucky Charms for breakfast, because you’ll have plenty of extra cereal after you make these. I think most of you will agree with me: the best…
Pot o’ Gold Cupcakes
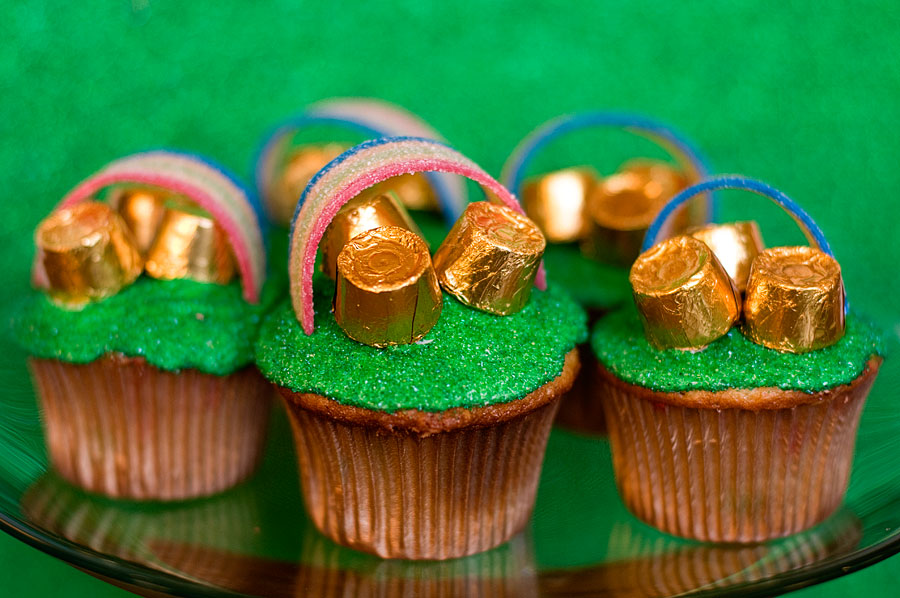
March is here! Spring will officially arrive later this month and all of you with Irish blood cursing through your veins will get to celebrate on the 17th. These cupcakes are EASY to make. If you are looking for something…


