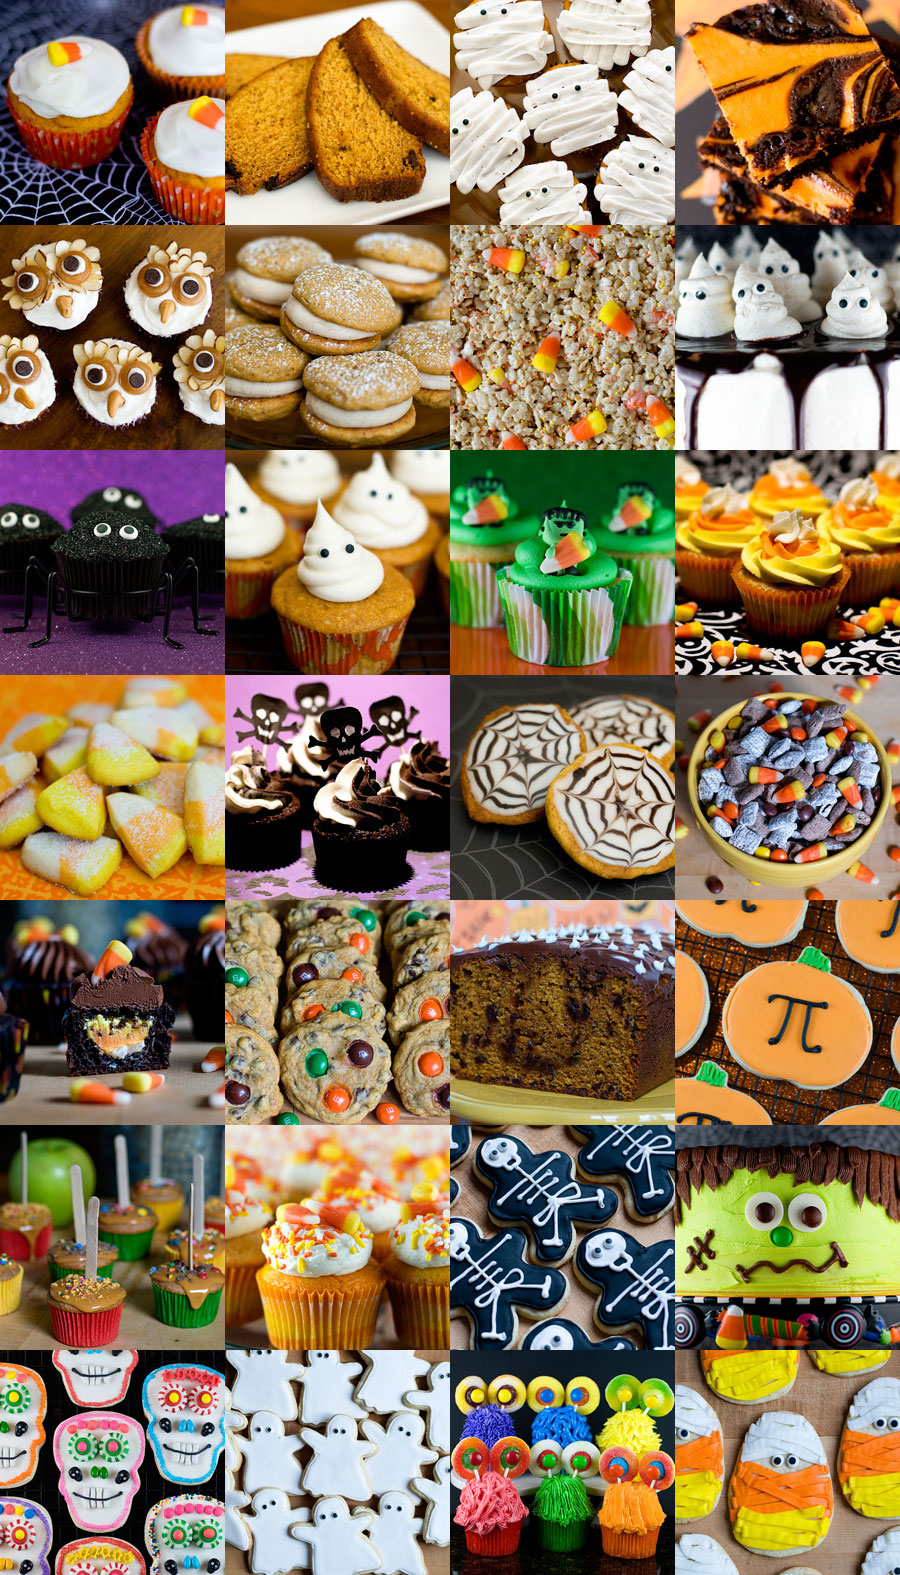
Here’s a collection of nearly all of the fall/Halloween recipes on my blog. Have a wonderful holiday :) 1. Pumpkin Cupcakes 2. Pumpkin Raisin Bread 3. Mummy Cupcakes 4. Halloween Brownies 5. Hoot Owl Cupcakes 6. Pumpkin Sandwich Cookies 7….
Archives for October 2013
Skeleton Cookies
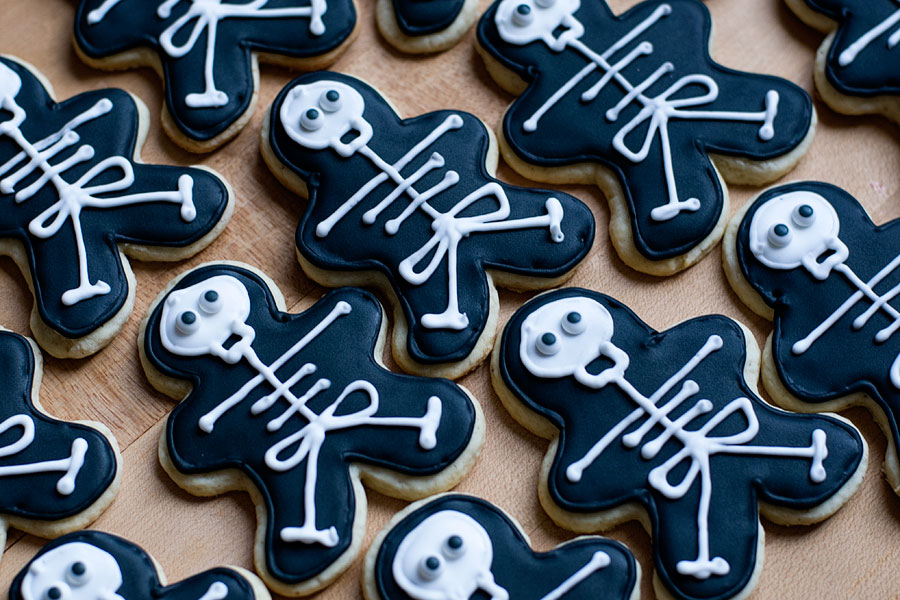
Here’s the counterpart to yesterday’s post! I love skeletons. I’ve always been fascinated by them – I think they are eerie and beautiful. These cookies are obviously a cartoon-ish version of a skeleton – and they weren’t that difficult to…
Ghost Cookies

BOO! Ghosts, of the Casper-the-friendly-ghost variety, are so cute and cuddly. These cookies involve royal icing, but were easier than usual because only one color of royal icing was needed! Saves a lot of time and energy only having to…
Candy Corn Mummy Cookies
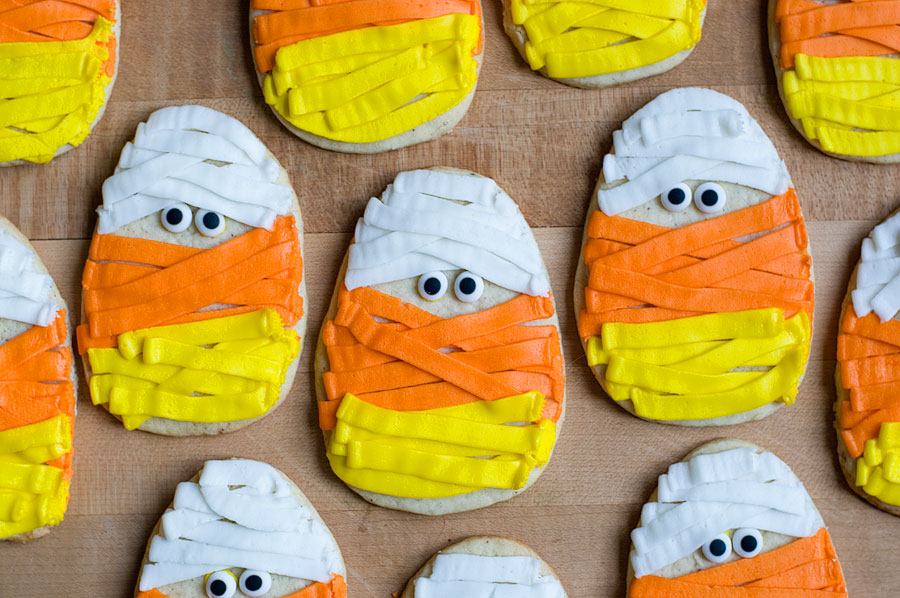
I’ve been blogging for a long time and it’s easy to run out of ideas for the holidays. There are only so many variations of a candy corn cupcake or a spooky spider cookie, ya know? I thought I’d combine…
Candy Corn Surprise Cupcakes
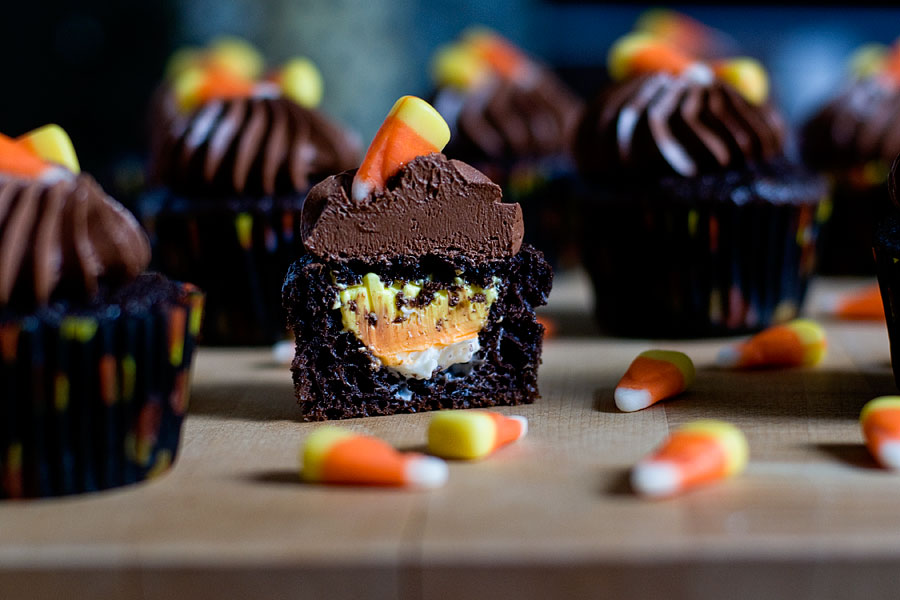
I am a big, big believer in showing failures as well as successes. Well here’s a failure for you. Kind of. I wanted to make these beautiful cupcakes. I followed directions, cut into them, and, well, they just didn’t look…
FrankenCake
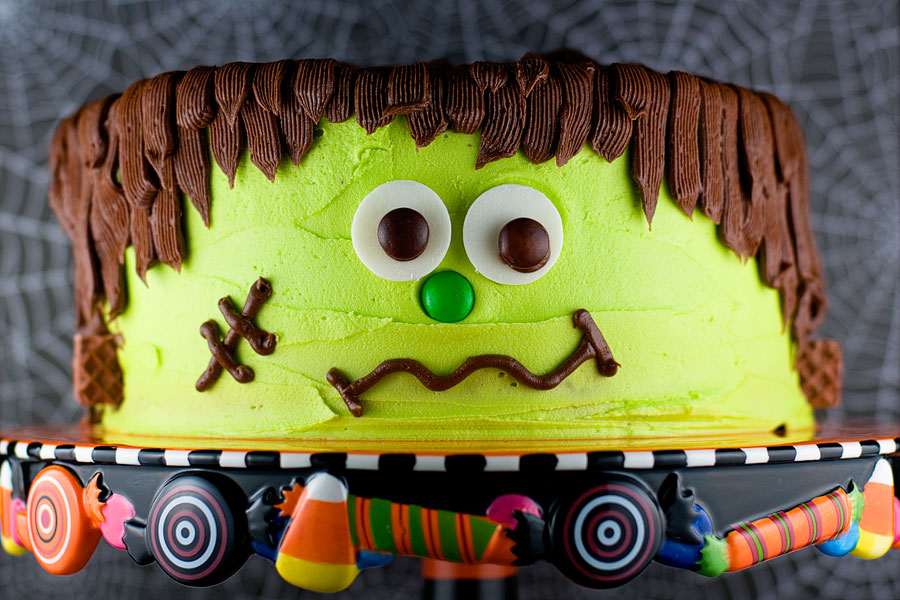
It’s a FrankenCake! I’ll be posting a lot of Halloween treats this week and I’m starting with this cake. I saw it on Pinterest and knew that I had to give it a try. I mean, really. How adorable, right?…
Bakery Review: Classy Girl Cupcakes

I decided recently that I want to try more bakeries. Really, this is just a justification to eat more baked goods. But I want to see more of what Milwaukee (or wherever I am at the moment) has to offer…
Pumpkin M&M Cookies
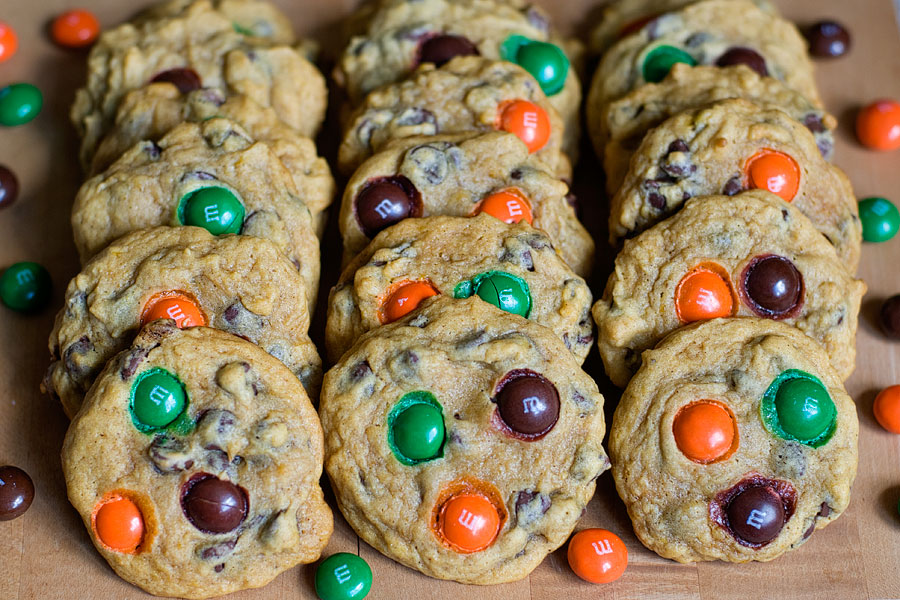
Oh look, another pumpkin recipe! My parents and I were at Target a few weeks ago. My Dad grabbed a bag of pumpkin M&Ms and said, “I bet these would be good in a cookie.” That was his sort of…
Pumpkin Chocolate Chip Bread
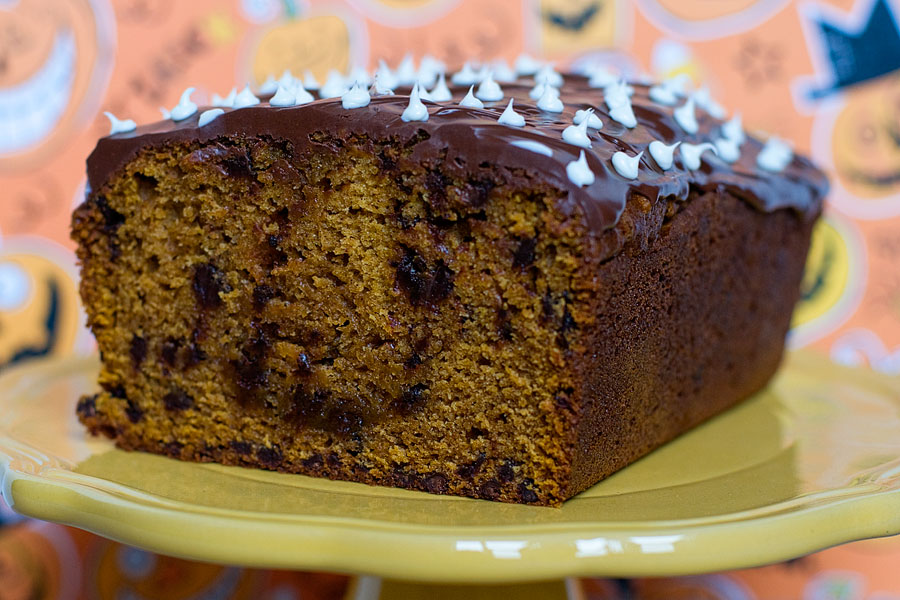
OK, so I know that I have mentioned again and again that I’m not a huge fan of pumpking. HOWEVER, when enough chocolate is involved, I can get on board with just about anything. This bread has mini chocolate chips…
Halloween Puppy Chow
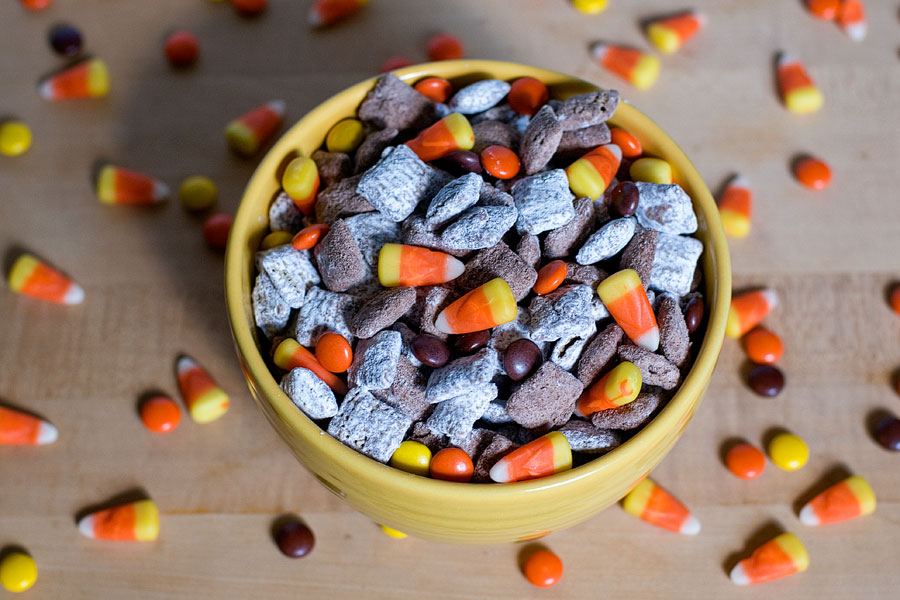
Puppppppy chowwwww! I absolutely love it. This is a seasonal take on the classic oh-so-addicting snack. This recipe involves candy corn and Reese’s Pieces — but feel free to use whatever seasonal candies you’d like. Indian corn would work well…
Caramel Apple Cupcakes
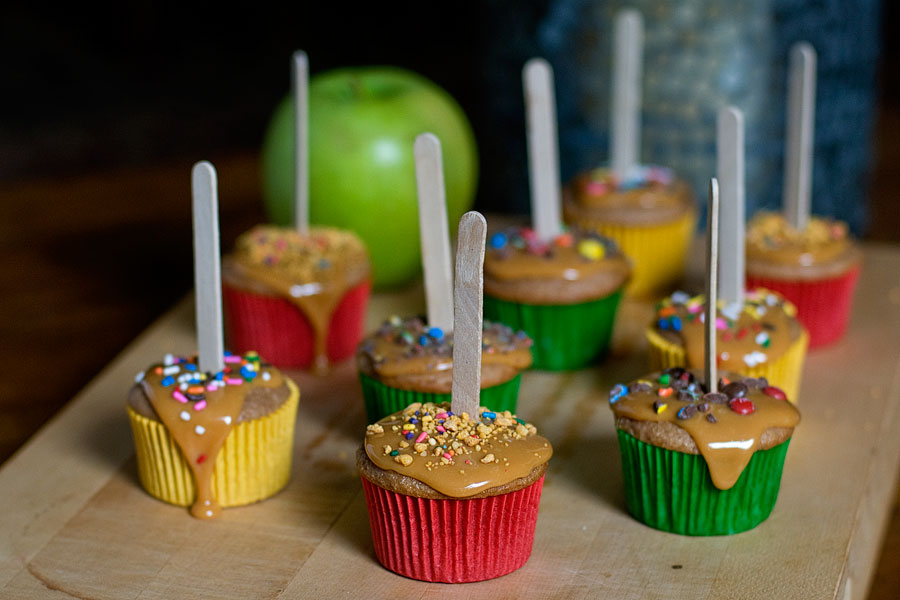
It’s October! My favorite month of the year! The time for sweaters, chilly weather, beautiful trees, pumpkin carving, Halloween, apple cider, the smell of burning leaves, and, well, it’s just the season of ultimate coziness. I read a quote on…


